
Just the other day, I found myself daydreaming about spring blooms while wrapped in my cozy yarn stash. That’s when I decided it was time to bring some floral cheer indoors, so I whipped up this delightful crocheted flower. The Swirling Green Crochet Flower is perfect for adding a touch of nature’s beauty to your space with its vibrant colors and intricate design. What I love most about this crochet flower pattern is that it’s not only visually captivating but also customizable! You can mix and match colors to reflect your personal style, plus it makes an everlasting decoration that won’t wither away. With intermediate stitches, this project challenges your skills while being incredibly satisfying to see come to life. If you’re ready to create a stunning accent for your home or a thoughtful gift for someone special, let’s dive into the world of crochet flowers together!
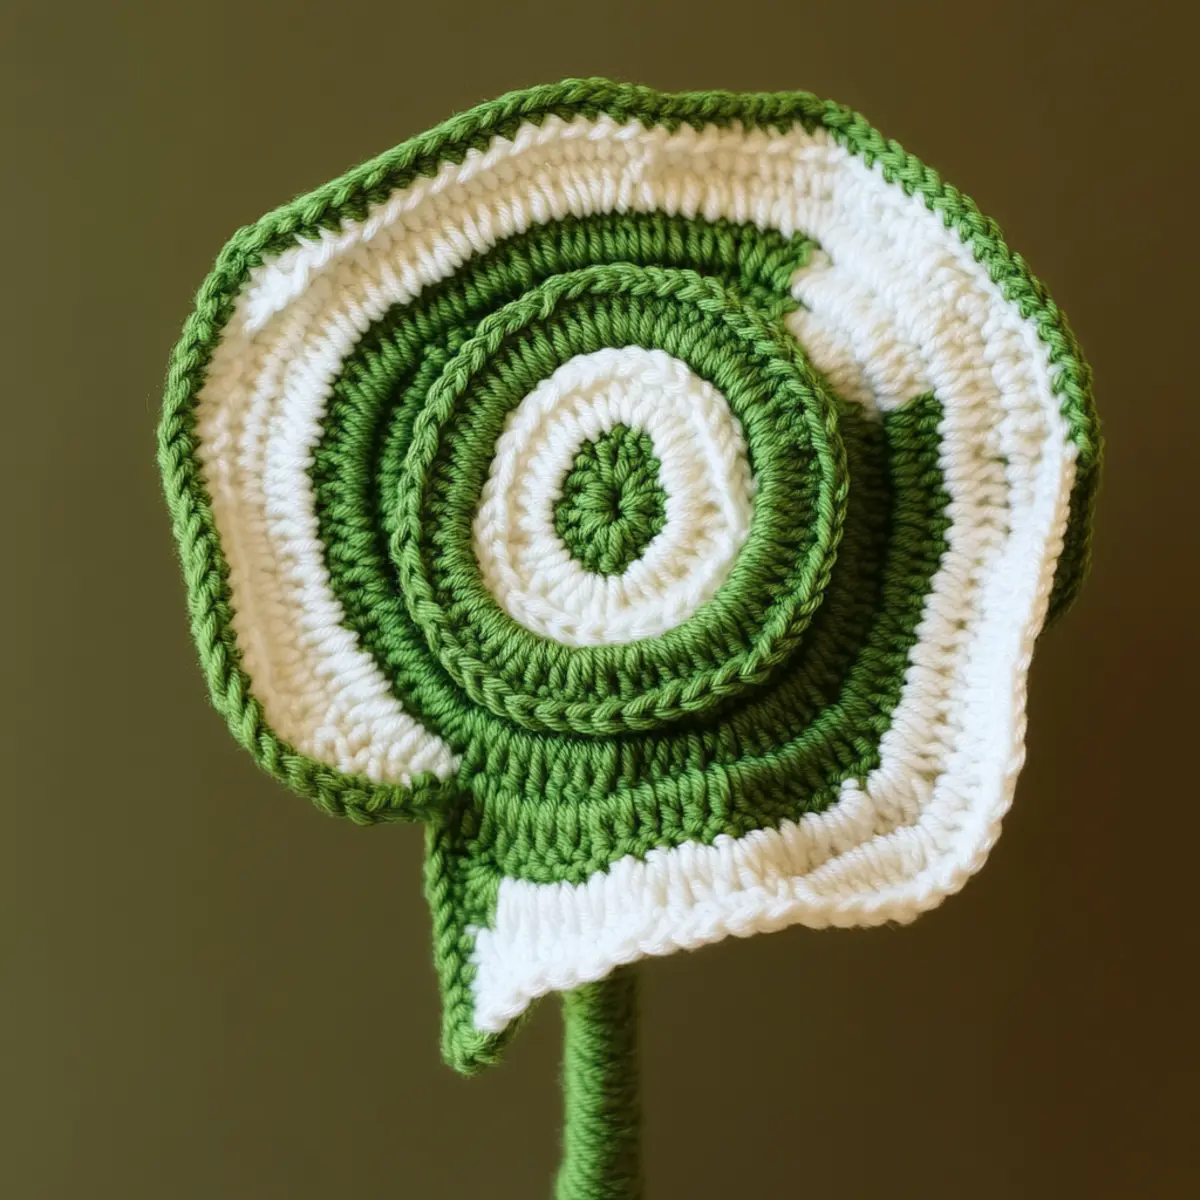
Crochet Flower Materials & Tools
Note: Gather everything you need to create your stunning crochet flower and let your creativity bloom!
Yarn
• Light Worsted or DK Weight Yarn – Approximately 50-100 yards in vibrant green and white, preferably a cotton-acrylic blend for durability and color.
Tools & Notions
• 4.0mm (G) Crochet Hook – This size helps achieve a tight stitch definition, perfect for your crochet flower.
• Flower Stem – Use it for added stability when securing your flower, enhancing its presence in any decor.
• Beads or Buttons (optional) – Incorporate these to add unique embellishments and elevate your flower’s design.
Why Crochet Flowers Are a Must-Have?
Versatile Design: This crochet flower complements any decor, from whimsical to modern, allowing it to fit seamlessly in your home.
Customizable Colors: Choose your favorite yarn hues to create unique flowers that match your style—perfect for every season!
Everlasting Beauty: Unlike real blooms, this flower needs no water, bringing cheerful charm to your space year-round.
Enjoyable Challenge: With intermediate stitches, this project hones your skills, making it a rewarding endeavor for crafters.
Perfect for Gifting: Handcrafted with love, these crochet flowers make meaningful presents that your friends and family will cherish.
Consider adding another delightful touch with an aesthetic baby dress set to accompany your crocheted flowers!
Gauge & Sizing Notes
Don’t skip the gauge swatch! For the Swirling Green Crochet Flower, ensuring your tension is just right is essential to achieving those beautifully layered petals. Aim for a gauge of 4×4 inches (10×10 cm) which should equal approximately 14 double crochets by 8 rows. If you find your swatch is smaller than this, try using a larger hook size to loosen your tension, while crocheting tightly? Simply switch to a bigger hook to maintain that lovely shape. To make your flower larger or smaller, adjust your starting chain and follow the stitch count in multiples of 6 + 2 as you layer those petals. Happy crocheting!
Step‑by‑Step Pattern for Swirling Green Crochet Flower
Row 1: Start with a Magic Ring
Begin by creating a magic ring. Inside the ring, work 6 single crochets (sc) to form the center of the crochet flower. Pull the tail of the yarn to tighten the ring, ensuring your stitches are secure. Your work should create a small circle measuring about 1 inch across at this stage (6 sts).
Row 2: Forming the Base
For the second row, chain 2 and make 2 double crochets (dc) in each single crochet from the previous row. This will increase your stitch count as you begin to build the petals. You should see your flower starting to take shape, with a gentle flair emerging from the center (12 sts).
Row 3: Start the Petal Layers
Continue working by chaining 2, then making 1 double crochet (dc) in the first stitch, followed by 2 double crochets (dc) in the next stitch. Repeat this pattern around, ensuring the petals have a nice, even distribution. Your crochet flower will begin to take on a fuller appearance at this point (18 sts).
Row 4: Creating Depth with HDC
For the fourth row, chain 2, then work 1 half double crochet (hdc) in the first stitch, followed by 2 hdc in the next stitch. Continue this across the row to add depth to each petal. This should create a layered effect, with your work becoming more substantial (27 sts).
Row 5: Increasing Petal Volume
Now, chain 2 and make 1 hdc in the first two stitches, then 2 hdc in the next stitch. Repeat this pattern across the row while maintaining even tension. Your crochet flower should start to resemble lush petals, expanding beautifully (36 sts).
Row 6: Transitioning to the Outer Edge
In this row, switch to your contrasting color for the outer edge. Chain 3 and work 1 dc in the first stitch, followed by a shell stitch into the next stitch: (2 dc, ch 1, 2 dc) into the same stitch. Continue this pattern around to create a textured outer layer that enhances your crochet flower’s visual appeal (Repeat for 7 shells).
Row 7: Final Edging and Shape
For the final row, chain 1 and make a slip stitch (sl st) into the top of each shell stitch from the previous row, tightening the edges to form a neat finish. Now your crochet flower should exhibit a delightful drape, with petals curling slightly to mimic natural blooms. Make sure to finish off securely and weave in the ends for a polished look.
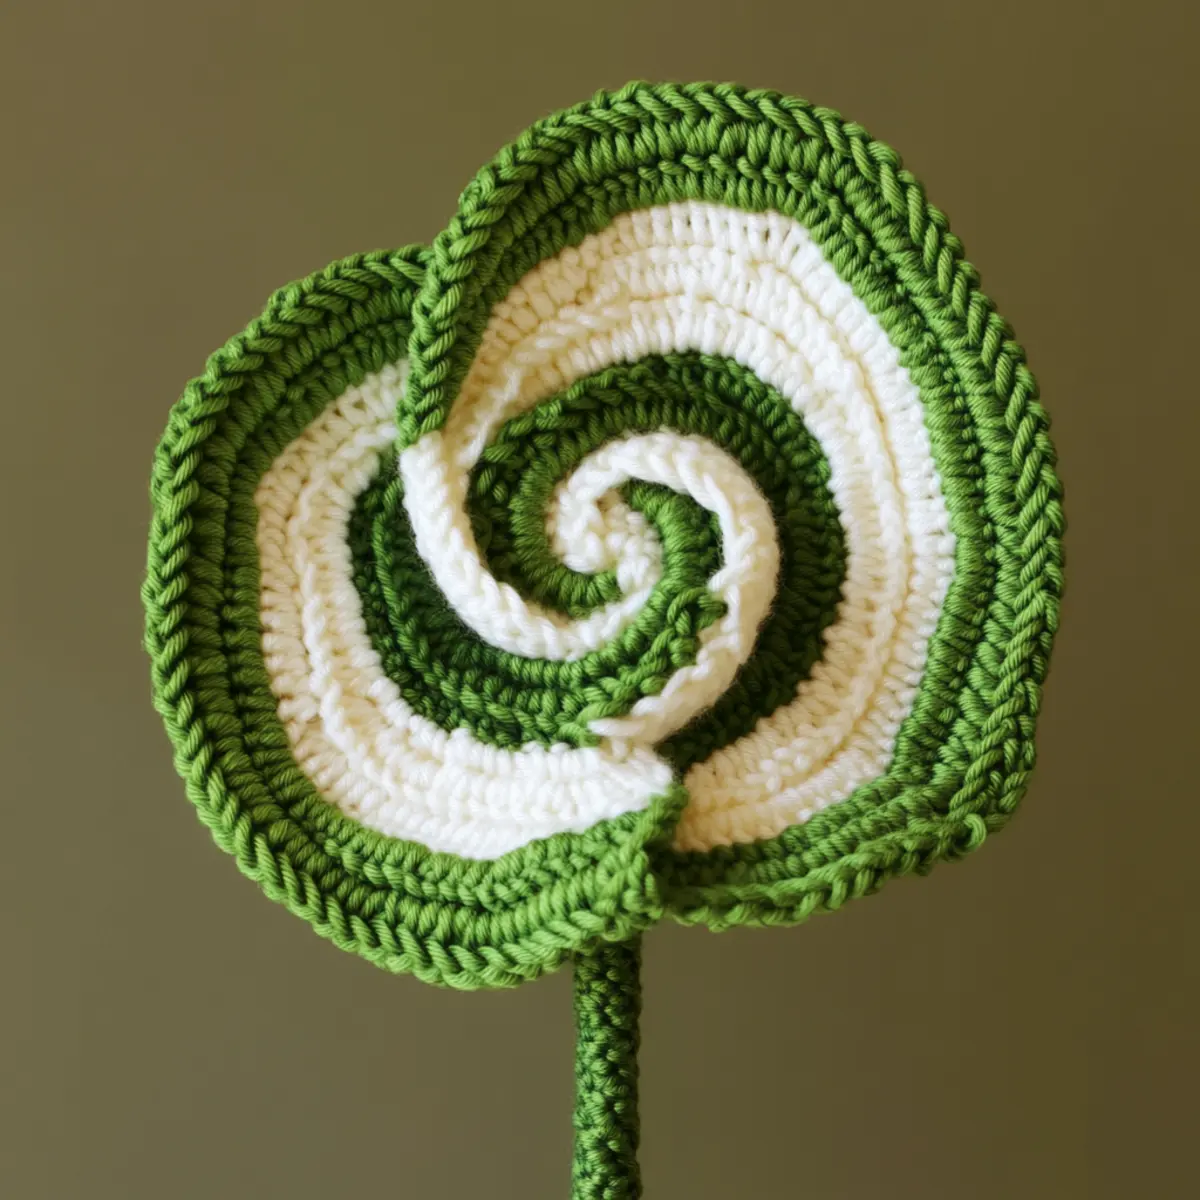
Expert Tips for Crochet Flower
- Maintain Tension: Consistent tension is key; uneven tension can lead to misaligned petals. Practice keeping an even grip on your yarn.
- Count Stitches: Track your stitches carefully with each round to avoid confusion. Losing count can jeopardize the flower’s shape.
- Use Blocking: Consider blocking your finished flower to enhance its structure. This step smooths out uneven stitches and helps define the petals.
- Secure Stems: When attaching a stem, use slip stitches for a polished finish. This method ensures your flower stays firmly in place.
- Contrast Colors: Experiment with contrasting colors for the outer edges; it adds depth and texture, elevating your crochet flower’s visual appeal.
Crochet Flower Variations & Substitutions
Let your creativity bloom by customizing your crochet flower with these delightful variations!
-
Yarn Weight Alternatives:
Try switching to a bulky yarn for a plush, oversized flower. The thicker texture adds charm and catches the eye beautifully. -
Fiber Swaps:
Experiment with a cotton yarn instead of a cotton-acrylic blend for a more breathable option. It yields a lighter, airy flower perfect for summer decor. -
Color Combinations:
Mix and match vibrant yarn colors for a fun, playful aesthetic. Consider deep purples and bright yellows for a sunny summer look. -
Petal Dimensions:
Adjust petal size by adding or removing rounds. Smaller petals create a delicate effect that can daintily fill a vase or stand out on its own. -
Seasonal Themes:
Create seasonal variations by choosing hues that reflect the time of year—think pastels for spring or warm oranges and reds for autumn. -
Decorative Embellishments:
Add beads or buttons to the flower’s center for a touch of glam. Incorporating these extras can personalize your flower and enhance its beauty. -
Textured Edging:
Incorporate a ruffled or scalloped edge for additional texture. This simple adjustment can lend a unique flair and depth to your floral creation. -
Sturdy Stem Adjustments:
For added stability, opt for a wooden dowel as a stem. This provides a more durable base, allowing the flower to stand proudly in your favorite vase.
These adjustments can create enchanting variations of the ordinary crochet flower! For more inspiration, check out this adorable baby dress set to pair with your blooms, or embrace texture with unique yarn blends for your next project!
How to Wash and Care for Your Crochet Flower
Machine Washing: If needed, place your crochet flower in a mesh laundry bag to protect its delicate structure. Use cold water and a gentle cycle to avoid damage.
Drying/Blocking: Lay your flower flat on a clean towel to dry, reshaping as necessary. Blocking can help redefine the petals and smooth any uneven stitches, ensuring your crochet flower looks its best.
Storage: Store your crochet flower in a cool, dry place away from direct sunlight to maintain its vibrant colors. Avoid folding it to prevent creases or deformation.
Handling: When displaying, gently dust your crochet flower with a soft cloth to keep it looking fresh and vibrant, showcasing its exquisite crochet artistry!
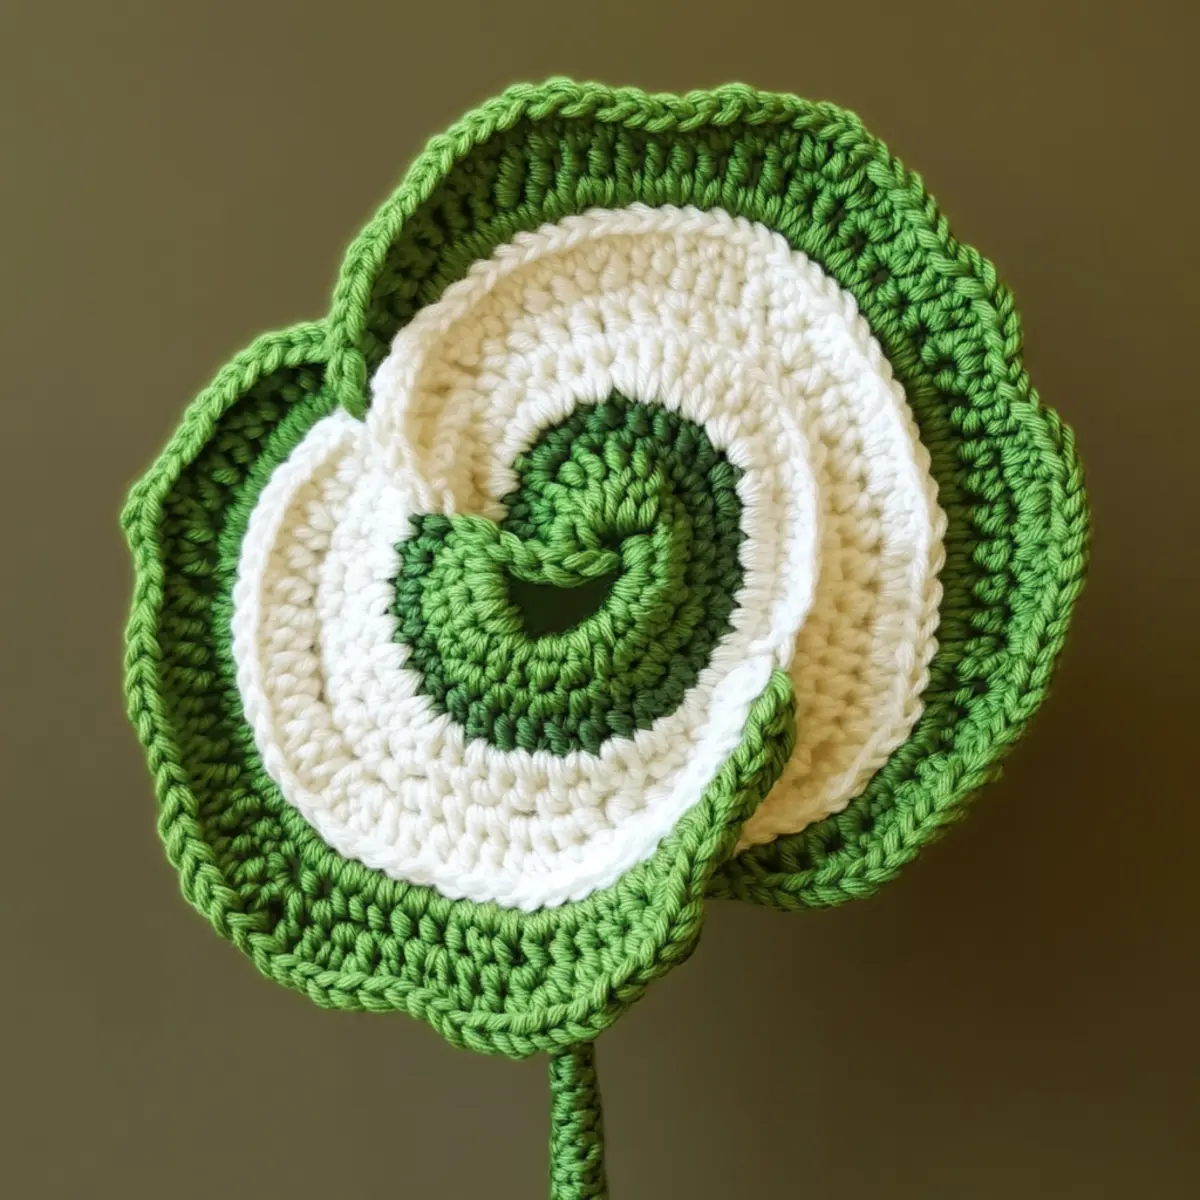
Swirling Green Crochet Flower FAQs
Can I substitute yarn for this crochet flower?
Absolutely! While a cotton-acrylic blend works best for a vivid look and structural integrity, feel free to use any light worsted or DK weight yarn. Just keep in mind that different fibers can alter the drape and texture, so it may be helpful to check your gauge before you start.
How can I adjust the size of my crochet flower?
If you want to create a larger flower, you can use a heavier yarn weight, like worsted instead of DK, or simply add more rounds to your flower. For a smaller version, try using a lighter yarn or a smaller hook size. Just remember, adjustments may require you to modify the stitch count to keep things proportional!
Why is my crochet flower curling?
Don’t panic! If your flower’s petals are curling like a bowl, it might be due to tension variations or not blocking your flower properly. Make sure to maintain consistent tension as you crochet. Additionally, once you finish, gently block the flower to help it lay flat and achieve that gorgeous shape.
What hook size should I use for my crochet flower?
For the Swirling Green Crochet Flower, I recommend a 4.0mm (G) crochet hook. This size will provide a tight stitch definition, ensuring that your flower holds its shape beautifully. If you’re using a different yarn, check the label for recommended hook sizes, but stay within the 4.0mm range for best results!
How do I fix dropped stitches in my crochet flower?
It’s an easy fix! Simply identify the dropped stitch and pull the working yarn through the stitch loop to re-capture it. From there, you can work the stitch back as normal. If you’re unsure, take a moment to examine your flower’s construction before moving forward—it’s perfectly natural to encounter a hiccup or two during the crafting process!
Is it necessary to block the finished flower?
While not mandatory, blocking your finished crochet flower is highly beneficial. It helps smooth out any uneven stitches and can enhance the overall shape and structure. So go ahead, treat your flower to a little spa day after you complete it!

Leave a Reply