
There was something magical about the moment I crafted my first crochet bear pattern. The way the yarn slipped through my fingers as I created each rounded feature was exhilarating. I designed this cozy crochet bear pattern with beginners in mind, making it accessible and perfect for those new to the art of crochet. What makes this project truly special is not only its simplicity; it’s also a fantastic stash-buster that invites your creativity to bloom. You can readily adjust colors and personalize accessories to make your bear one-of-a-kind. As you stitch your way through this charming project, you’ll find that it’s not just about creating a toy—it’s about making a precious keepsake for the little ones in your life or even for yourself! Plus, the soft, cuddly nature of the finished bear offers a warm, comforting hug for anyone who holds it. Are you ready to jump into this delightful craft and create a cherished companion?
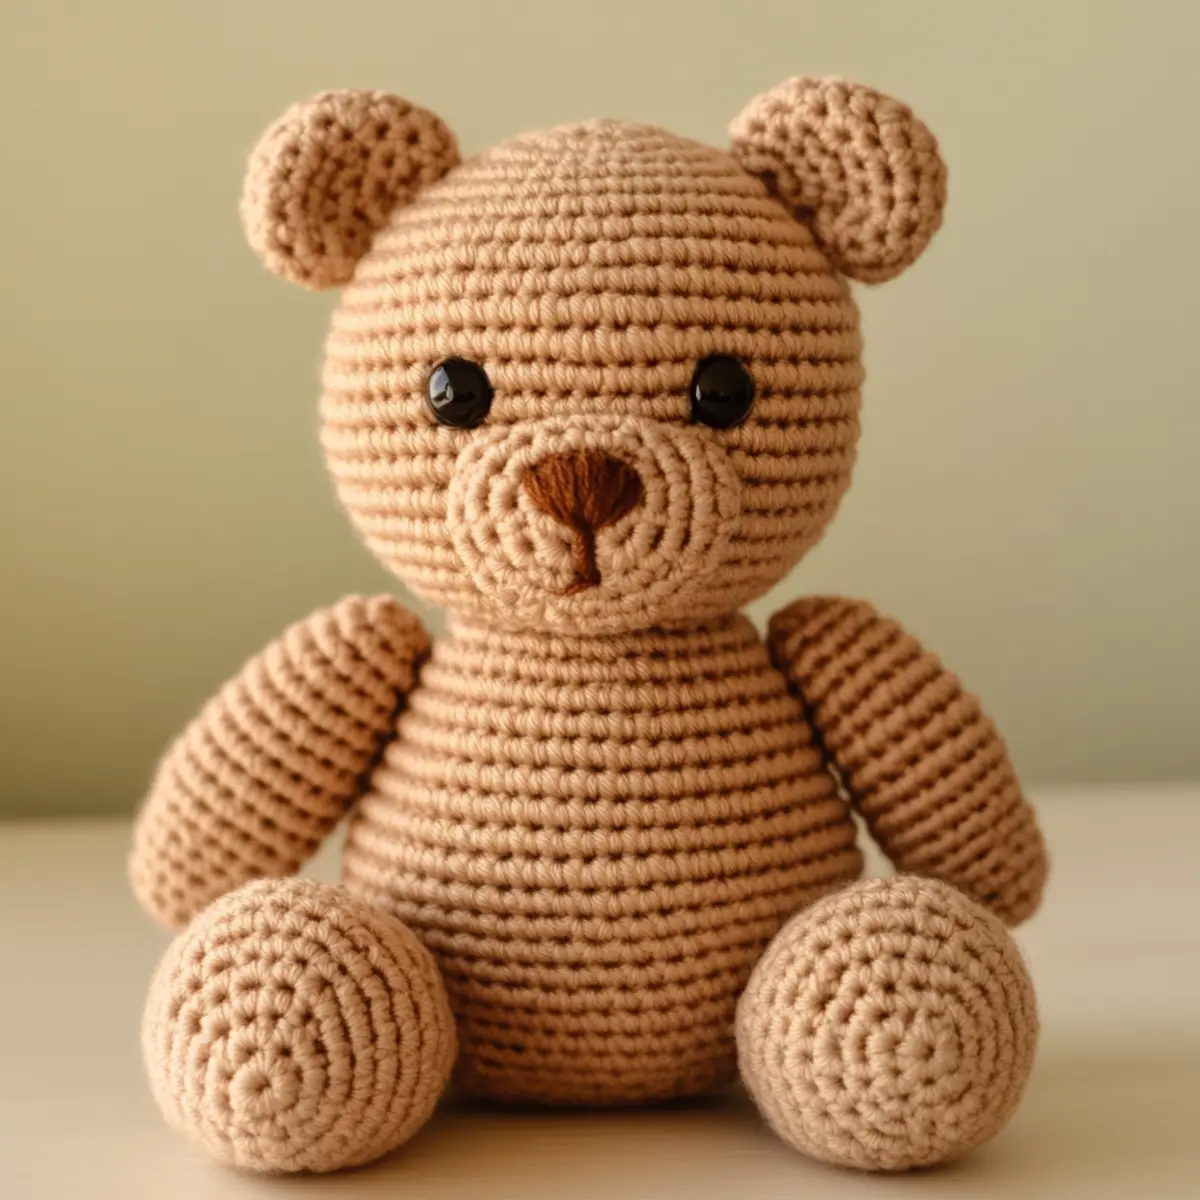
Crochet Bear Pattern Materials & Tools
Yarn
- Worsted weight yarn – Choose 100% Acrylic or a similar synthetic fiber for the best softness and durability; approximately 150-200 yards is needed to complete the bear.
Tools & Notions
- Crochet hook (size G) – A size G hook works well for worsted weight yarn, creating tight stitches to hold stuffing securely.
- Safety eyes – Essential for adding adorable details to your bear’s face, ensuring they are securely attached for safety.
- Embroidery floss – Perfect for creating the bear’s nose and adding personality with colors that stand out.
- Stuffing material – Polyester fiberfill will give your finished crochet bear the cuddly feel it needs. Ensure even stuffing for maintaining its shape.
- Scissors – For trimming any excess yarn after your project is complete. A sharp pair helps in making clean cuts.
- Yarn needle – Useful for weaving in any loose ends and sewing on pieces like limbs and the muzzle, ensuring your project has a professional finish.
Why You’ll Love This Pattern
Crafting a crochet bear is an exceptional way to dive into the wonderful world of amigurumi! Simplicity is at the heart of this pattern, ensuring that even absolute beginners can find joy while crocheting. Texture plays a significant role as the tightly stitched gauge creates a soft, plush feel that invites snuggling. You’ll find it wonderfully stash-friendly, allowing you to use up those odd yarns lying around. This pattern also offers an opportunity for customizability, as swapping colors can give your bear a unique personality—imagine a pastel creation or a striking bright design! If you’d like to explore more crochet delights after finishing your bear, check out my Crochet Flower Pattern and Snuggle Bear Hoodie. This bear won’t just be a standard toy; it will be a delightful piece of art that stands out in any nursery or child’s playroom!
Gauge & Sizing Notes for Crochet Bear Pattern
Checking your tension is crucial to ensuring a successful crochet bear pattern. The standard gauge measurement to aim for is 4×4 inches (10×10 cm) with approximately 12 sc for every 14 rows. If your swatch appears larger than this, consider going down a hook size or tightening your tension. Alternatively, if your gauge is smaller, try adjusting your hook size upwards or loosening your stitches. To resize, simply adjust your starting chain or rounds; for instance, if you want a larger bear, increase the number of starting rounds or chain stitches. The final dimensions of your bear are expected to be about 10-12 inches tall, making it an ideal size for children’s hands to cuddle. Customization is encouraged; feel free to play with different yarn weights or colors to make each bear truly unique.
Step-by-Step Pattern for Crochet Bear Pattern
Row 1: Start with a Magic Ring
Begin by making a magic ring (MR) and ch 1 to secure. Work 6 sc into the MR, then pull the tail to close it tightly (6). Ensure to maintain a firm tension to keep the stitches tight, giving structure to your bear’s head.
Row 2: Increase for Shape
Continuing from the last row, 2 sc in each stitch around to create a rounded shape (12). Keeping your stitches tight helps the head maintain its spherical form, essential for the cute bear look.
Row 3: More Increases
Now, work 1 sc, inc around to create more dimension, ending with 18 stitches (18). After every few rows, take a moment to count your stitches to ensure that the shape is progressing accurately, avoiding any accidental increases or decreases.
Row 4: Shaping the Head
Continue with 2 sc, inc for this round, which will yield 24 stitches (24). Consistently check your tension here to prevent the head from becoming too loose, which may affect how well it holds stuffing later on.
Row 5-7: Repeating Nicer Rounds
For these rows, maintain the stitch count at 24 and simply work sc around for 3 rounds. This provides stability to the head (24). Take care to stuff the head lightly, making sure to push filling evenly into the round shape, ensuring it has a nice, full look.
Row 8: Start the Body
Now to transition into the body: sc in the next 3, inc. Repeat around (30). You should notice the bear beginning to take its adorable shape. Keep an eye on your tension, especially as you transition from head to body.
Row 9-11: Building the Body
Continue with sc around for 3 more rounds to build the body’s height (30). Remember, consistency is key in keeping the look and feel of the bear plush and cuddly. Adding a little more stuffing here will help as you work.
Row 12: Decrease for a Tapering Effect
Begin to shape the bottom of the bear by working 3 sc, dec around (24). This will taper your bear’s body gently without losing its cuddly feel. Carefully check each stitch to ensure the shape stays intact.
Row 13: Further Reductions
Now round with 2 sc, dec (18). This brings the shape closer together, preparing it for finishing. Be sure your stuffing is evenly distributed instead of lumped at the top or bottom.
Row 14: Closing the Body
Finish with 1 sc, dec around (12). The bear should be visibly tapering now, creating a plump bottom half. Make sure to continually check back to your count, ensuring accuracy. Stuff as needed so your bear maintains its shape.
Row 15: Final Round
When you reach the last round, simply work a final dec round (6). Follow this closely to allow the bear to finish securely. Pull the yarn through the last stitch to fasten off and weave in any ends. You should be quite proud of the crocheted form you’re producing!
Ears, Arms, and Tail
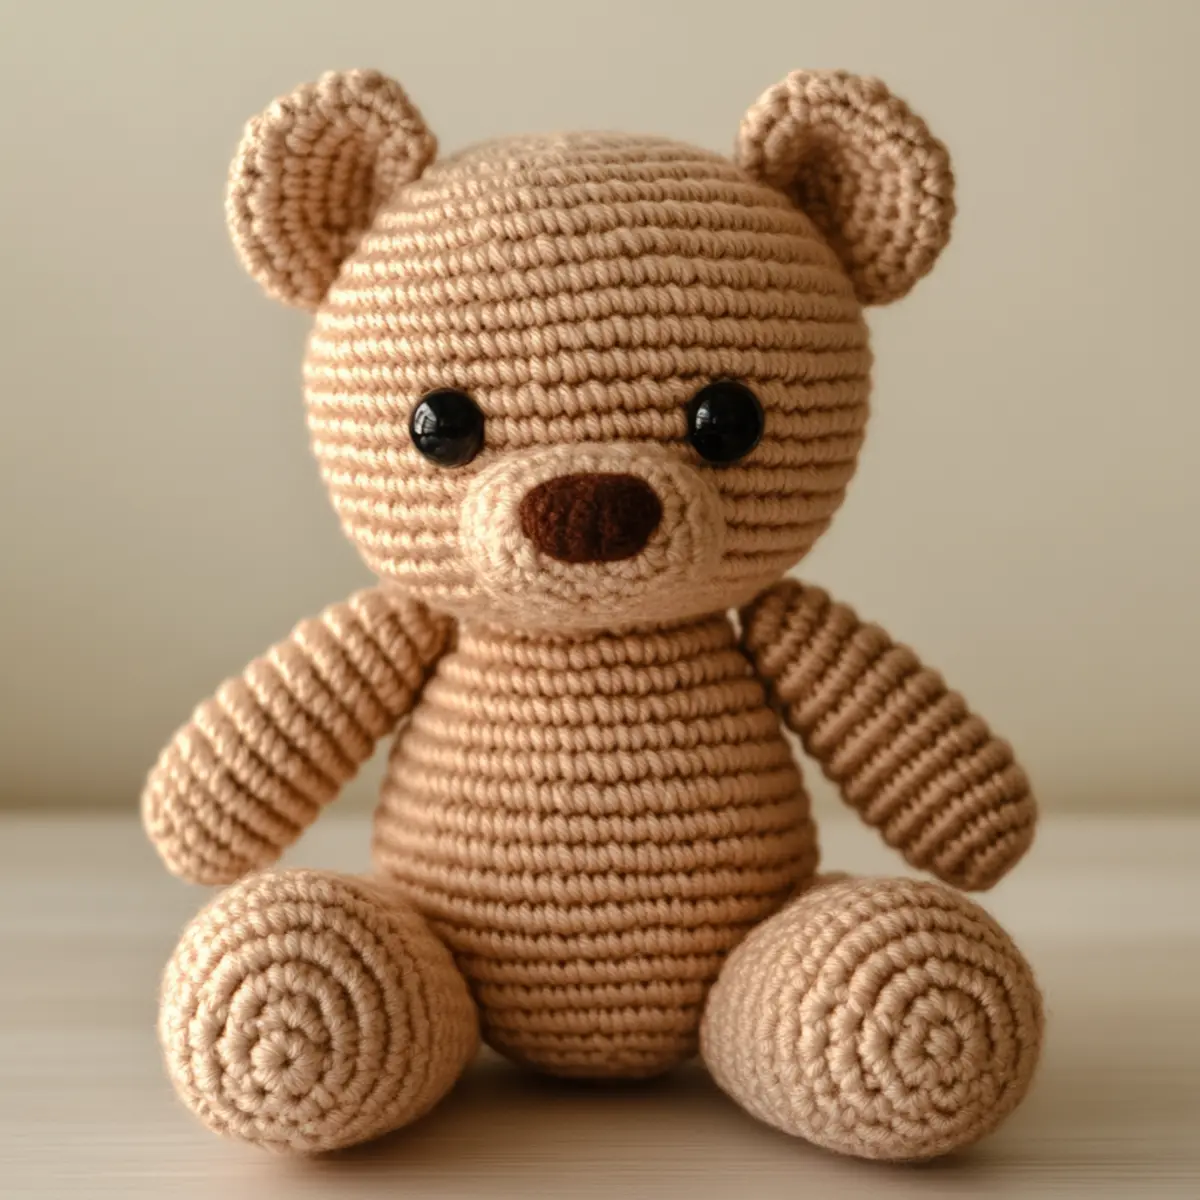
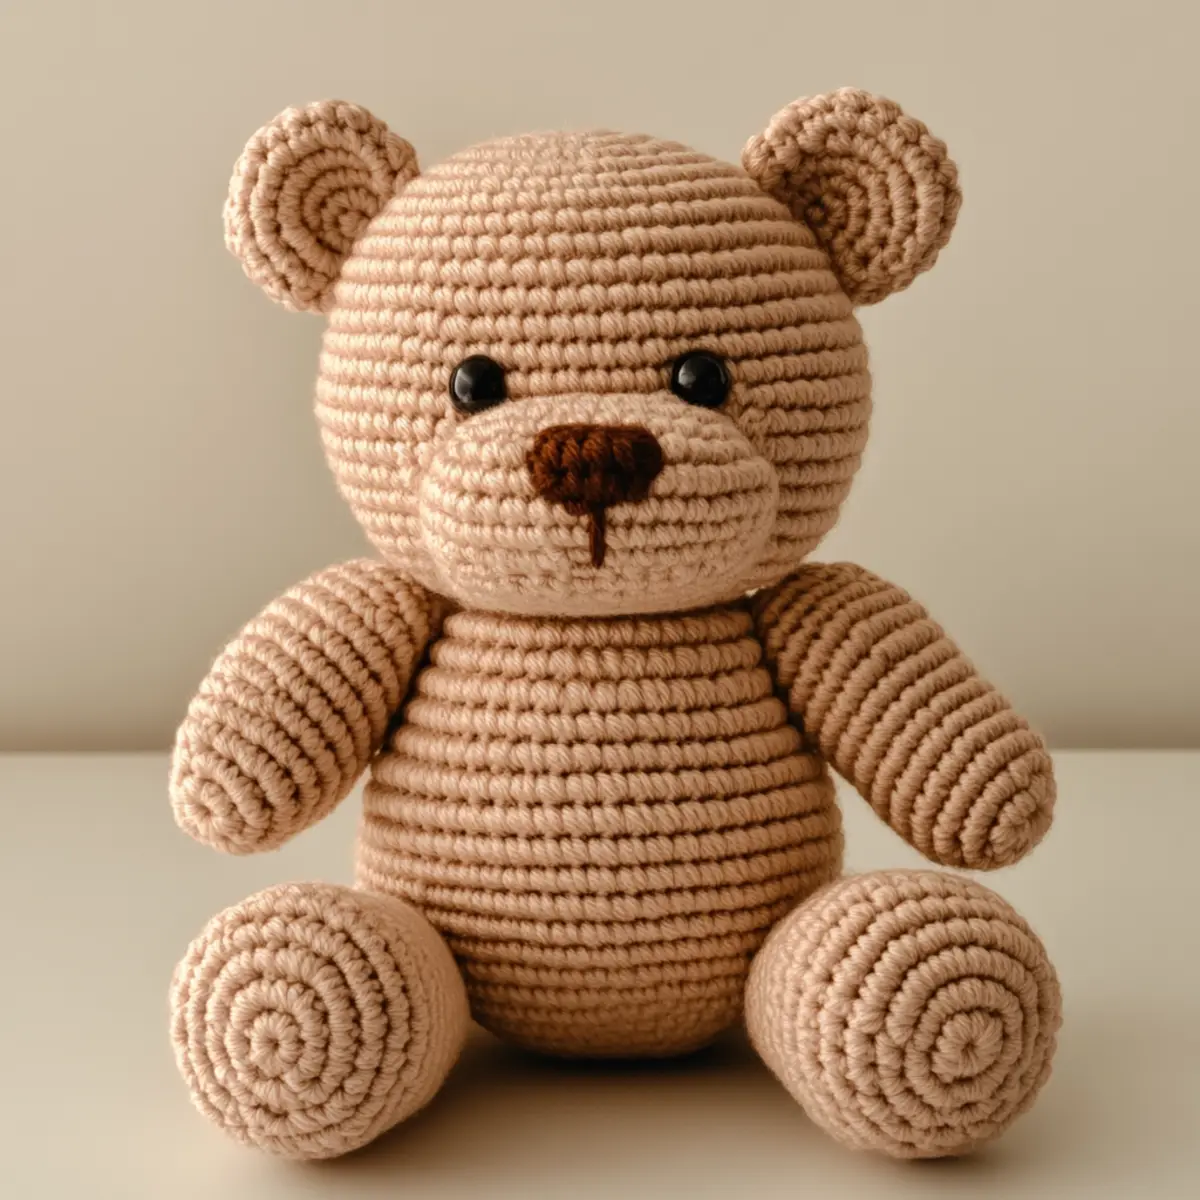
For adorable ears, create two small MR shapes, crocheting 6 in the first round and then increasing properly to get petite, rounded ear shapes. Attach securely to the head with sewing. Keep arms simple with basic sc followed by decreases for shape, and an optional tail using MR for small rounds. Each piece should be securely sewn on for safety and durability, creating a perfect finishing touch to your crochet bear pattern.
How to Wash and Care for Your Crochet Bear Pattern
Machine Washing: Use a gentle cycle on cold, if necessary. Avoid high agitation to keep the bear’s shape intact.
Hand Washing: Hand wash in lukewarm water with mild detergent. Gently squeeze the bear to clean, then rinse thoroughly.
Drying: Lay flat to dry naturally. Avoid hanging or dryer use to prevent any loss of form in your cuddly bear.
Storage: Store your bear in a cool, dry place, away from direct sunlight to prevent color fading and maintain its quality.
Expert Tips for the Best Crochet Bear Pattern
Consistent Tension: Maintain consistent tension throughout your work. Loose stitches can result in a misshapen bear, especially in stuffed areas.
Count Stitches Regularly: Frequently counting stitches can prevent accidental increases or drops, ensuring a smooth, rounded shape and consistent proportion in your crochet bear pattern.
Watch Your Foundation: Starting with a magic ring can be tricky. Make sure it closes tightly to avoid gaps in the bear’s head.
Stuff Evenly: When stuffing your bear, distribute the filling evenly, particularly in the head and limbs, to maintain a solid, cuddly shape.
Separate Assembly: Assembling limbs separately allows for more control. Attach them securely to avoid any wobbly features in your finished crochet bear pattern.
Optional Features: Don’t shy away from adding accessories! Scarves, bows, or even small outfits can make your crochet bear even more special.
Crochet Bear Pattern
If you’re feeling creative, consider customizing this pattern!
-
Cotton Yarn: Opt for cotton instead of acrylic for a firmer, structured bear. This also gives a unique texture that stands out.
-
Pastel Colors: Play with soft pastels or muted shades to create a bear perfect for a nursery decor item.
-
Size Variations: Using a larger hook can turn this pattern into a darling bolster pillow that adds charm to any room. Imagine a big cuddly companion!
-
Accessory Enhancements: Add a mini scarf or a bowtie to your bear for that extra touch of personality, making it more special for the recipient.
-
Texture Modifications: Explore using a furry or fluffy yarn to give the bear a distinct “cloud-like” appearance that’s extra huggable!
-
Safety Features: For younger kids, swap safety eyes for embroidered details for added safety. This allows for a equally adorable, yet safer creation.
-
Personalized Features: Consider adding personalized features like a monogram or dates to commemorate special occasions. This adds sentiment to your crochet bear, making it a treasured keepsake.
-
Seasonal Themes: Create a festive bear dressed in seasonal colors or themed accessories for holidays, making it an adorable gift for any time of year! You can read about other customizable elements to add to your projects.
Crochet Bear Pattern FAQs
Can I use different yarn types?
Absolutely! You can use cotton yarn for a more structured look, or fluffy yarn for a cloud-like texture. Both can yield delightful results!
What size crochet hook should I use?
A size G crochet hook is recommended for worsted weight yarn. It ensures that your stitches are tight enough to hold stuffing securely.
How do I adjust the size of the bear?
To resize, simply alter your starting chain or use a larger hook to create a bigger bear. Adjusting the yarn weight can also impact the final dimensions.
What if my bear is curling?
Don’t panic! Curling can often be fixed by gently blocking the finished bear or adjusting your tension while crocheting.
How do I fix dropped stitches?
If you drop a stitch, you can use a yarn needle to weave it back into the last completed round. Take care to secure it to prevent unraveling.
How can I personalize my crochet bear?
Feel free to change colors or add accessories like a scarf or special embroidery. Customization makes each bear unique and allows you to express your creativity!

Leave a Reply