
The moment I finished my first crocheted pansy flower, I felt an overwhelming sense of joy. The vivid colors and intricate details of these lovely yarn creations turned out beautifully, sparking my imagination and planting seeds for countless projects. Crocheting pansy flowers not only awakens your creative spirit but also serves as a delightful stash-buster, perfect for using up leftover yarn. These floral motifs lend a charming touch to all sorts of items, from hats and bags to home décor, making them truly versatile. Each flower is a small masterpiece, serving as a reminder of spring’s beauty. As I experimented with various yarns and colors, I found that the final results were as unique as the yarn I selected. The best part? You can customize them to fit your style or seasonal themes with ease. Dive into the world of crochet pansy flowers with me, and let your creativity blossom!
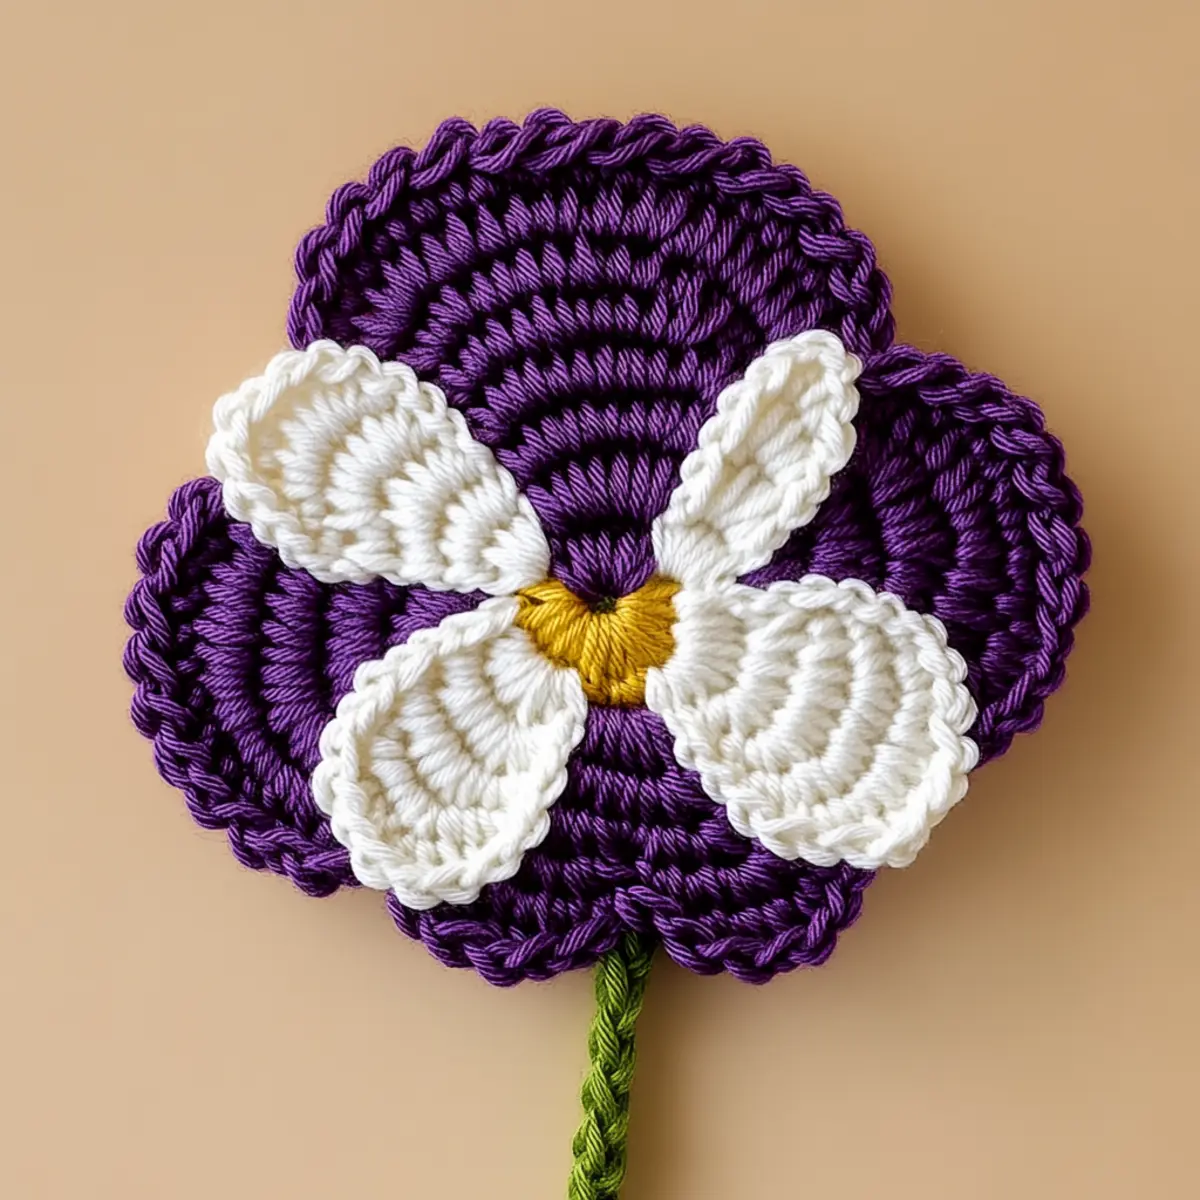
Crochet Pansy Flowers Materials & Tools
Yarn
- Medium worsted weight yarn – approximately 100 yards is needed for making multiple crochet pansy flowers using leftover yarn to create vibrant pieces.
- Cotton or acrylic blend – for durability and rich color vibrance, ensuring the flowers maintain their form and beauty.
Tools & Notions
- 5.0 mm (H-8) hook – a standard size that works beautifully when creating your crochet pansy flowers.
- Yarn needle – essential for weaving in the ends, making for a neat and polished finish.
- Small safety eyes – for added detail if you want to give your flowers a whimsical character.
- Floral wire – optional, to provide structural support for your finished pansy flowers if desired.
Why You’ll Love This Pattern
Versatility is one of the standout features of the crochet pansy flowers. You can embellish anything from clothing to home décor with these charming motifs. The simplicity of the pattern makes it accessible for intermediate crocheters, while still offering enough texture to keep experienced crafters engaged. Additionally, they are stash-friendly; you can experiment with various yarns and colors, mixing and matching to create your perfect flowers. Our guide on customizing colors is an excellent resource to help you explore this creative avenue. The pansy flowers also have substantial aesthetic appeal, adding a whimsical touch to your projects. Plus, the quick turn-around time means you can whip up a bunch for your next spring brunch or gift-giving occasion in no time. Don’t forget to check out our tips on blocking your flowers to enhance their shape and finish!
Gauge & Sizing Notes for Crochet Pansy Flowers
When creating crochet pansy flowers, checking your tension is crucial for achieving uniformity among your blooms. A standard gauge measurement to aim for is 4×4 inches (10×10 cm) using medium worsted weight yarn (Category 4). If your swatch does not match, adjust your hook size; larger hooks will yield bigger flowers and finer detail. If you wish to resize your pansy project, simply alter the number of starting chains or rounds when creating the petals. The finished flowers typically measure about 4-6 inches in diameter, making them versatile for many applications such as attaching to bags or decorating home accents. Remember, consistency in your tension is key to ensuring that your crochet pansy flowers appear beautiful and cohesive whether used as standalone pieces or in a cluster.
Step-by-Step Pattern for Crochet Pansy Flowers
Row 1: Create the Center Begin with a magic ring. Chain 3 (counts as first dc), and then work 11 dc into the ring, yarning over twice for a total of 12 stitches. Pull the magic ring tight and sl st to the top of the starting ch (12 dcs).
Row 2: Form the Base Start with ch 2 (counts as first hdc). Work 1 hdc into each dc from the previous row, adding a hdc into the ring for extra stability. Close with a sl st in the top of starting ch (13 hdc).
Row 3: Petal Base Ch 3 (counts as first dc). In the same stitch, work 2 more dc, followed by a sl st in the next stitch. For the next petal, repeat this action, forming 5 petals total around the base (15 total stitches).
Row 4: Build the Petals Ch 2 (counts as first half double crochet). In the same stitch, work 1 hdc and 2 dc, followed by a sl st to form the petal’s tip. Repeat for each petal, ensuring uniformity, finishing with 5 petals (25 stitches).
Row 5: Color Changes If you’d like to add variegated effects, switch yarn. To start, repeat the process previously with a new color for each petal. Ensure to secure yarn tails as you go (5 petals total).
Row 6: Create Depth Ch 2 for the next round, and work 2 dc in the tip of each petal. This adds texture and height, giving the flower dimensionality. Remember to sl st in each petal’s base (30 stitches).
Row 7: Adding Flair Introduce embellishments by attaching small safety eyes in the center, if desired. This playful detail will give your crochet pansy flowers character and charm, perfect for various projects.
Row 8: Sewing Together Once finished, cut a long tail for sewing. Use a yarn needle to join flowers at varied angles. This technique allows for a natural bouquet effect, ideal for home decor. Secure tightly to prevent disassembly.
Row 9: Adjusting Size If you wish to make larger pansy flowers, simply use a larger hook size (like 6.0 mm). This adjustment will yield bigger blooms, making an eye-catching statement when clustered together.
Row 10: Blocking Technique After finishing, consider lightly blocking your flowers. This process is essential for cotton yarn; it sets the shape and holds the design in place, especially after you’ve sewn them together.
Row 11: Experiment with Colors As you crochet more pansies, test out different color schemes. Mix pastel or deep jewel tones to create seasonal arrangements. Each variation can dramatically affect the charm of your arrangement.
Row 12: Final Touches Add beads or buttons in the centers for an extra pop of charm. This little detail transforms the pansy flowers into standout pieces that capture attention and express your unique crafting style.
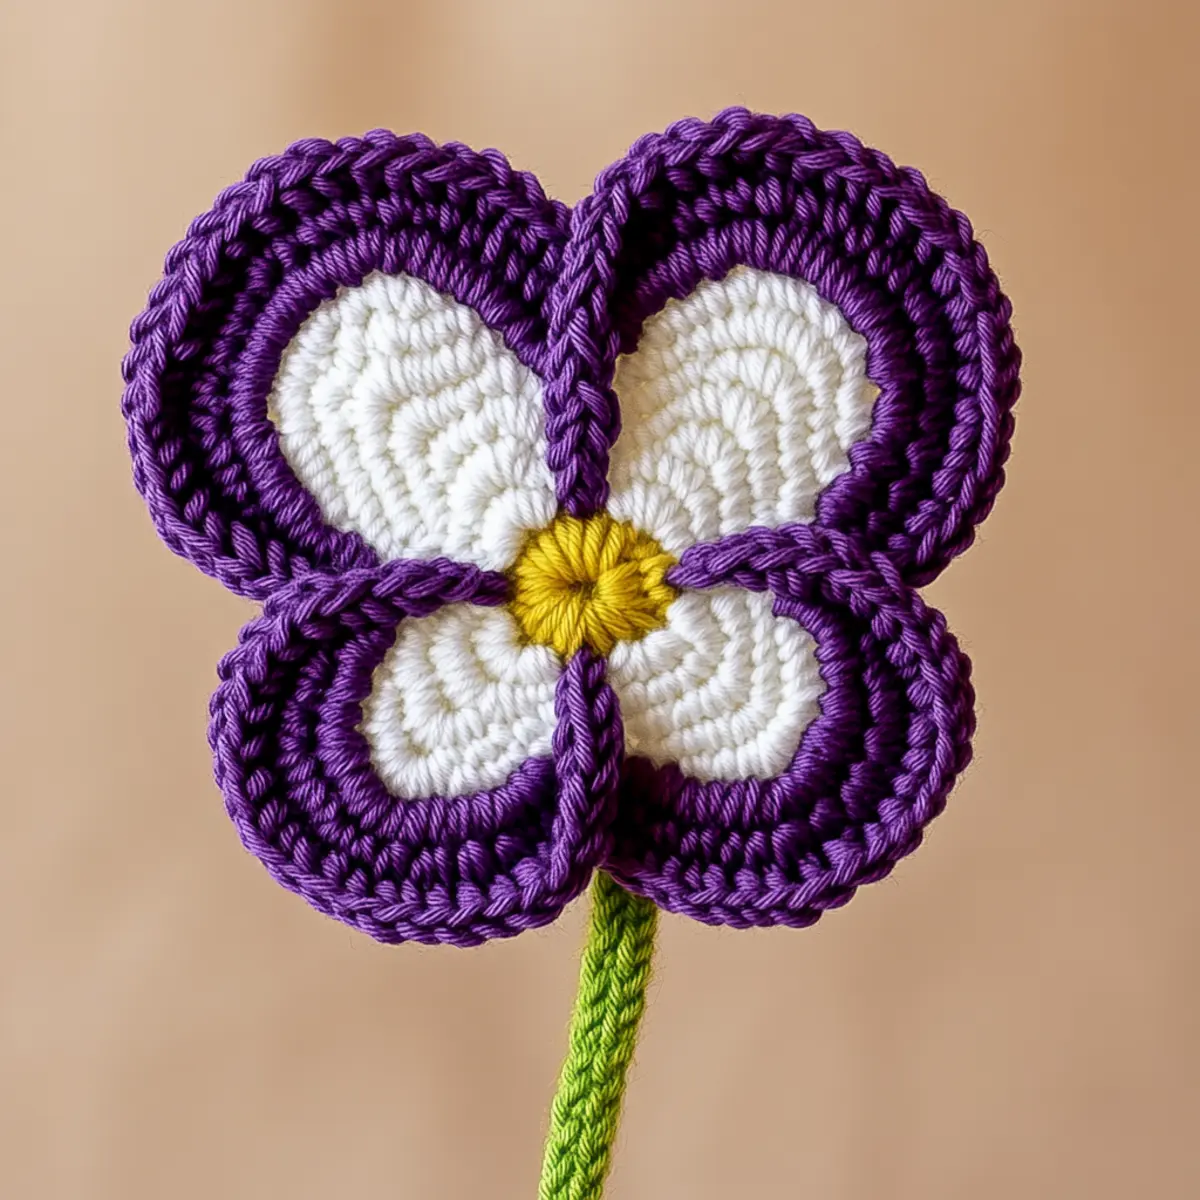
Helpful Tricks for Crochet Pansy Flowers
Stitch Markers: Use stitch markers to keep track of your petal counts while crocheting crochet pansy flowers. This will help maintain the correct count and ensure uniform petals.
Maintain Tension: Consistency in tension is essential for achieving even flower sizes. Dropped stitches can lead to an uneven appearance, so keep your tension steady throughout.
Twisted Chains: Be mindful of twisted foundation chains; they can alter the shape of your pansy. Always double-check that your chain is flat before proceeding with the first round.
Color Changes: When incorporating multiple colors, secure any yarn tails as you go. This prevents loose ends from showing in your final crochet pansy flowers.
Blocking: Don’t skip blocking your finished flowers! A good blocking helps shape the petals and sets the finished look beautifully, especially if using cotton yarn.
crochet pansy flowers variations
Feel free to let your creativity shine with these fun variations for your crochet pansy flowers!
- Color-blocking: Combine vibrant colors in a single flower for a dramatic effect. This method creates unique designs perfect for seasonal decor.
- Larger Hooks: Use a 6.0 mm hook to achieve bigger blooms. These larger flowers can make stunning statement pieces in your arrangements.
- Texture Mixing: Swap your yarn for a fuzzy novelty yarn. This will add depth and interest to your flowers, making them visually striking.
- Petal Details: Add small buttons or beads at the center of each flower. Adding these embellishments enhances the flower’s character while catching light and attention.
- Seasonal Themes: Experiment with pastel shades for spring or jewel tones for fall. These seasonal color choices allow you to create arrangements that celebrate the time of year, enhancing your decor.
- Floral Wire Use: Incorporate floral wire within the petals for added structure. This modification makes your flowers suitable for arrangements or bouquets.
- Layered Flowers: Create a cluster of various-sized pansy flowers sewn together. This technique produces a visually appealing bouquet that could serve as a charming centerpiece.
- Miniature Versions: Crochet smaller pansy flowers using a 4.0 mm hook for delicate accents on accessories like hairpins or brooches. These tiny blooms can add a touch of whimsy to everyday items.
Additionally, make sure to check the Helpful Tips for more guidance on achieving the best results as you experiment with these variations.
How to Wash and Care for Your Crochet Pansy Flowers
Machine Washing: If you choose to machine wash your crochet pansy flowers, ensure they’re placed in a mesh laundry bag. Use a gentle cycle with cold water to avoid damage.
Hand Washing: Hand wash in cold water with mild detergent to preserve the colors and shape of your crochet pansy flowers. Gently squeeze without twisting to keep the integrity of the stitches.
Drying: Lay your flowers flat on a towel to dry. Avoid hanging them up, which might stretch the petals out of shape and damage the delicate design.
Storage: Store your crochet pansy flowers in a cool, dry place to prevent dust accumulation. Consider using a breathable fabric bag to keep their shape intact.
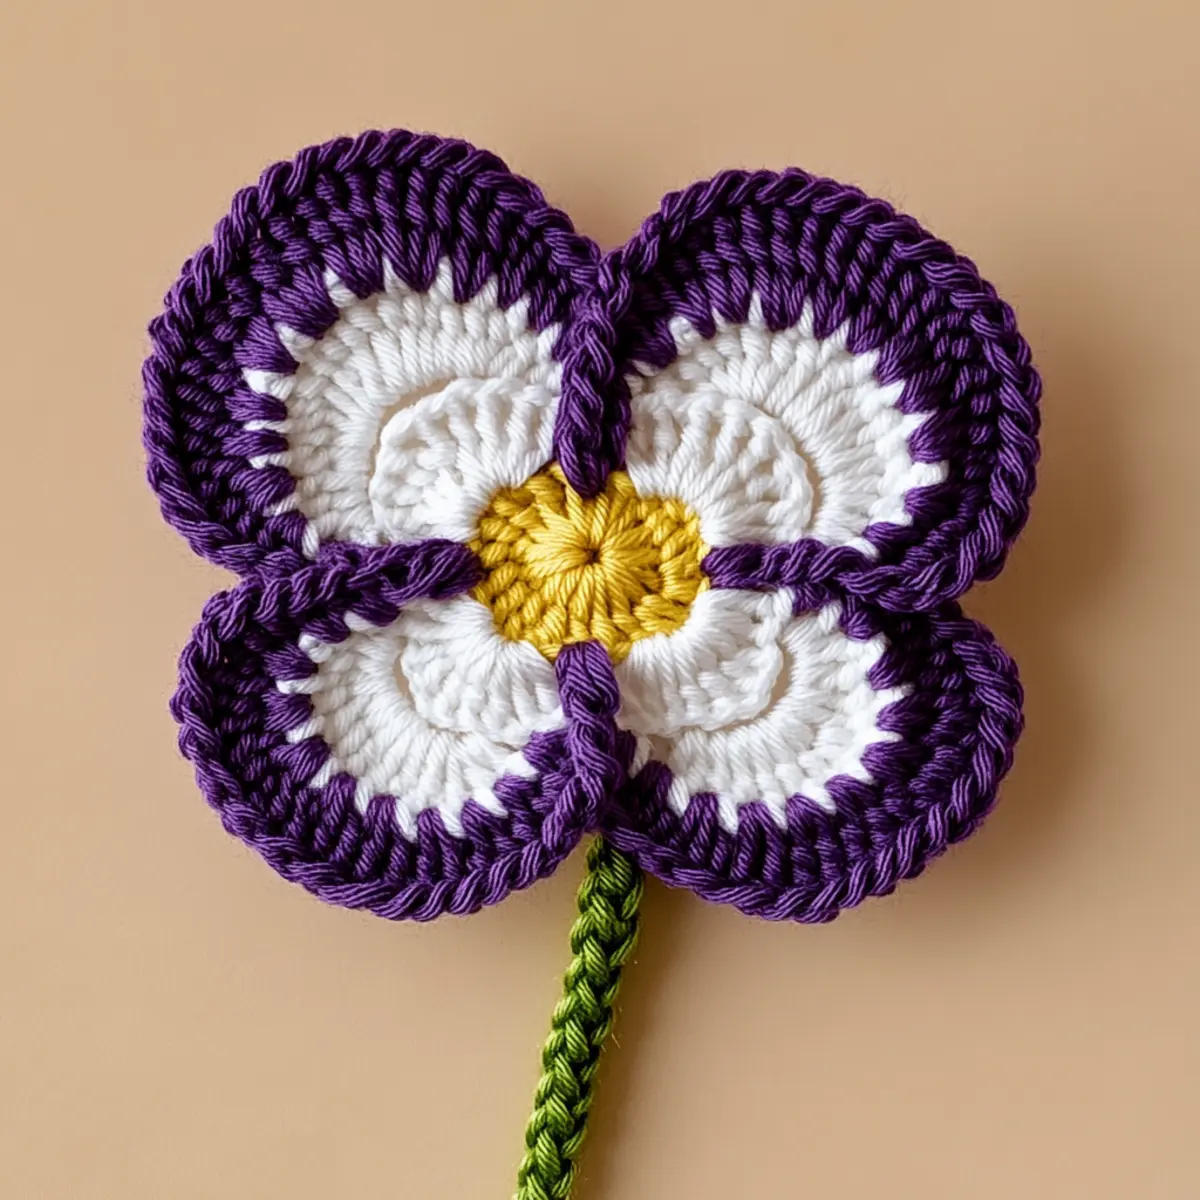
Crochet Pansy Flowers FAQs
Can I substitute yarn for this project?
Absolutely! You can use any medium worsted weight yarn, such as a cotton or acrylic blend. Just be aware that different materials may affect the final flower’s appearance and durability.
How do I adjust the size of my crochet pansy flowers?
You can adjust the size by changing the hook size you use. A larger hook, such as a 6.0 mm, will yield bigger blooms, which can be stunning for statement pieces.
What to do if my flowers are curling up?
Don’t panic! If your flowers are curling at the edges, they may need blocking. Use a steam iron on a low setting or lightly mist with water and pin them to shape until dry.
What hook size is recommended for this pattern?
For the crochet pansy flowers, a 5.0 mm (H-8) hook is recommended. This size works well with medium worsted weight yarn for a balanced tension and attractive finish.
How can I prevent dropped stitches while crocheting?
To prevent dropped stitches, focus on maintaining a steady tension, and don’t rush through your stitches. Using stitch markers can help you track where you’ve left off.
Can I make these flowers larger or smaller?
Yes! You can easily customize the size of your flowers by either changing the amount of starting chains or adjusting the hook size. Experimenting will yield delightful variations!

Leave a Reply