
As I settle into my favorite crochet nook, I can’t help but be captivated by the beautiful hues of spring blooming outside my window. The air is warming up, whispering of vibrant flowers and blooming creativity. Inspired, I picked up my hook and yarn to craft a delightful crochet hydrangea flower—a whimsical creation that perfectly encapsulates the essence of nature’s intricate blooms. This project not only serves as a fantastic way to indulge in your creative side, but it also allows you to experiment with various color palettes, making it entirely your own! With its quick stitches and cozy charm, this pattern is ideal for crafters eager to enhance their skill sets and produce unique decorative pieces. The finished flowers can be arranged in countless ways, from hair accessories to stunning home decor. Curious about how to inject a touch of nature into your creations? Let’s dive into this enchanting pattern together!
Crochet Hydrangea Flower Materials & Tools
Yarn
Lightweight DK yarn – Ideally, use cotton or acrylic blends in pastel shades that mimic the delicate look of real hydrangeas. Aim for 50-100 yards per flower for a well-defined crochet hydrangea flower.
Tools & Notions
3.0 mm (G-6 US) crochet hook – This size allows for neat, tiny stitches essential to achieving the flower’s intricate design.
Stitch markers – Use these to help track rounds for easy assembly.
Tapestry needle – Perfect for weaving in ends and adding any embellishments once your flower is complete.
Safety eyes (optional) – Add a whimsical touch to your flowers if you decide to turn them into charming accessories.
What Makes This Crochet Hydrangea Flower Special?
Versatility takes center stage with this crochet hydrangea flower pattern. Not only is it perfect for embellishing bags or accessories, but you can also use it as standalone decor! Simplicity is key here, as the instructions can be easily followed by crafters with some prior experience. Plus, crafting these flowers can be a relaxing way to unleash your creativity and play with yarn, as you bring your visions to life. The aesthetic appeal is undeniable; vibrant colors and intricate stitch work create blooms that evoke the beauty of real hydrangeas. You can even explore yarn substitutions to find the perfect hues that match your style! Finally, the stash-friendly nature of this project means you can use scraps of yarn, making it a true stash-buster while honing your skills.
Gauge & Sizing Notes for Crochet Hydrangea Flower
For a crochet hydrangea flower, checking your tension is crucial. A 4×4 inch (10×10 cm) gauge swatch should have roughly 12 dc and 16 rows to ensure your flowers maintain the desirable size and shape throughout the project. If your gauge is larger, consider using a smaller crochet hook to tighten your stitches; if it’s smaller, adjust upward for the right size. This allows for a consistent finish across your floral creations. When resizing, adjust the initial chain or the rounds worked to achieve your desired dimensions. Since the crochet hydrangea flower can showcase stunning detail, maintaining correct measurements is key. If your swatch doesn’t match, it might also affect the flower’s final appearance and assembly. Keep in mind that with practice, you’ll develop the ability to customize sizes to suit your projects perfectly!
Step-by-Step Pattern for Crochet Hydrangea Flower
Row 1: Create the Center
Start with a magic ring. Ch 3 (counts as dc), then work 11 more dc into the ring. Pull tight to close ring. You should have 12 dc total. (12 dc)
Row 2: Forming the Petals
Ch 2, then work 2 dc in the next st, 2 dc in next st repeated until end. Join with sl st to the top of the beginning ch 2. You will have 24 dc at the end. (24 dc)
Row 3: Building Texture
Ch 3, (counts as dc), then work 1 dc in the next 9 st. In the following st, work (2 dc, ch 2, 2 dc) for a petal, then repeat. Join with sl st and you should have a total of 4 petals. (4 petals)
Row 4: Adding More Detail
Ch 1, then work 1 hdc in each dc around for a soft texture, sl st to join back to beginning. This adds height and form to the flowers. (24 hdc)
Row 5: Layering Petals
Ch 2, work 2 dc in the first st, then 1 dc in the next 2 sts. In the next st (the fourth), work (2 dc, ch 2, 2 dc). Repeat around, enhancing the petal count with a total of 8 petals now. (8 petals)
Row 6: Forming Leaves
Ch 2, work (hdc, dc, hdc) in the same stitch for the first leaf. Sk 1 st, then repeat for a total of 4 leaves. This embellishes your hydrangea nicely. (4 leaves)
Row 7: Joining Petals
Join the two layers of petals with sl st in the front loops only. This will help create dimension and texture. Check your evenness as you go. Total petals remain at 8. (8 petals)
Row 8: Final Touch with Detail
Ch 1, work sl st around for a finished, clean edge. This helps keep everything held in place and gives a polished look to your crochet hydrangea flower. (24 sl st)
Row 9: Optional Beading
Add small beads in the center or along petals for a fun flair. This step is customizable—swapping colors or adding sparkle can give your flower character. (Varies)
Row 10: Blocking the Flower
Gently steam block the flower to shape the petals. Use a damp cloth and an iron on low to enhance the final look. This brings out the intricacies of your crochet work. (Varies)
Row 11: Weaving in Ends
Use a tapestry needle to weave in all loose ends for a tidy finish. This small step ensures your flower looks professional and is ready for display. (Varies)
Row 12: Make a Wreath
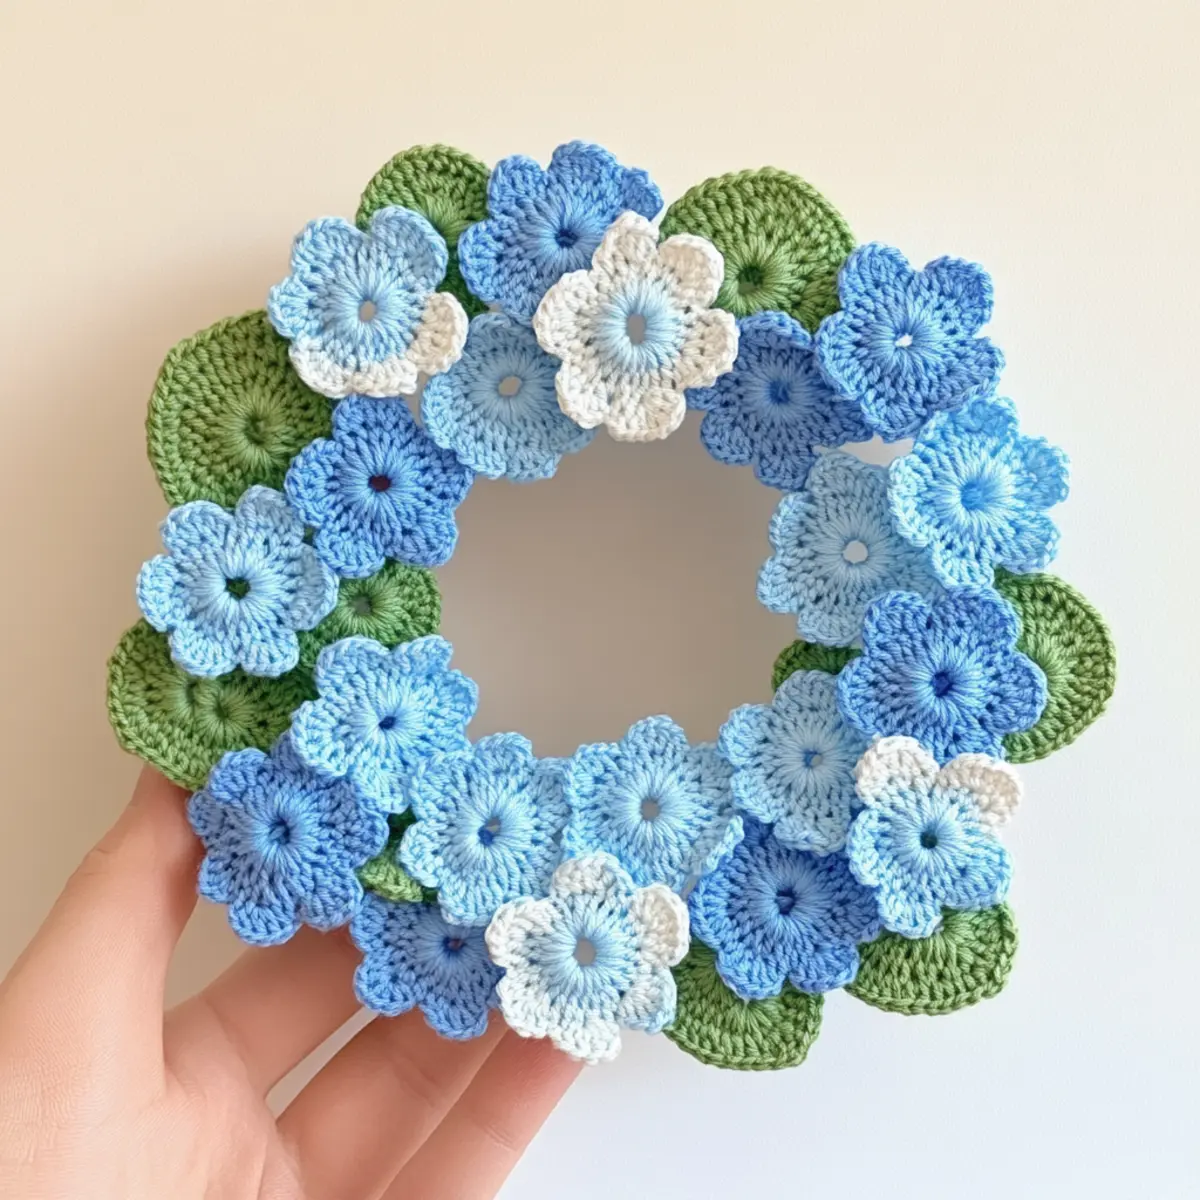
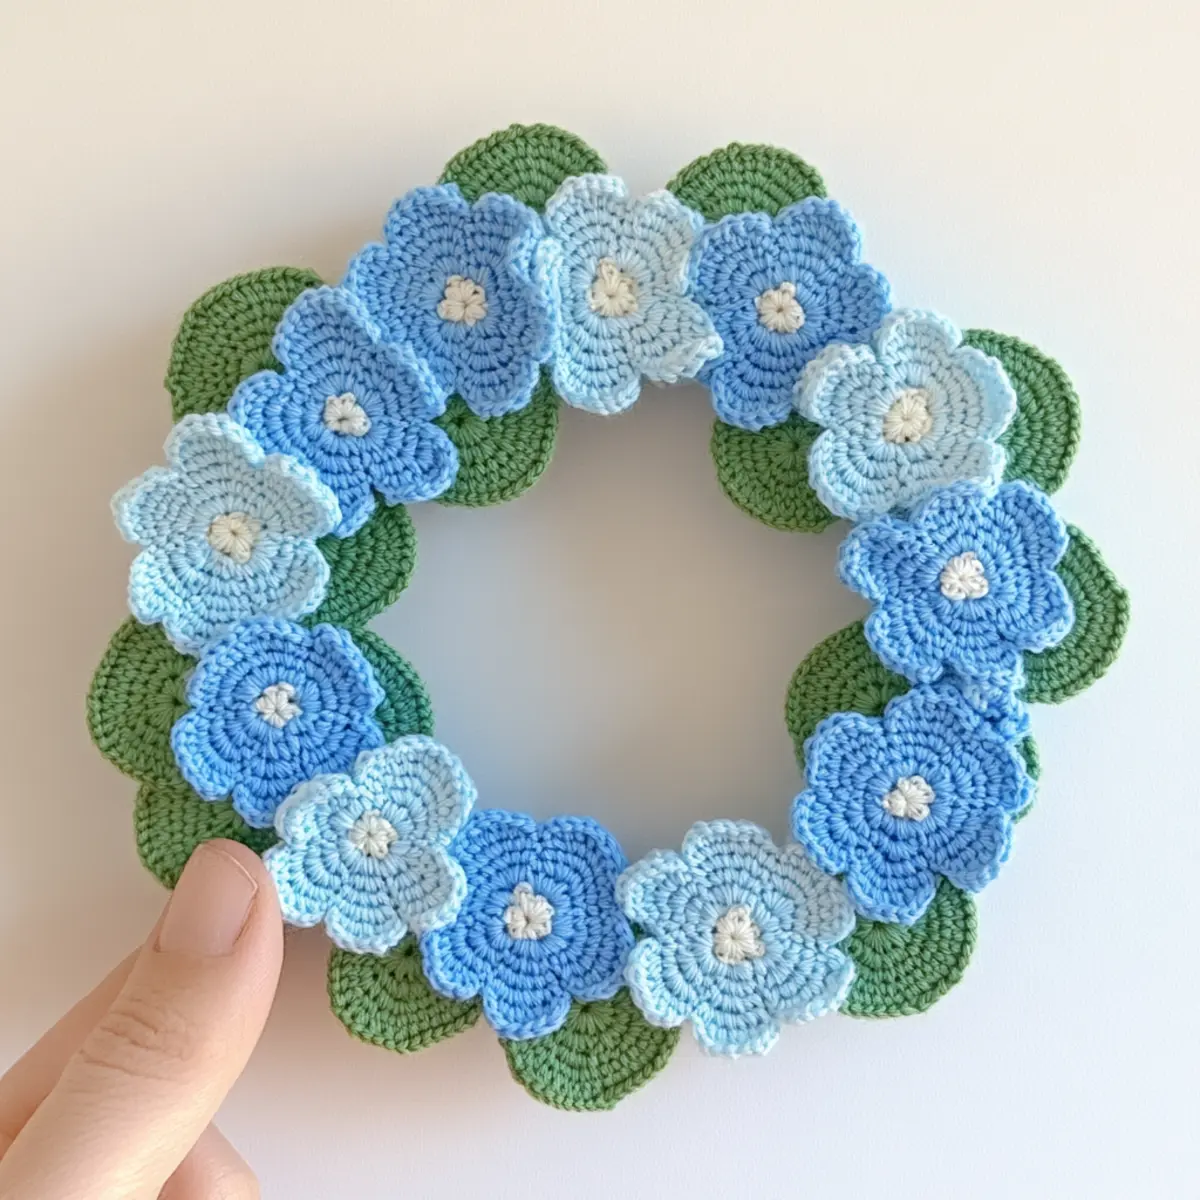
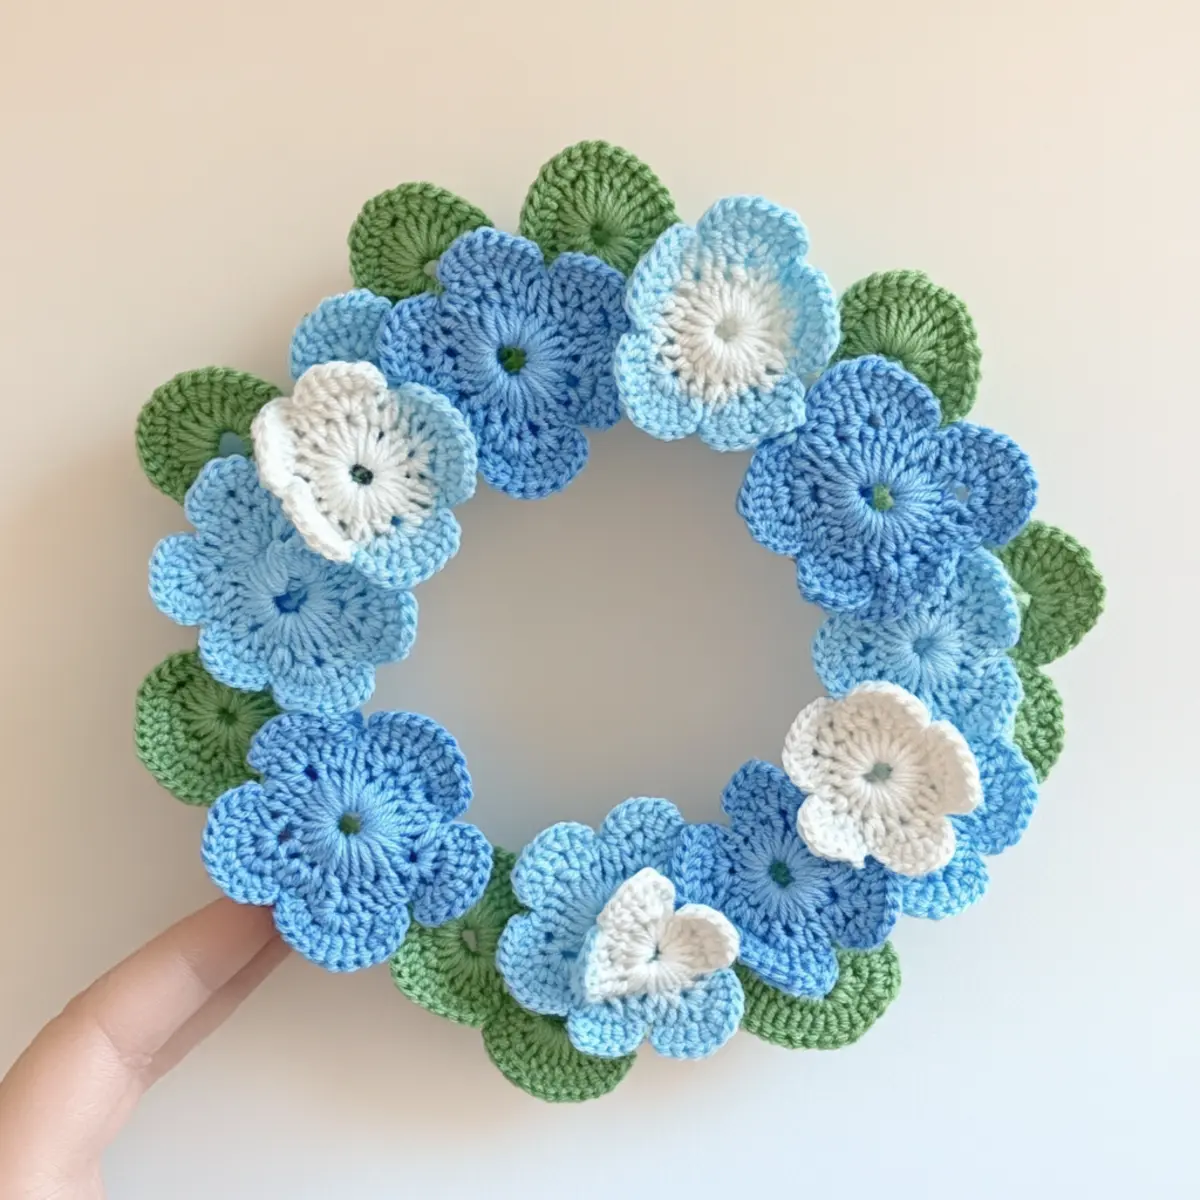
Take multiple flowers and secure them to a wreath base with slip stitches. Arrange to create a unique centerpiece or wall decoration. Showcase your crochet hydrangea flowers proudly! (Varies)
How to Wash and Care for Your Crochet Hydrangea Flower
Machine Washing: Use a gentle cycle in cold water. Place your crochet hydrangea flower in a mesh laundry bag to prevent snagging and agitation.
Hand Washing: Gently wash the flower in cold water with mild detergent; avoid scrubbing to prevent damage to your delicate stitches.
Drying: Always lay the flower flat on a clean, dry towel to air dry. Avoid twisting or wringing to maintain the shape of your crochet hydrangea flower.
Blocking Care: If blocked, steam gently with a damp cloth to maintain the beautiful petal shape. This helps accentuate the intricate details.
Expert Tips for the Best Crochet Hydrangea Flower
Tension Control: Maintaining even tension is crucial for a delicate appearance; avoid tight or loose stitches to achieve beautiful petals.
Use Stitch Markers: Place stitch markers to signify the start of each round. This will keep you organized and prevent confusion when working on clusters.
Avoid Dropped Stitches: Be mindful of your hook size; using a too-small hook can lead to dropped stitches. Ensure your hook is comfortable for your chosen yarn.
Twisted Chains: When starting with a magic ring, ensure that the ring is not twisted; a twisted foundation chain can affect the flower’s shape.
Blocking: Always block your finished flowers. This helps to flatten the petals and enhances the overall design of your crochet hydrangea flower, showcasing its intricate details.
Crochet Hydrangea Flower Variations
Feel free to let your creativity flow by customizing the crochet hydrangea flower! Try these fun variations:
- Yarn Swaps: Opt for a wool or alpaca blend for richer textures and warmth. Even a bamboo yarn can add a unique sheen!
- Color-Blocking: Combine multiple colors in each flower. Experimenting with vibrant hues like coral or teal can create an eye-catching impact.
- Sizing Modifications: Adjust your hook size; a smaller hook will yield tighter petals, while a larger hook creates a fluffier blossom.
- Textured Petals: Integrate stitches like puff stitches or bobbles for a more visually dynamic surface that mimics real hydrangeas.
- Beaded Embellishments: Adding beads or sequins along the petals transforms your hydrangea into a sparkling masterpiece suitable for special occasions. Imagine a wreath adorned for a spring wedding!
- Layering Designs: Experiment with stacking multiple flowers of varying sizes to create a dimensional bouquet. This adds visual interest to your projects.
- Leaf Variations: You may also consider different leaf shapes such as pointy or rounded; this will change the overall feel of your hydrangea flower.
- Unique Centers: Swap in a button or a felt circle in the center for a playful twist! This modification is particularly fun for kids’ accessories or bright decor.
Crochet Hydrangea Flower FAQs
Can I substitute yarn types for this pattern?
Absolutely! You can experiment with cotton, acrylic, or any blend you prefer. Just ensure that your yarn weight is similar to DK for best results.
What if my flowers curl at the edges?
Don’t panic! Curling can often be fixed by blocking the flowers. Steam block them gently to enhance their shape and flatten the petals.
How do I adjust the size of my crochet hydrangea flower?
To resize, adjust your hook size or follow the gauge recommendations. A larger hook may provide a looser flower, while a smaller hook results in tighter, smaller petals.
What hook size should I use?
For this project, a 3.0 mm (G-6 US) crochet hook works best. It creates tight stitches that are crucial for displaying the flower’s intricate details.
How do I prevent dropped stitches during assembly?
Keeping your tension consistent and counting stitches throughout will help. Always check your work after every round to catch any dropped stitches early.
Can I add embellishments to my crochet hydrangea flower?
Absolutely! You can incorporate beads or embroidery to give each flower a unique flair. Feel free to customize the design to fit your personal style!

Leave a Reply