
Stepping into the world of crochet projects brings a certain thrill, one that can be felt in the tip of your fingers as yarn glides through your hands. My latest adventure? Crafting adorable baby crochet rompers that are perfect for the tiny tots in our lives. These rompers offer two standout benefits: they’re a quick project that you can whip up in no time, making them perfect for last-minute gifts, and they’re the ultimate stash-buster, allowing you to use up those beautiful leftover yarns creatively. The joy of creating something so personal and practical for new parents is immeasurable. Plus, the intricate details provide just the right amount of challenge for those ready to level up their crochet skills. Imagine the smiles when gifting these charming pieces—that’s the kind of magic yarn brings. Curious to learn more about how to make these delightful rompers? Let’s dive into the stitches and techniques that will help you create beautiful keepsakes for your loved ones.
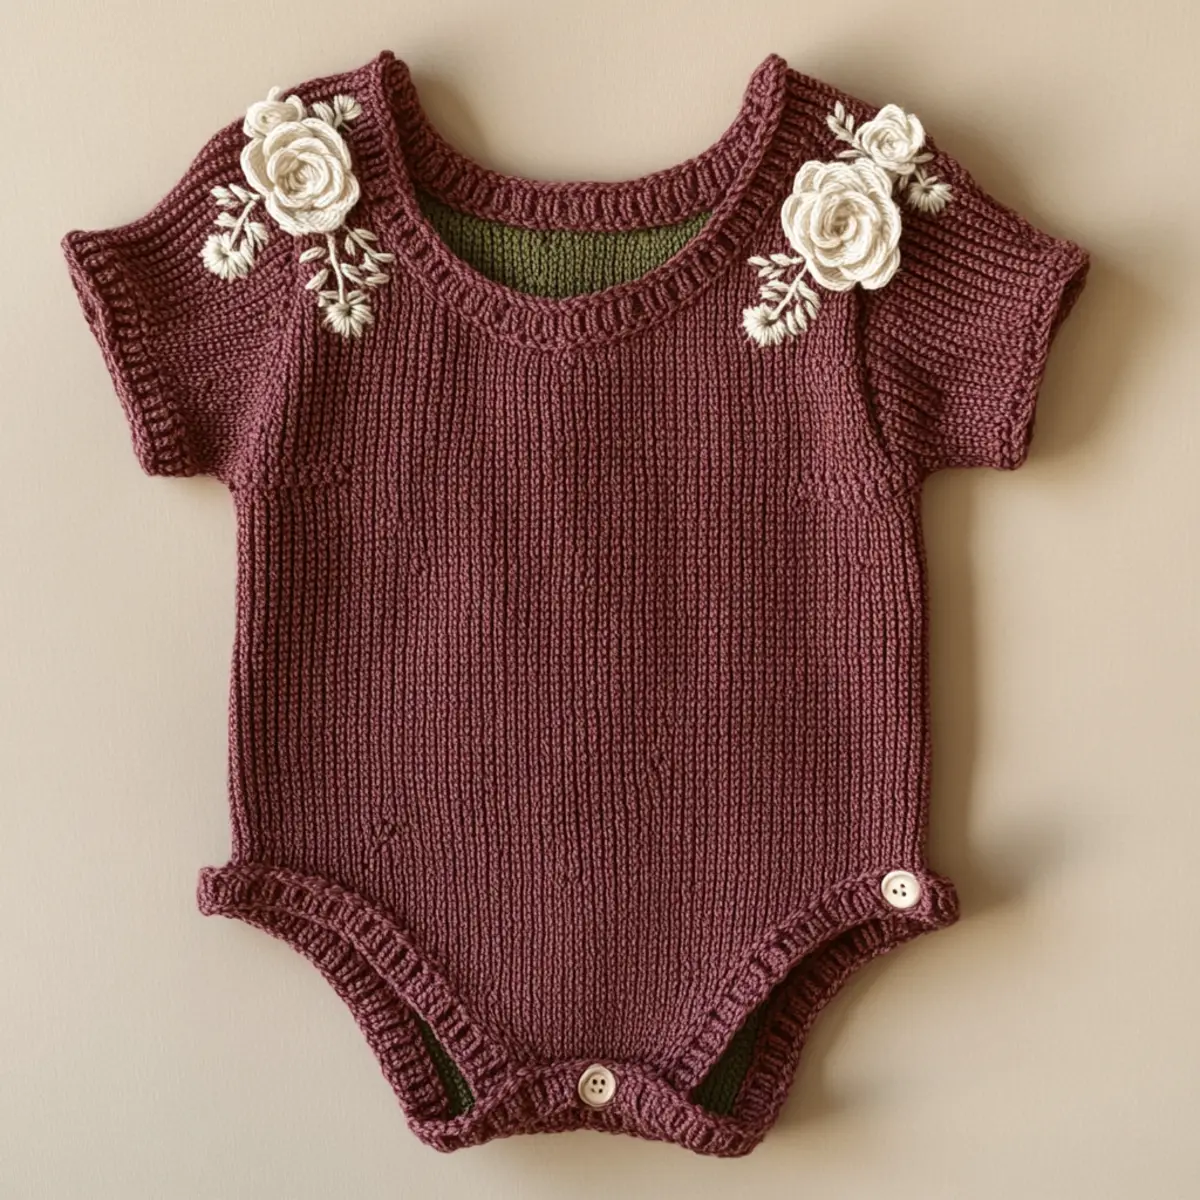
Baby Crochet Rompers Materials & Tools
Yarn
Light worsted (DK) yarn – Use approximately 300-400 yards for each romper; choose 100% cotton or a cotton blend for softness and breathability.
Tools & Notions
4 mm (US G) crochet hook – Recommended for achieving tight stitches.
Small buttons – For fastening at the crotch and shoulder straps; choose fun shapes to add charm.
Embroidery thread – For adding floral motifs and further embellishments to your rompers.
Stitch marker – Keep track of your rounds for a symmetrical ruffle design.
Gauge measuring tool – Helpful to maintain consistent tension and achieve the desired size.
What Makes These Baby Rompers Special?
Versatility is at the heart of these projects; they can be designed for both casual outings and special occasions, lending themselves beautifully to any event. Customization is key; the pattern allows you to mix and match colors and embellishments, turning each romper into a unique piece of art that reflects your style. Simplicity makes them beginner-friendly while introducing fun techniques like cluster stitches for added texture that even seasoned crafters will appreciate. Plus, this project is incredibly stash-friendly—use up those odd skeins lying around and create stunning garments for little ones. Need a little inspiration? Check out our guide on crochet stitches to master to enhance your skills. Finally, these rompers are designed to be both trendy and comfortable, ensuring that your little ones look adorable while enjoying the cozy feel of handmade attire. You’ll love how quickly they come together, making them a favorite in your crafting repertoire!
Gauge & Sizing Notes for Baby Crochet Rompers
Checking your tension is crucial when making baby crochet rompers to ensure they fit perfectly and are comfy for little ones. The standard gauge for this project is 4×4 inches (10×10 cm) using the recommended 4 mm (US G) crochet hook, aiming for approximately 15 sc and 18 dc stitches in this section. Adjust your starting chain and stitches if necessary to create the perfect fit; remember, an increase of 2-3 stitches will help accommodate larger sizes perfectly. If your gauge swatch doesn’t match, consider trying a different hook size to achieve the proper tension. These adjustments are vital not just for aesthetics but also for the comfort and freedom of movement in the romper. With baby crochet rompers being a cherished item, taking the time to achieve the correct gauge will ensure that your finished product is the standout piece you envisioned.
Step-by-Step Pattern for Baby Crochet Rompers
Row 1: Foundation Chain
Start by chaining 30 (or adjust for size) using light worsted yarn. This will serve as the foundation for the romper, forming the base to create a cozy and snug fit around your baby’s waist.
Row 2: Join and Start Round
Join the last chain to the first with a sl st to form a circle. This creates a solid base, ensuring there are no gaps and that your baby crochet rompers body will be seamless as you work in the round.
Row 3: Single Crochet Round
Begin with a sc in each stitch around (30 sc total). Working in the round gives a well-fitted body without seams. Make sure your stitches are even, as this will be visible in the overall shape of the romper.
Row 4: Increase for Armholes
Continue with sc until you reach the desired length for the bodice. At the last stitch before the armhole, inc by adding an extra sc, which allows for snug armholes. You should have around 33-35 stitches at the end of this round.
Row 5: DC for Texture
Change to double crochet (dc) stitch for added texture to the romper. dc in each stitch around (33-35 dc total). The height of these stitches will create a lovely drape suitable for little ones’ mobility.
Row 6: Ruffle Shoulder Straps
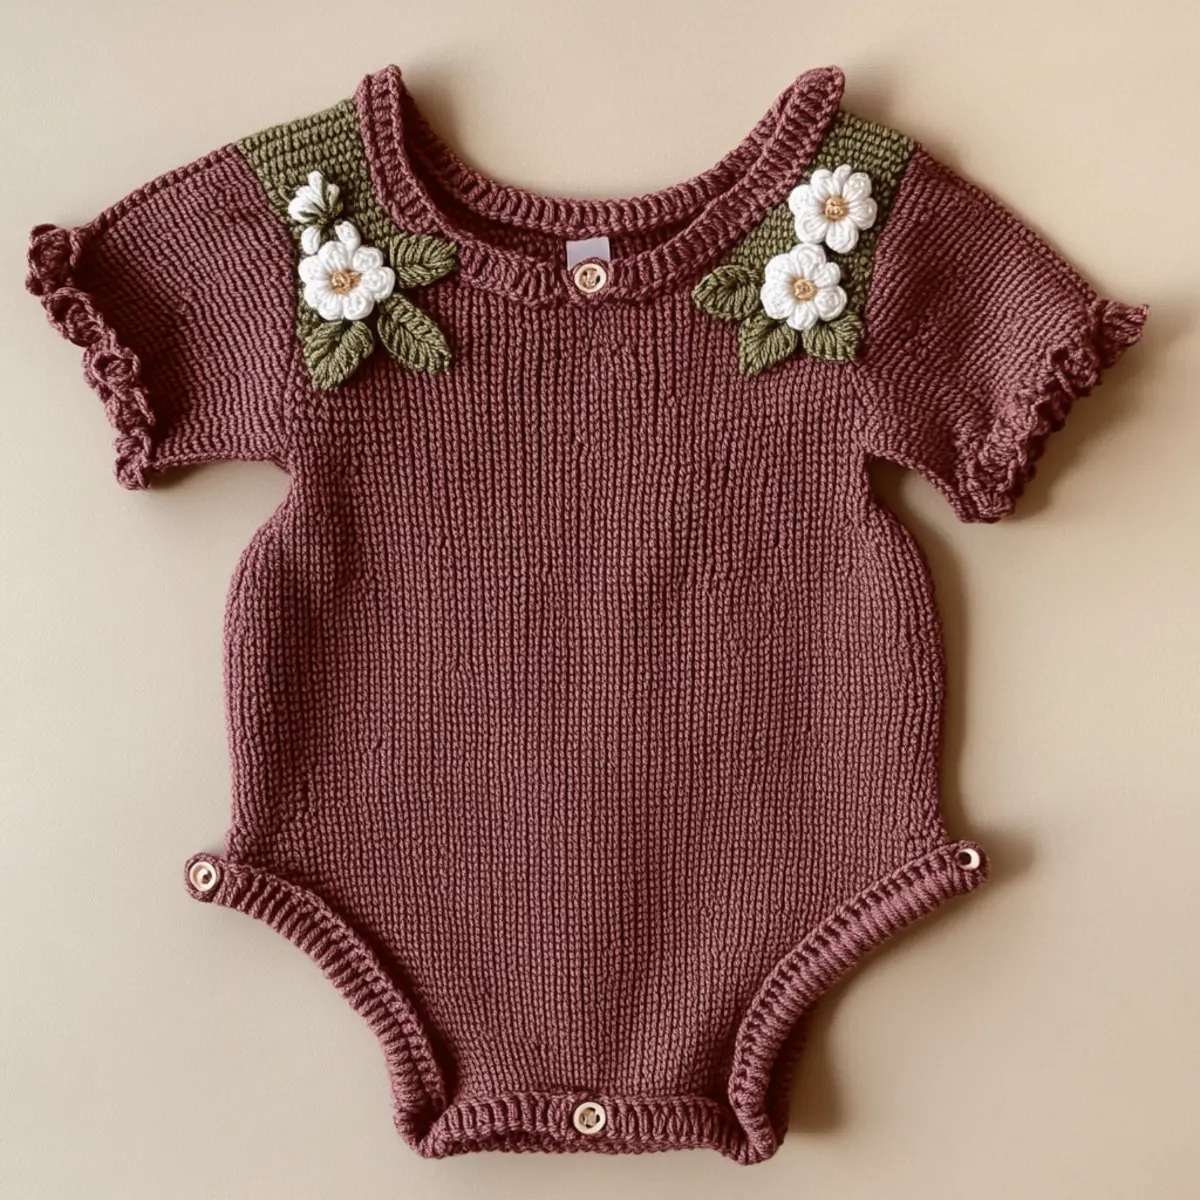
Now, create the shoulder straps by chaining 8 and starting clusters along the edges. 3 dc in the same stitch for a ruffled effect. Repeat this twice for both shoulder straps, making sure they match for even ruffles.
Row 7: Join Straps
Attach the shoulder straps at the back with a sl st and ensure they are securely fastened. Busy little ones need securely joined straps for comfort. Measure against your baby for proper fit, ensuring no extra looseness.
Row 8: Crochet the Bodice
Once the straps are secure, continue working in the round for the bodice. sc 2 in each strap gap to maintain structure. Continue until you reach desired height, maintaining 33-35 stitches for uniformity.
Row 9: Create Leg Openings
Start working on leg openings by crocheting hdc around the bottom. This will create a neat finishing edge that prevents fraying. Adjust the stitch count if necessary, aiming for identical openings (around 30-32 hdc).
Row 10: Button Holes
Add buttonholes near the crotch area by chaining 2 and skipping a stitch before continuing hdc around. This will allow you to attach small buttons later. Remember the placement for practicality!
Row 11: Final Finishing Touches
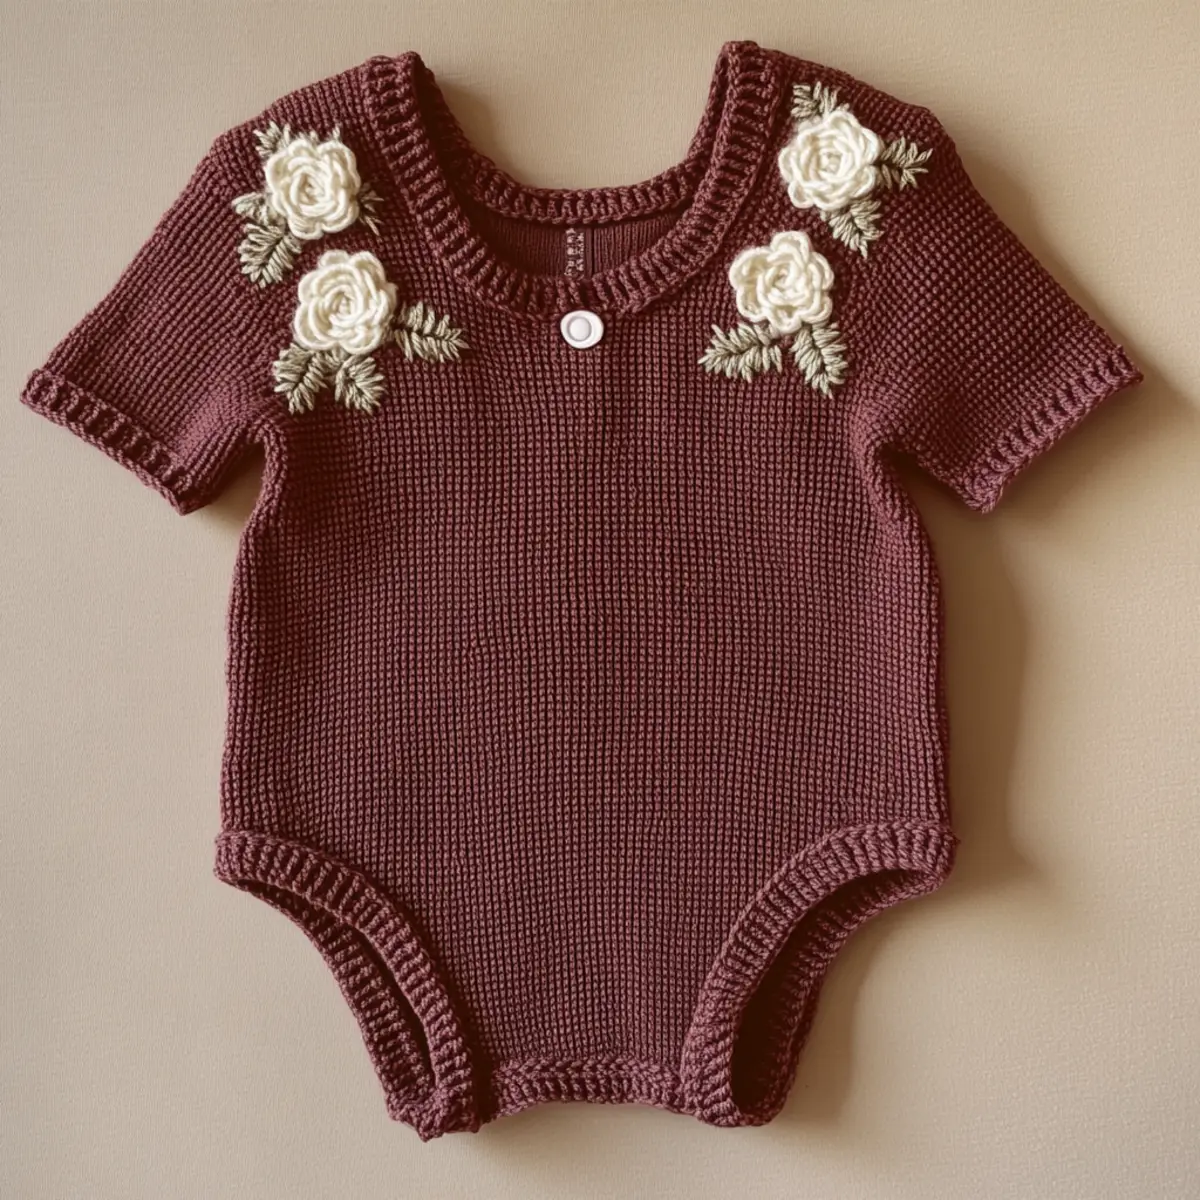
If desired, add embellishments such as floral motifs made with embroidery thread for a personal touch. Position them aesthetically on the bodice to enhance the visual appeal of your baby crochet rompers.
Row 12: Blocking and Weaving Ends
Finally, lightly block the finished romper to enhance the drape and definition of your stitches. This will help the ruffles stand out and ensure a polished look. Weave in all ends securely, so your beautiful creation is ready for baby to wear.
How to Wash and Care for Your Baby Crochet Rompers
Machine Washing: Use a gentle cycle with cold water to prevent fraying and ensure the mantainance of the soft texture of the baby crochet rompers.
Hand Washing: If washing by hand, use lukewarm water and a mild soap to keep the fibers soft and supple without causing damage.
Drying: Lay flat to dry on a clean surface or a drying rack to avoid stretching. Never hang as it may distort the shape.
Blocking: Lightly block your rompers after washing to enhance drape and definition, ensuring the ruffles stand out beautifully.
Baby Crochet Rompers Variations
Feel free to customize your rompers to match your style and preferences!
- Color Choices: Opt for pastel colors for a gentle look or vibrant hues for a playful vibe.
- Yarn Type: Choose a cotton blend for added elasticity or wool for warmth during colder months.
- Size Modifications: Adjust lengths and widths for older babies or toddlers, ensuring comfort and fit.
- Motif Variations: Incorporate various motifs like stars or hearts for a whimsical touch that brings personality to the rompers.
- Fastener Fun: Select buttons in unique shapes, like animals or flowers, to add a fun element to your rompers.
- Texture Tweaks: Mix yarn weights to create interesting textures, such as using a sport weight for the body and DK for details.
- Ruffle Styles: Customize the shoulder ruffles by altering cluster sizes or spacing for a different aesthetic effect. You might also use gradient yarns to enhance the ruffle’s visual appeal, adding depth to your design.
- Embellishment Techniques: Experiment with embroidery or decorative stitches to personalize each romper, making them perfect for special occasions or everyday wear. A floral motif is excellent for special occasions, while simple stripes can be ideal for casual comfort.
Expert Tips for Baby Crochet Rompers
Track Your Rounds: Make sure to keep note of your rounds as you crochet to maintain symmetry in the ruffle details.
Watch Your Tension: Consistent tension is crucial to avoid variations in size. Check your gauge with a small swatch before starting.
Avoid Dropped Stitches: Use a stitch marker to mark your rounds and prevent losing count, especially during intricate sections.
Firm Foundation: Ensure your foundation chain is not twisted before joining. This avoids an uneven starting point for your baby crochet rompers.
Customize Fit: Consider measuring the baby for a better fit or adjusting the number of stitches if the romper seems tight or loose.
Experiment with Colors: Don’t hesitate to mix and match yams! Creating a harmonious color scheme can make your rompers truly unique and charming.
Baby Crochet Rompers FAQs
Can I use different yarn types for baby crochet rompers?
Absolutely! You can use cotton blends for softness or wool blends for warmth, depending on the season. Ensure the yarn is safe for baby skin.
How do I adjust the size of the romper?
To customize the pattern for older babies, increase the body length and width. Measure your little one for a perfect fit!
What can I do if my stitches keep curling?
Don’t panic! This can happen if your tension is too tight. Try using a larger hook size or adjusting your tension to create a flatter finish.
What hook size should I use?
For baby crochet rompers, a 4 mm (US G) hook is recommended to achieve tight stitches. Adjust according to your gauge and yarn type for the best results.
How do I prevent dropped stitches during stitching?
Using a stitch marker can help. Place it at the beginning of each round or use it to mark important transitions in your project. It keeps your count accurate!
Is it necessary to block the finished romper?
Yes! Lightly blocking enhances drape and stitch definition, making your beautiful ruffles stand out while providing a polished appearance.

Leave a Reply