
As I sat with my latest crochet project on my lap, a spell of inspiration struck me—creating a Charming Baby Hooded Coat that perfectly blends whimsy with warmth. By the third row, I found that working on this baby hooded coat crochet pattern was not only a delight but also incredibly rewarding. What’s even better? This pattern is a stash-buster, meaning you can utilize those leftover yarns while crafting a stunning and unique piece your little one will love. The added coziness of this coat makes it an essential addition to any baby’s wardrobe. Ideal for both casual outings and special occasions, the coat’s charming design, adorned with lace details and a snug hood, promises to turn heads. Whether you’re a seasoned crocheter or a novice looking for a fun challenge, this pattern is designed with you in mind. Plus, it’s a beautiful opportunity to gift something handmade and heartfelt. I can’t wait to share the details with you and see how your version comes to life!
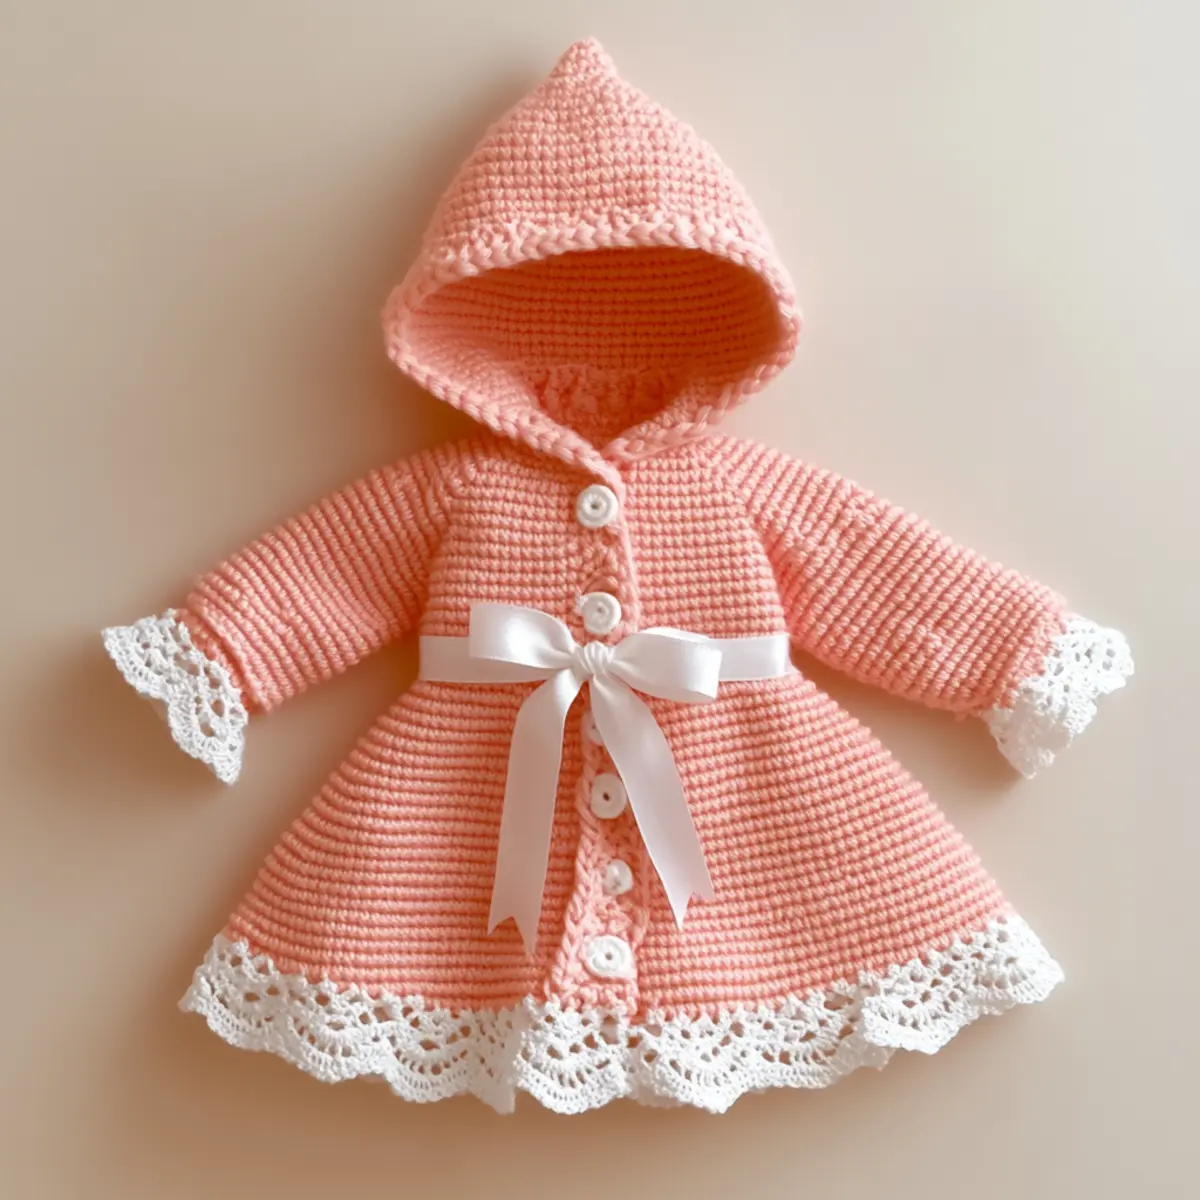
Baby Hooded Coat Crochet Materials & Tools
Yarn
- Approximately DK (11 wpi) – Use around 300-350 yards of a soft acrylic or cotton blend for the best comfort and durability.
Tools & Notions
- 5.0 mm (H-8) crochet hook – This size is perfect for the lightweight structure of the coat.
- Three decorative buttons – Choose fun buttons to personalize closures perfectly.
- Stitch markers – These will help you keep track of your stitches and keep your project neat.
- White ribbon bow – Add this for a charming finishing touch, enhancing the overall look of your baby hooded coat crochet project.
What Makes This Pattern a Must-Try?
Simplicity is key with the Charming Baby Hooded Coat; the straightforward construction makes it ideal for those who are ready to take their crochet skills to the next level. Stash-friendly, it allows you to repurpose leftover yarn, empowering you to create something beautiful without added cost. The aesthetic appeal of this coat is unmatched, with its lovely lace details and customizable colors offering endless design possibilities. Plus, it’s designed to be a time-saver, perfect for those quick gift needs or for busy parents who want to craft something special without long hours of work. For those seeking to enhance their crochet repertoire, don’t miss out on our beginner crochet patterns or explore texture with our advanced stitch techniques! Let this project inspire your creativity and inject a bit of cozy charm into your crafting journey.
Gauge & Sizing Notes for Baby Hooded Coat Crochet
Checking your tension before diving into the main project is vital to achieving the perfect fit for the baby hooded coat crochet. Ensure that your gauge measures 4×4 inches (10×10 cm) with a standard stitch count of 12 dc and 7 rows for accuracy. If you find your swatch doesn’t match, try adjusting your hook size or yarn tension to create a fitting size. To modify this pattern for different sizes, adapt the foundation chain and overall stitch counts, allowing for customization of both snug and roomy options. If aim for a more fitted look for your growing child, consider reducing the starting foundation chain by 5-10 stitches. Conversely, adding a few extra stitches can produce a looser, layering-friendly coat. This delightful baby hooded coat will be an essential addition, so don’t hesitate to play around with the dimensions to make it just right!
Step-by-Step Pattern for Baby Hooded Coat Crochet
Row 1: Foundation Chain Begin by chaining 60 (or desired width) with your contrasting yarn. This foundation will set the base for the body of your charming baby hooded coat.
Row 2: Start the Body In the second chain from the hook, work 2 dc into each chain across for a total of 120 stitches. This will form the body width needed, providing a soft and inviting texture.
Row 3: Shape the Base Continue by working 1 dc in each stitch across. This will create a sturdy start for the baby hooded coat crochet, ensuring it is both cozy and functional. Count to ensure you still have 120 dc.
Row 4: Handling Increases To give shape to your coat, begin by adding increases. Work 2 dc in the first stitch and 1 dc in each subsequent stitch across, making 121 stitches. This slight widening will accommodate growth.
Row 5: Complete the Body Shift back to the original pattern by reverting to 1 dc in each stitch. Repeat this for two more rows. Maintaining consistency here adds to the project’s overall appearance, while keeping your tension even will ensure a snug fit for your little one.
Row 6: Start the Hood Chain 1, turn your work, and begin with dc for 30 stitches. When the desired hood depth is achieved, it’s time to shape with decreases; this helps contour the hood to your baby’s head comfortably.
Row 7: Shape the Hood Continue with 1 dc in each stitch until reaching the last 3 stitches. Work 2 dc together for a smooth finish, helping to form the rounded shape at the top. You have reached the crown of the hood!
Row 8: Attach Yarn for Sleeves Attach your yarn at the sleeve openings, chaining 1 and starting with 3 hdc in the next stitch. This transition to sleeves creates fluidity from the body to the arms, essential for the coat’s design.
Row 9: Building Sleeves Work in the round, alternating hdc and sc for the sleeve length (approx 15-20 rounds). This strategy provides the structure and ensures a comfy fit, as well as keeping the coat lightweight yet warm.
Row 10: Add Lace Edging For the hem and cuffs, switch to a lace pattern of your choice. I recommend a shell stitch. Skipping 2 stitches and 5 dc into the next creates delightful flares that add detail and charm to your baby hooded coat crochet.
Row 11: Button Holes Determine where to place your buttons on the front of the coat. Chain 2 to create buttonholes, then work 1 dc in each of the next two stitches. Reinforcing closure will ensure it remains secure while dressing your baby.
Row 12: Final Touches Cut the yarn, leaving a long tail for weaving in. Finish off all ends, attaching decorative buttons and embellishing with a white ribbon bow. This personal touch transforms your project into a memorable handmade garment ready to wow everyone.
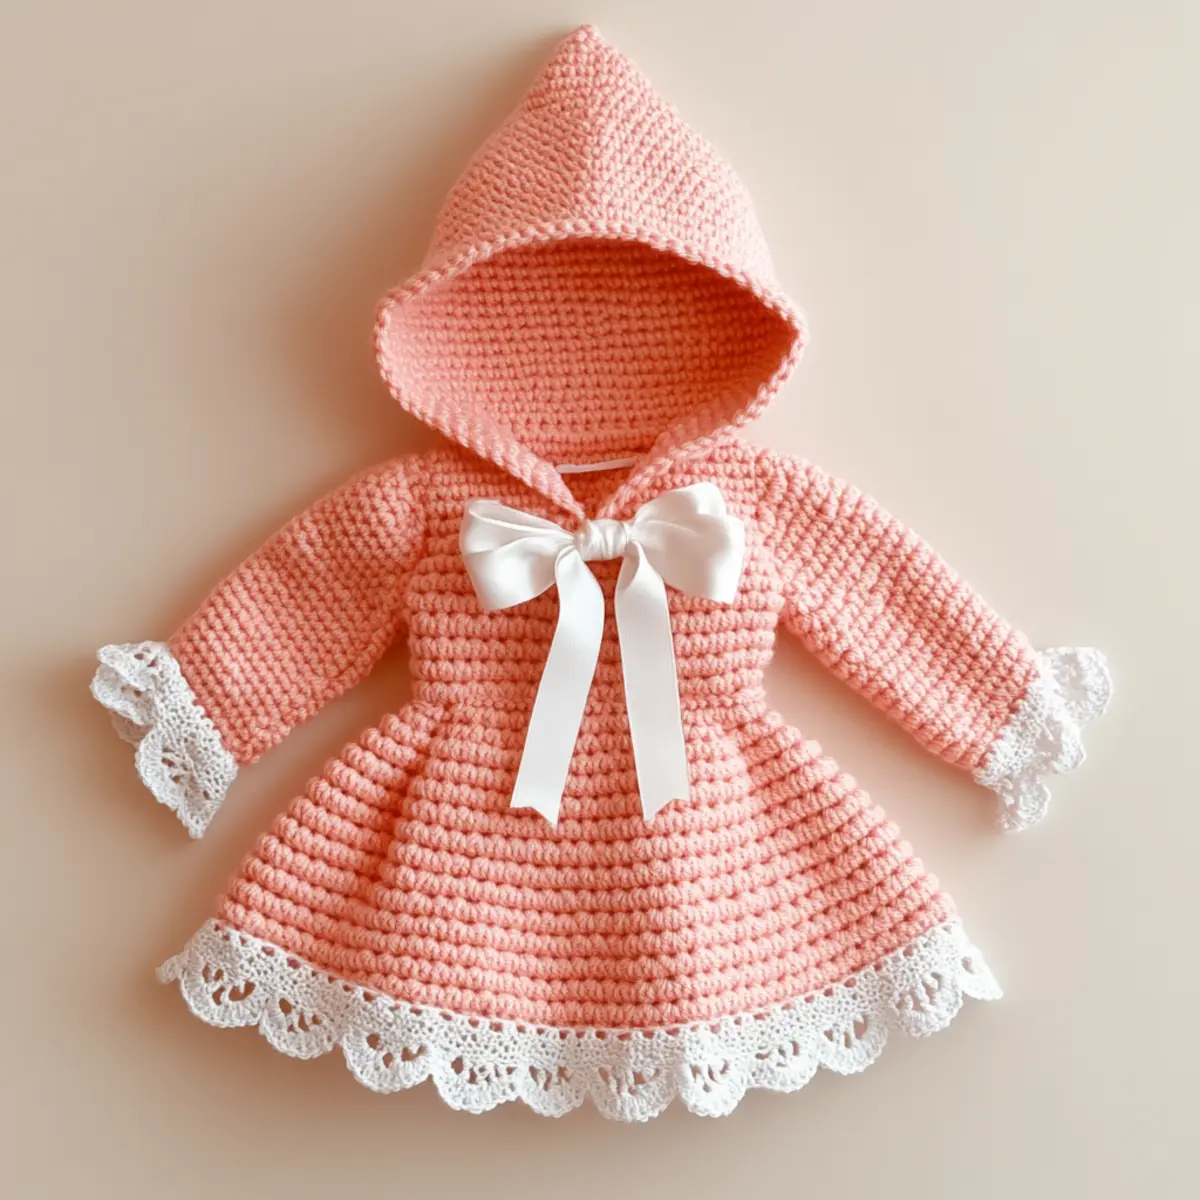
How to Wash and Care for Your Baby Hooded Coat Crochet
Machine Washing: Use cold water and a gentle cycle to prevent wear and tear. Avoid washing with harsh fabrics to maintain the coat’s beauty.
Hand Washing: For delicate care, hand wash in cold water with a mild detergent. Gently squeeze; do not wring or twist, as this will distort your work.
Drying: Lay the coat flat on a clean towel to dry. Avoid hanging, as this may stretch the yarn. This method preserves the shape of your baby hooded coat crochet.
Storage: Store in a cool, dry place away from direct sunlight. Keep it in a breathable bag to prevent dust accumulation without crushing the delicate lace.
Baby Hooded Coat Crochet Variations
Customization is key to making this coat uniquely yours! Feel free to adjust colors, yarn types, or even add personal touches to enhance its charm.
- Yarn Swaps: Try using a soft bamboo yarn for a breathable and lightweight alternative, perfect for warmer seasons.
- Color-Blocking: Incorporate bold contrasting colors in segments for a vibrant look that stands out even more.
- Textured Yarn: Using a boucle yarn introduces a fluffy texture that adds coziness and visual interest to your coat.
- Size Adjustment: Feel free to modify the foundation chain to create a coat that fits snugly or allows extra layering. For a baby who needs room to grow, opt for a looser fit!
- Embellishments: Embroider little stars or hearts around the hem to add a whimsical touch. You’ll be surprised how a few personal designs can elevate the overall piece.
- Detachable Hood: Consider sewing the hood onto the collar but making it detachable so that the coat can be worn in multiple styles!
- Fringe Details: Adding a fringe along the cuffs gives a bohemian vibe that is playful and trendy for your baby’s wardrobe. This quick modification significantly changes the coat’s overall aesthetic.
- Extra Pockets: Integrate tiny pockets on the sides for practicality! These can be handy for holding small treasures found during adventures.
Expert Tips for Your Baby Hooded Coat Crochet
Stay Counted: Regularly count your stitches to avoid losing track. Dropped stitches can lead to uneven sections, especially with such intricate details.
Tension Check: Always check your tension before starting. A loose gauge can result in a coat that’s too big, while a tight one can restrict movement for your little one.
Use Stitch Markers: Place stitch markers at the beginning of your rows and where you plan to increase. This will minimize confusion and help maintain a clean finish.
Foundation Focus: Take time to create an even foundation chain; twisting it will lead to an awkward start and a challenging construction process.
Lace Edging Care: Pay close attention when creating lace edgings, as they can easily become distorted. Steam block after completion to ensure a neat finish.
Yarn Choice: Choose a soft yarn blend that holds well yet provides warmth. A mix of acrylic and cotton offers both durability and comfort for your baby’s sensitive skin.
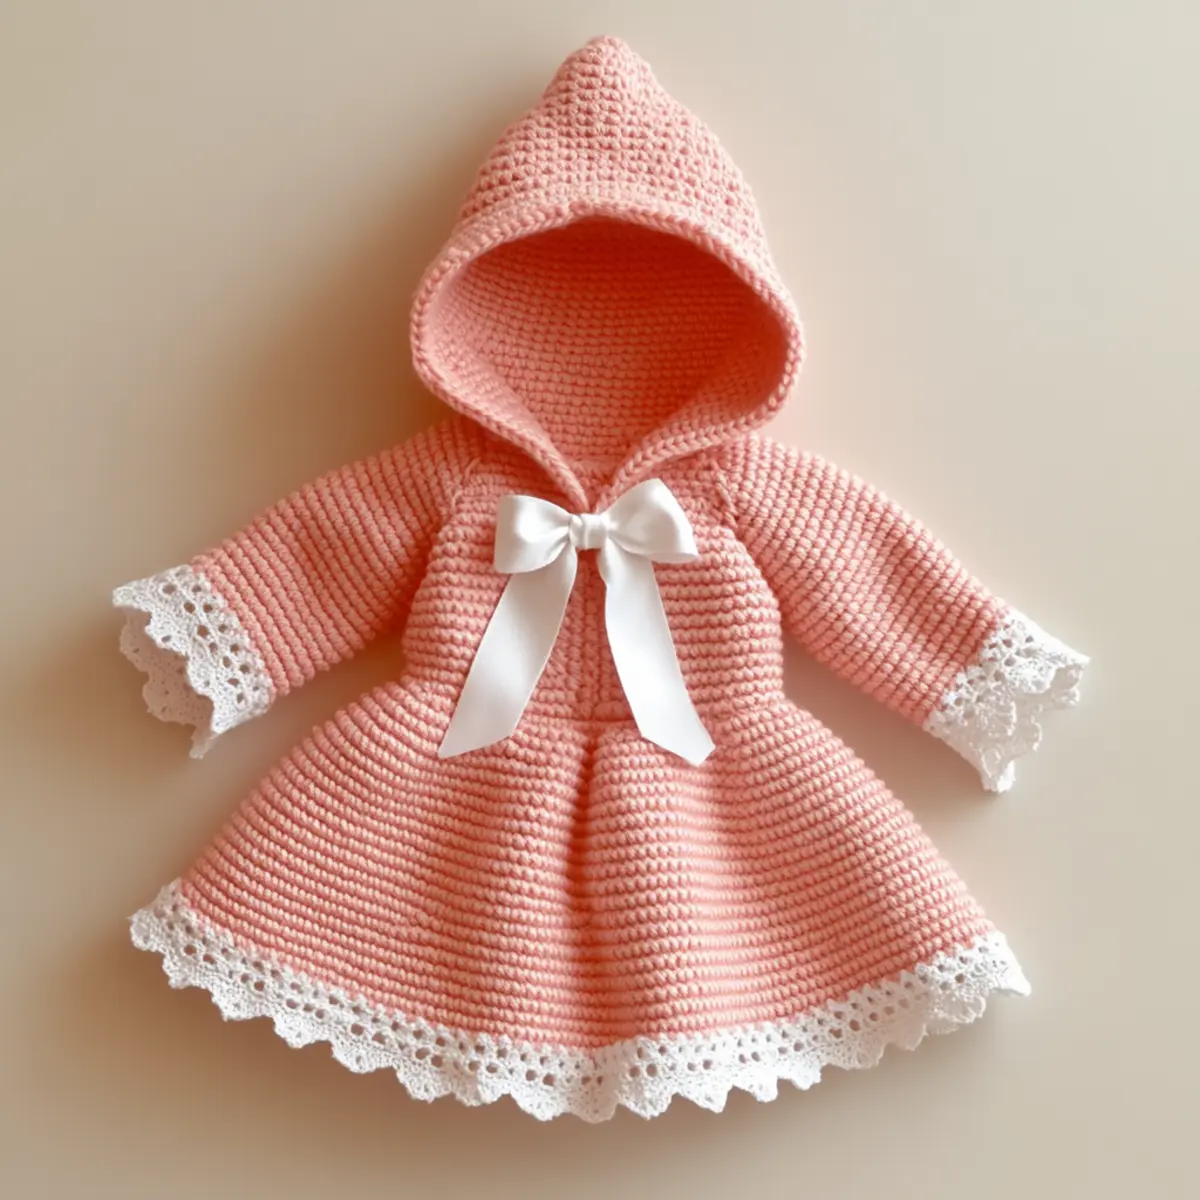
Baby Hooded Coat Crochet FAQs
Can I substitute different yarns?
Absolutely! You can use any DK-weight yarn, though ensure it’s soft and gentle against baby’s skin for comfort.
What if the coat is too big or small?
Don’t panic! You can easily adjust the size by changing the foundation chain or the number of stitches worked in each row. A few extra or fewer stitches can make a big difference!
How do I prevent curling edges?
To combat curling, try blocking the finished coat or maintaining even tension throughout your project. Ensuring your stitches are consistent will improve the finished look.
What size hook should I use for best results?
The recommended hook size for the baby hooded coat crochet is 5.0 mm (H-8). If your gauge is off, consider adjusting the hook size accordingly to maintain the correct fit.
Can I add more decorative elements?
Definitely! Feel free to embellish with additional items like embroidered flowers, ribbons, or a faster closure for the buttons to personalize your coat further.
What stitch variations can I use for the lace trim?
You can experiment with various lace patterns like picots or shell stitches. Just ensure they complement the coat’s overall design while enhancing its charm.

Leave a Reply