
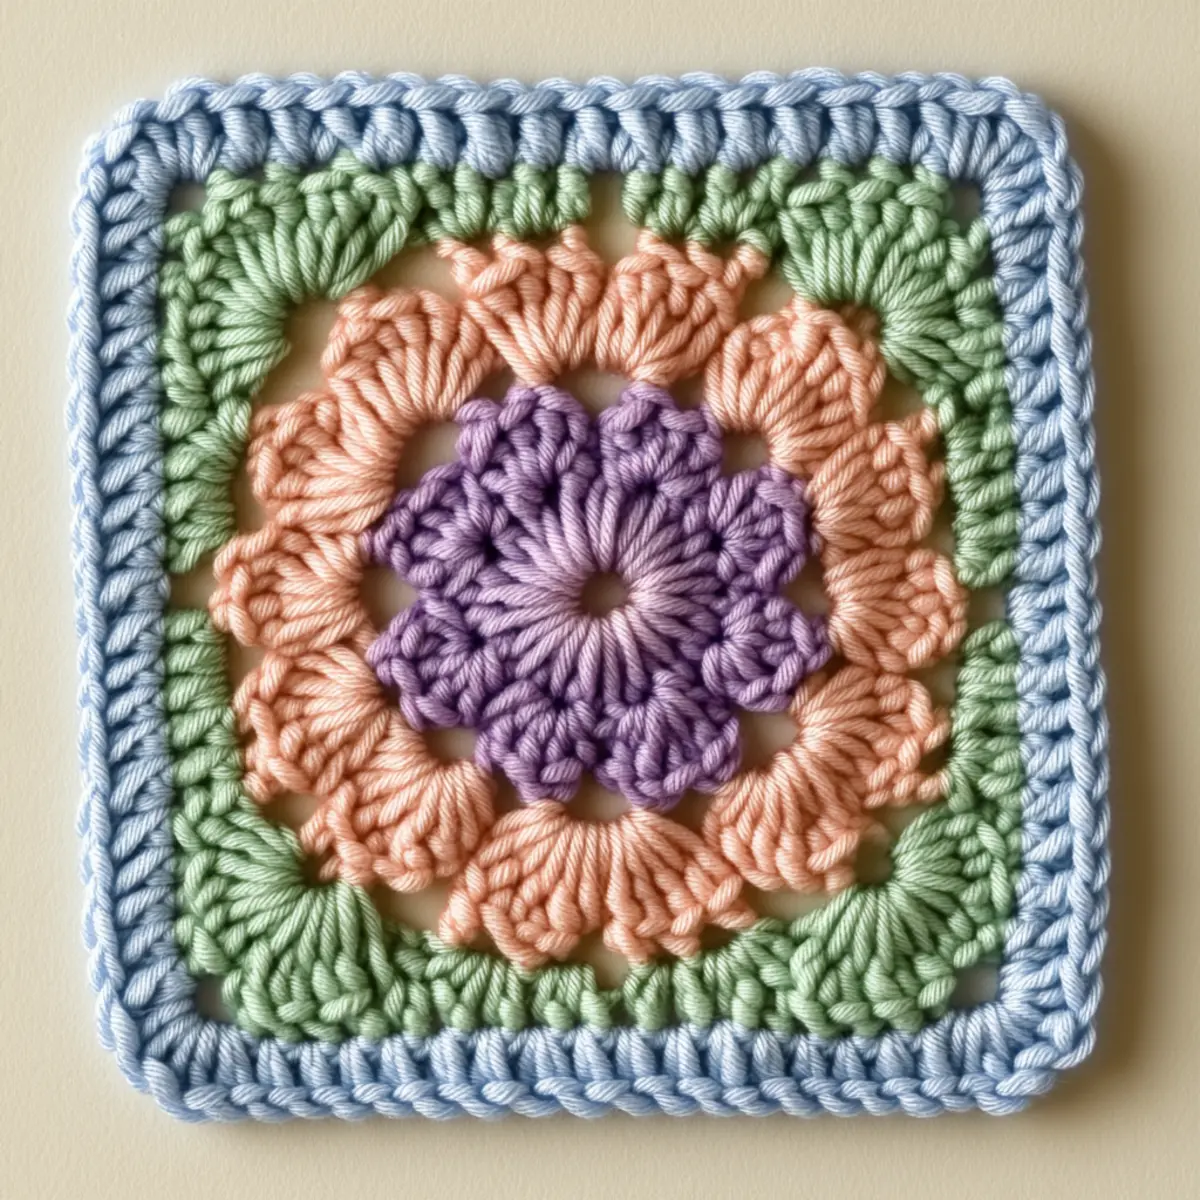
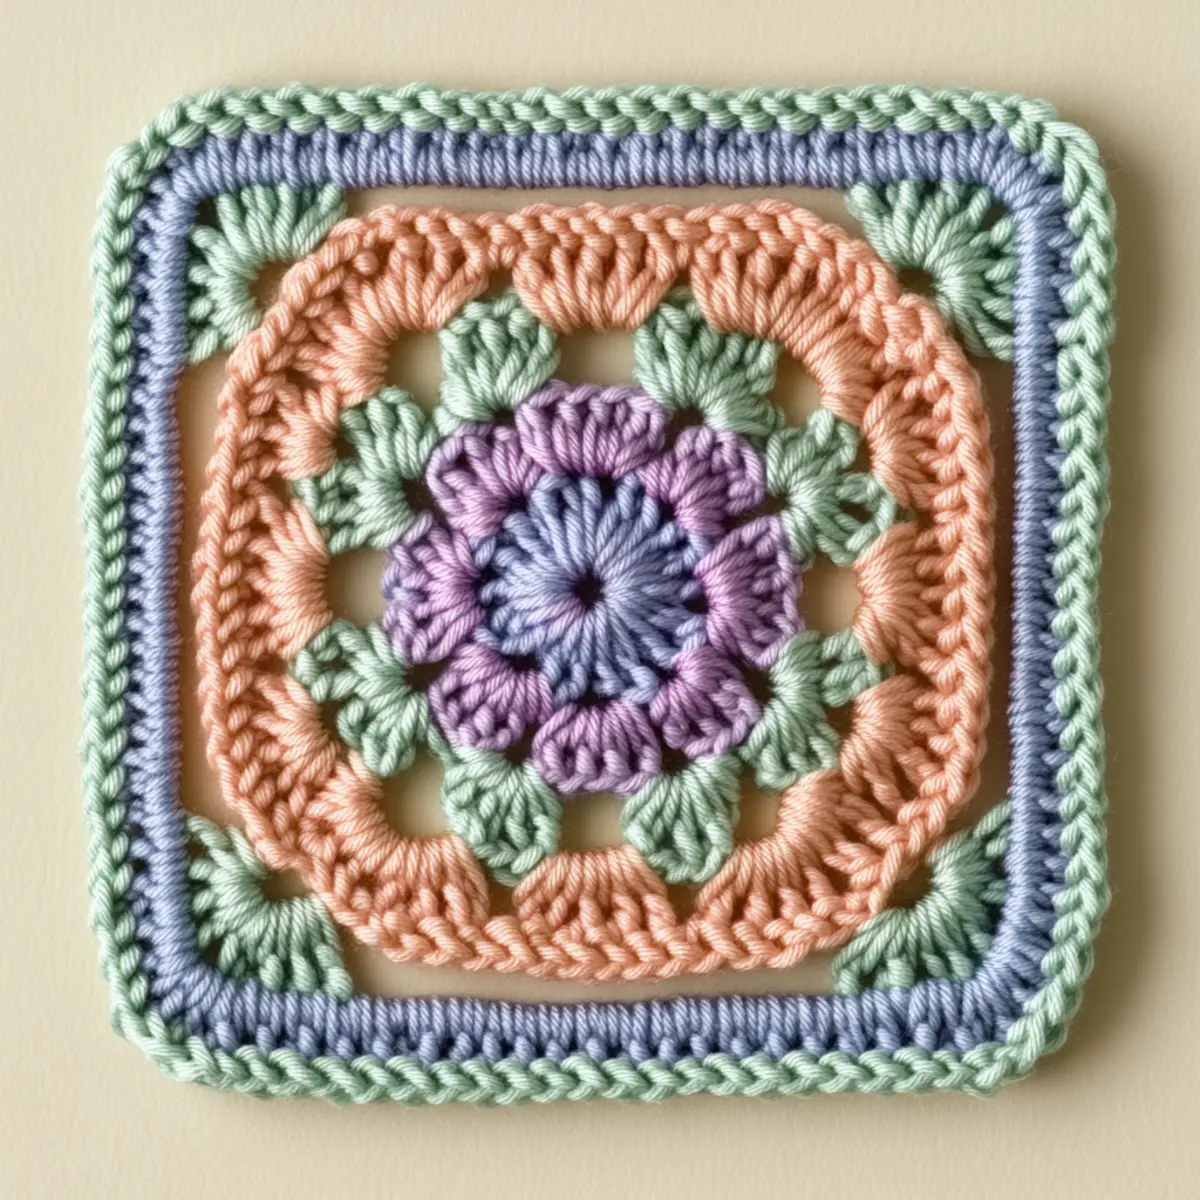
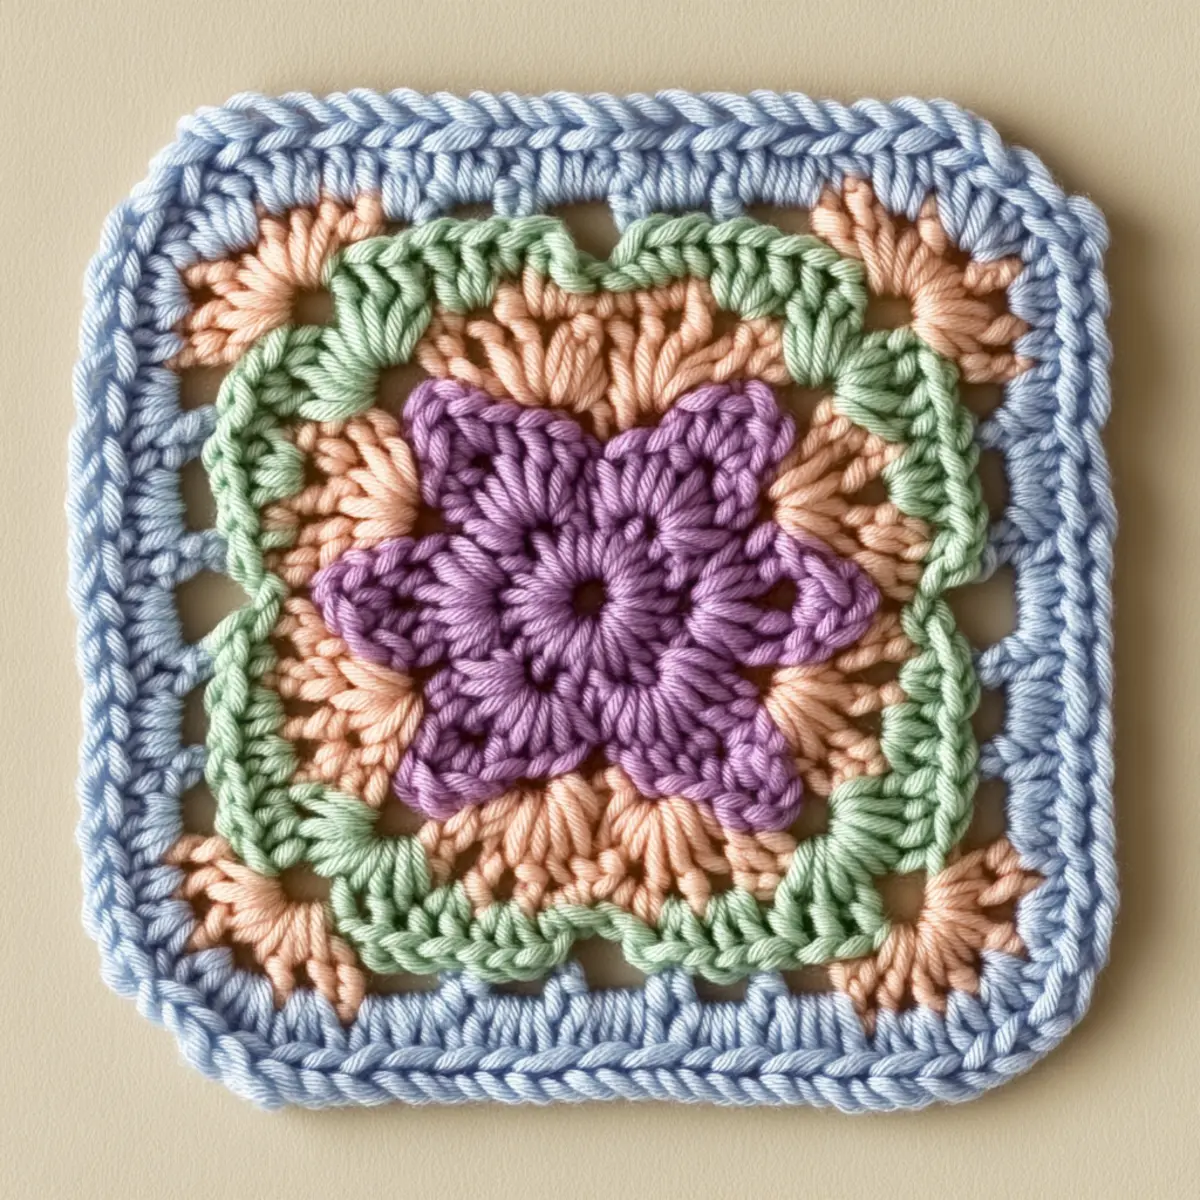
It’s amazing how a simple crochet granny square can transform a space with warmth and color. While experimenting with vibrant hues, I stumbled upon an invigorating floral design that beautifully bridges vintage and modern aesthetics. This Charming Floral Granny Square is not only a feast for the eyes but also serves as a quick crochet project that allows you to stash-bust those leftover yarns. Picture a soft, intricate square measuring around 6-8 inches, perfect for a cozy throw or a stylish pillow cover. Each square whispers a story, offering unlimited creativity for your crochet adventures. The combination of fluffy pastels and a structured design means you’ll enjoy every stitch as you bring this pattern to life. Plus, the no-sew feature makes it beginner-friendly! Ready to dive into this delightful blend of textiles and colors? Let’s explore together.
Crochet Granny Square Materials & Tools
Yarn
- Medium (Worsted Weight) – Approximately 150-200 yards of 100% cotton or cotton blend will give you plenty of material for multiple crochet granny squares.
- Pastel and Contrasting Colors – Choose a selection of soft pastel colors to create vibrant floral effects or a bold contrasting color for the border to make your squares pop.
Tools & Notions
- 5.0 mm (H-8) Crochet Hook – This is the ideal size for working with the worsted weight yarn and achieving the desired tightness in your stitches.
- Stitch Markers – Use these to track your rounds, especially useful during color transitions.
- Tapestry Needle – For weaving in ends and making your project tidy once finished.
Why You’ll Love This Pattern
Simplicity is key with this pattern, making it perfect for beginners and seasoned crafters alike. The textured floral design adds visual interest, providing a charming focal point for any project. Plus, it’s incredibly stash-friendly; you can use those small skeins you have lying around and create something beautiful. The customizability means you can experiment with colors or even incorporate variations like Solid Granny Square or a Floral Crochet Square to elevate your pieces. The time-saving aspect is a major win. With just a few squares, you can whip up an entire blanket or bag in no time! Last but not least, the overall aesthetic appeal of the finished squares enhances any crochet collection and adds a delightful touch to home décor.
Gauge & Sizing Notes for Crochet Granny Square
Checking your tension is vital when working on the crochet granny square to ensure it meets the desired dimensions and allows for even colorwork throughout the piece. For this project, aim for a standard gauge of 4×4 inches (10×10 cm) using worsted weight yarn and a 5.0 mm (H-8) crochet hook. Should your gauge be off, adjust your starting chain or round count accordingly—using more chains for a larger square or fewer for a smaller dimension. If the swatch doesn’t match the gauge, consider changing your hook size or modifying the tension of your stitches. This means you can create beautifully consistent squares that fit together seamlessly in your projects, regardless of size variations. The charming crochet granny square can enhance a diverse range of projects from blankets to pillows, so achieving the right gauge is essential to the final outcome!
Step-by-Step Pattern for Crochet Granny Square
Row 1: Create the Center
Begin by making a magic circle. Inside the circle, work 8 sc (single crochets) to create a tight center. Pull the tail of the yarn to close the circle tightly. Join the last sc to the first with a sl st (slip stitch) to form a complete round. (8 sc)
Row 2: Expand the Circle
Ch 3 (counts as dc – double crochet), then in the same stitch, work 2 dc. This will form your first corner. In each of the next 3 stitches, work 3 dc. In the last stitch, work 2 dc followed by a sl st to close the round. You should have created 4 corners. (12 dc, 4 corners)
Row 3: Forming the Petals
Ch 2 (counts as hdc – half double crochet), make 1 hdc in the next 2 stitches, then ch 2 and skip 1 stitch, repeating this around. Join with a sl st into the top of the ch-2. This creates the base for your floral petals. (12 hdc, 4 ch-2 spaces)
Row 4: Create the Petals
In each ch-2 space from the previous row, work (3 dc, ch 1, 3 dc). This creates a petal-like effect. After finishing all 4 spaces, sl st in the first petal’s base. This shows off the charm of your crochet granny square whilst adding texture. (12 dc, 4 ch-1)
Row 5: Leafy Accents
Switch to a contrasting color. Ch 1, then in the first petal, work (sc, hdc, dc, hdc, sc) to form a leaf-like edge. Repeat this for each petal around the square. The leaf yarn should complement the main pastel colors for a charming finish. (4 leaves)
Row 6: Adding a Border
With your contrasting yarn still, start at any corner. Ch 1 and work 1 sc along each side, including the corners with (sc, ch 2, sc) to maintain the square shape. This will frame your crochet granny square beautifully. Count your stitches as you work. (total of 36 sc)
Row 7: Reinforce the Edges
To further refine your border, ch 1 and work a round of sc around the entire square again, using the same contrasting yarn. Make sure it tightens the square’s shape, allowing it to lay flat. Join with a sl st for a polished look. (36 sc total)
Row 8: Finishing Touches
After the last round, secure your yarn, leaving a tail for weaving. Use the tapestry needle to weave in any loose ends. Blocking your square at this point allows for more even finishing and looks fantastic in the final project. (Completed square)
Row 9: Customization
Feel free to mix and match colors or even add textured stitches like popcorn or bobble in the center for added flair. Personalizing your square helps convey your unique style while continuously crafting. Test multiple yarns if experimenting! (Variety of colors)
Row 10: Measurement Check
Once you are satisfied with the crochet granny square, measure it to ensure it fits your desired dimensions. Expect your finished square to be around 6-8 inches. Adjusting hook sizes up or down will affect your final measurements. (6-8 inches)
Row 11: Create More Squares
Having made one square, consider making several for your projects. Combining different floral colors and borders will create a cohesive yet dynamic look in finishes like blankets or cushions. Aim for consistency for a unified project outcome! (Multi-square)
Row 12: Project Ideas
Think about turning your crochet granny squares into various projects. They can transform into a cozy throw, stylish bags, or attractive home décor pieces while showing off your crochet skills beautifully! The possibilities are endless! (Various projects)
Expert Tips for the Best Crochet Granny Square
Track Your Rounds: Use stitch markers to help keep track of your rounds, especially when switching colors. This ensures you avoid losing count.
Color Consistency: If you vary your yarn types, match your tension to prevent size discrepancies across your squares.
Magic Circle: Begin with a magic circle to form a tight center, ensuring your square won’t have a gaping hole in the middle.
Gauge Check: Always check your gauge, adjusting your hook size as needed, to ensure your final squares measure between 6-8 inches.
Blocking is Key: Block your finished squares to achieve an even shape and tidy finishing, giving your crochet granny square a polished appearance.
Crochet Granny Square Variations
Feel free to personalize your crochet granny square project to make it uniquely yours!
-
Yarn Blends: Experiment with various blends such as bamboo, wool, or acrylic to alter texture and warmth.
-
Color Blocking: Choose contrasting colors for the petals and border to create a striking visual appeal.
-
Size Adjustments: Use a larger hook to make oversized squares perfect for throws or smaller ones for placemats.
-
Texture Modifications: Incorporate stitches like popcorn or bobble for a textured center that stands out.
-
Flower Variations: Try using different floral designs for the petals by switching up the shape and stitch combination. Playing with this can change the whole look and enhance the creativity of your project. Remember, the art of crochet offers limitless possibilities!
-
Ombre Effect: Utilize ombre yarn to give a gradient effect on the floral petals for movement.
-
Mixed Fiber: Combine cotton with a touch of silk for a luxurious finish while keeping the structure of your granny square.
-
Seasonal Colors: Adjust your color palette to accommodate seasonal themes, transitioning from warm autumn hues to bright spring pastels effortlessly.
How to Wash and Care for Your Crochet Granny Square
Machine Washing: Use cold water and a gentle cycle. Avoid fabric softeners as they can alter the texture of the cotton yarn.
Hand Washing: Gently wash with mild soap in cool water; avoid agitation to prevent stretching or twisting of the delicate stitches.
Drying: Lay your crochet granny square flat to dry, reshaping it as needed. Avoid hanging to prevent stretching.
Storage: Store your squares in a cool, dry place. Keep them protected from direct sunlight to maintain vibrant colors.
Crochet Granny Square FAQs
Can I substitute different yarn types for this pattern?
Absolutely! Just ensure your yarn is a medium (worsted weight) for best results. Adjust your hook size if needed to match your gauge.
How do I adjust the size of my granny square?
You can alter the size by adjusting the hook size. A larger hook will create a bigger square, while a smaller hook will achieve a smaller square. Just make sure to maintain count.
What should I do if my granny square is curling up?
Curling can be intentional with certain designs, but if unwanted, check your tension and ensure you’re using the right hook size. Also, blocking can often solve curling issues by reshaping it.
How do I fix dropped stitches in my granny square?
Don’t panic! Simply use your crochet hook to pull the dropped stitch back through the correct loops. Continue crocheting after securing it to avoid further issues.
What hook size should I use for this pattern?
A 5.0 mm (H-8) crochet hook is recommended for this crochet granny square pattern. Adjust based on your yarn tension if your squares don’t measure correctly.
Can I combine different granny squares for a blanket?
Of course! Mixing different granny squares can create beautiful patterns and textures. Just be sure to maintain similar gauge for consistency.

Leave a Reply