
Stitched together with love, the Solid Granny Square is a delightful rise in the rhythm of crochet that sings of endless possibilities. This classic design not only welcomes beginners into the warm embrace of crafting but also invites seasoned artisans to play with colors and textures. As you embark on creating your own Solid Granny Square, you’ll discover the joy of crafting pieces that are as versatile as they are cozy—perfect for anything from a delightful blanket to a chic decorative pillow. Plus, this pattern is incredibly forgiving, allowing you to experiment while honing your skills. So gather your favorite yarn, get comfy, and let your creativity flow as you dive into this charming project!
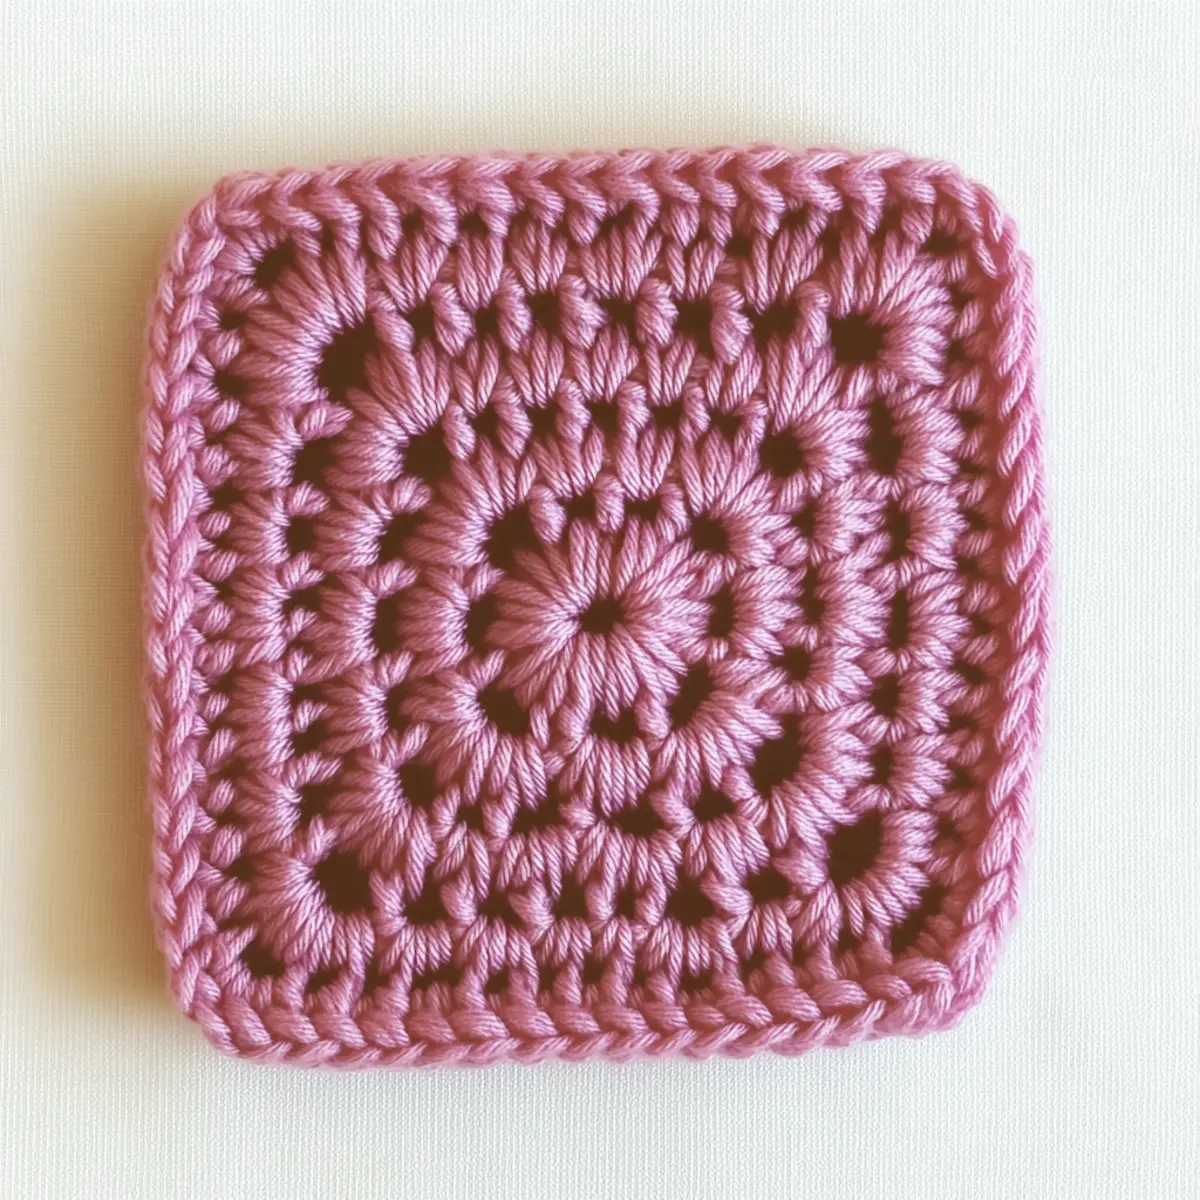
Solid Granny Square Materials & Tools
Note: Gather your supplies and let’s create some cozy magic with these solid granny squares!
Yarn
- Medium Weight Yarn (Category 4) – You’ll need about 200-300 yards of acrylic or cotton for multiple squares.
- Smooth Light-Reflective Yarn – Choosing this yarn enhances the texture and aesthetic of your solid granny square.
Tools & Notions
- 5.5mm (I-9 to J-10) Crochet Hook – This size helps achieve effective tension and stitch definition.
- Stitch Markers – Essential for keeping track of your rounds as you crochet.
- Scissors – Handy for cutting your yarn effortlessly.
- Yarn Needle – Perfect for weaving in those pesky ends for a polished finish.
Embark on this enchanting journey with these materials for your solid granny square!
Why are Solid Granny Squares so loved?
Timeless appeal: The Solid Granny Square is a beloved crochet design that never goes out of style, seamlessly fitting into both traditional and modern aesthetics.
Beginner-friendly: Its simplicity allows newcomers to ease into crocheting while providing a satisfying project that builds skills.
Versatile applications: Use these squares to create cozy blankets, chic bags, or eye-catching decorative pillows, making it perfect for any crafting project.
Color creativity: This pattern encourages experimentation with color combinations, letting your imagination shine through.
Quick to make: With a straightforward construction process, you can whip up multiple squares in no time, perfect for any last-minute gifts or cozy home decor. Check out our tips for choosing the best yarn to elevate your project even further!
Gauge & Sizing Notes
Don’t skip the gauge swatch! Ensuring your tension is just right for the Solid Granny Square is key to achieving the desired dimensions and overall look of your project. A standard gauge measurement for this pattern is a 4×4 inch (10×10 cm) square, which typically equals 14 double crochets by 8 rows. To increase the size of your granny squares, simply adjust your starting chain in multiples of 3, and for each additional square, keep this adjustment in mind for your round repeats. If your gauge swatch comes out too small, try using a larger hook size to achieve a more spacious fabric and keep those lovely projects cozy and inviting!
Step‑by‑Step Pattern for Solid Granny Square
Row 1 (or Round 1): Foundation Chain
Begin your solid granny square by making a magic ring. Yarn over, and chain 3 (counts as your first double crochet). Work 11 double crochets (dc) into the ring, making sure to leave enough space to close the ring later. Pull the tail of the magic ring to tighten and slip stitch (sl st) into the top of your beginning chain. Your work should form a circle with 12 stitches total (12 sts).
Round 2: Expanding the Square
Start Round 2 by chaining 3 (counts as your first dc). In the same stitch, work another dc (this forms your first corner). Now, work 2 dc in each of the next 2 stitches, then in the next stitch, create 2 dc to form the corner with 2 chain stitches (ch 2), followed by 2 dc in the same stitch. Repeat this around, making sure to create three corners. Join with a sl st in the top of the beginning chain. You should have a total of 24 stitches (24 sts).
Round 3: Defining the Corners
To begin Round 3, chain 3 (first dc) and make another dc in the same stitch. In each corner, work 2 dc in the next double crochet stitch, ch 2, and 2 dc in the same stitch. For the sides, work 2 dc in each of the next 2 stitches. Repeat around, making sure you have four defined corners and two sides between each corner. Slip stitch to join, resulting in 36 stitches in total (36 sts).
Round 4: Solidifying the Square
Chain 3 to start Round 4 and work 2 dc in the same stitch. For the sides, work 1 dc in each of the next 3 stitches. In each corner, create 2 dc, ch 2, and 2 dc as before. Continue this pattern around the square, ensuring that your corners remain consistent. Slip stitch to join at the top of the chain. Your solid granny square should now have 48 stitches (48 sts).
Round 5: Finishing Touches
For the final round, chain 1 and sc in the same stitch to create a smooth edge. Work 1 sc in each dc across the sides. In each corner, work 1 sc, ch 2, and 1 sc. Continue sc along the edges for a tidy finish and complete with a slip stitch to join. Block your solid granny square if desired to achieve crisp edges and a polished look, ending with a total of 64 stitches (64 sts).
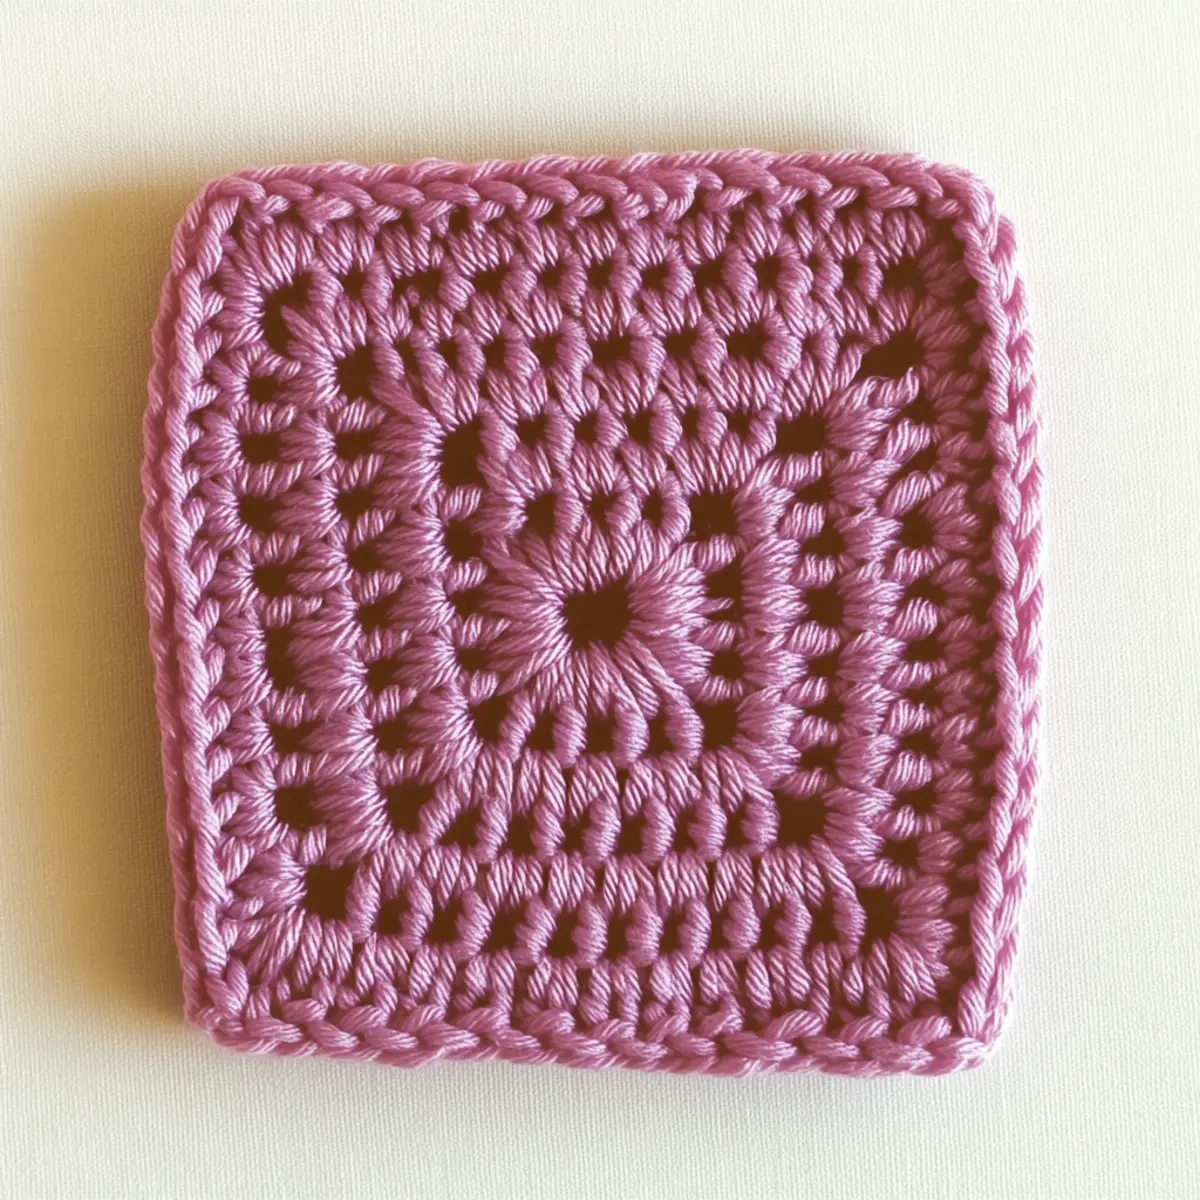
How to Wash and Care for Your Solid Granny Square
Machine Washing: Set your washing machine to a gentle cycle with cold water to preserve the integrity of your solid granny square. Avoid agitation to prevent pilling or felting.
Hand Washing: For the tender care your squares deserve, hand wash with mild detergent in cool water. Gently agitate without twisting or wringing, then rinse thoroughly.
Drying/Blocking: After washing, lay your solid granny square flat on a clean, dry towel to reshape and air dry. This will help maintain that lovely, plush texture while preventing distortion.
Storage: When not in use, store your solid granny squares in a cool, dry place. Avoid damp areas to keep them in pristine condition and free from mildew.
Expert Tips for Solid Granny Squares
-
Consistent Tension: Keep your tension uniform by practicing a relaxed grip. This ensures each square turns out perfectly plush and consistent in size.
-
Stitch Count Check: Regularly count your stitches to avoid losing track, especially when changing colors. Missing a stitch can throw off the balance of your solid granny square.
-
Magic Ring Mastery: If using a magic ring, pull it snugly to avoid gaps at the center. This creates a clean and polished look for your squares.
-
Blocking Benefits: Don’t skip blocking! It evens out any irregularities, enhances texture, and helps your solid granny squares lay flat for a professional finish.
-
Seamless Joining: Use whip stitches or slip stitches for joining squares. This technique creates a seamless look, making your finished project appear polished and cohesive.
Solid Granny Square Variations
Inviting your creativity to take center stage, the Solid Granny Square offers a wealth of customization options to delight your crafting journey.
-
Yarn Substitutions: Try using cotton instead of acrylic for a cooler, breathable fabric perfect for summer projects.
-
Color Blocking: Experiment with multiple colors in each square. Alternate hues in each round to create a stunning patchwork effect! Choose shades that tell a story or reflect the seasons.
-
Larger Squares: Increase your square size by using a larger hook. This not only speeds up your project but gives you bigger, bolder pieces to showcase.
-
Textured Variations: Incorporate popcorn stitches or bobbles in a few rounds for added texture. The playful puffs create a delightful surprise within the classic design.
-
Border Magic: Add a contrasting border around your squares for a polished finish. A vibrant edge can accentuate your color palette and tie your project together beautifully.
-
Seasonal Colors: Savor seasonal changes by swapping colors based on the time of year. Warm autumnal shades or cool, refreshing pastels can transform your project’s vibe!
-
Different Weights: Mix in a lighter yarn for a lacy effect. A sport or DK weight can turn a standard square into a light, airy masterpiece suitable for different styles.
-
Unique Edges: Experiment with fringe or ruffled edges for a playful touch. It’s a simple way to elevate the artistic quality of your granny squares. For inspiration, consider checking out our guide on adding fringe to your crochet projects for an enhanced finish.
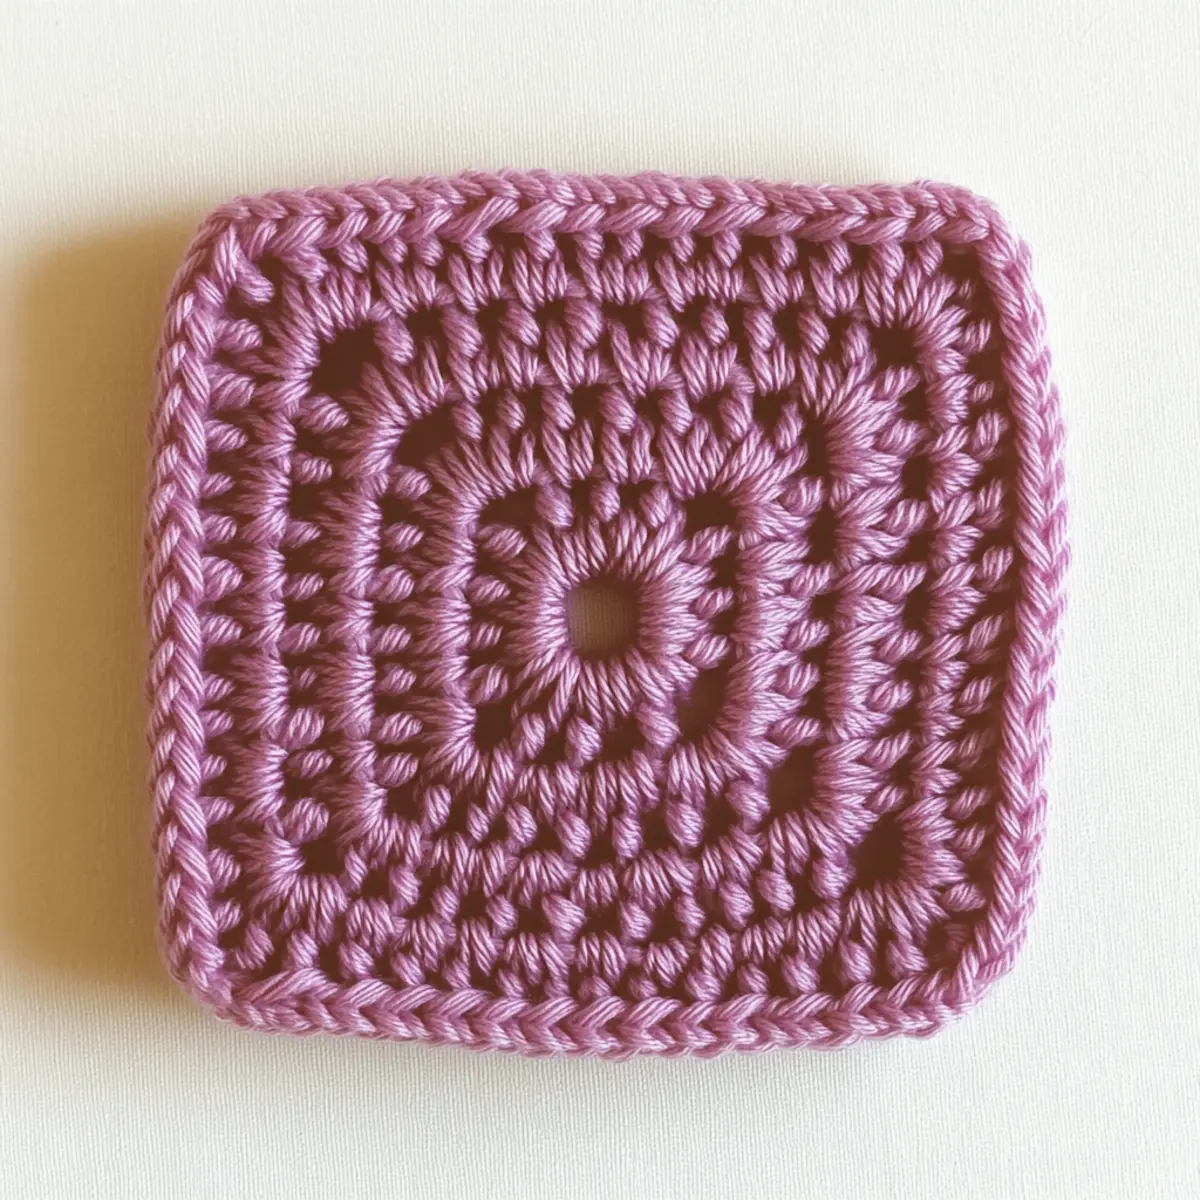
Easy Solid Granny Square: Cozy Crochet for All Levels FAQs
What yarn substitutions can I make for the Solid Granny Square?
Absolutely! You can easily substitute acrylic yarn with cotton if you prefer a more breathable fabric. Just keep in mind that acrylic may yield a more plush texture, while cotton gives your square a lovely drape. Remember to check the yarn weight, aiming for a medium-weight (category 4) for the best results.
How can I adjust the size of my Solid Granny Squares?
Don’t panic! You can modify the size by adjusting your stitch count or by using a larger hook. For instance, if you want a bigger square, consider chaining in multiples of 3 + 1 to create a wider foundation. Alternatively, aim for stitches that are a size up, like using a 6.0 mm (J-10) hook instead of the recommended 5.5 mm (I-9 to J-10).
Why is my Solid Granny Square curling up?
It’s an easy fix! Your square may be curling if your tension is too tight. Be sure to keep your grip relaxed while crocheting. Additionally, if you’re skipping stitches or not following the chain space setup properly, this can cause your square to buckle. Double-check that you’re chaining the correct amount in each round to maintain a flat shape.
How do I fix dropped stitches in my granny square?
No worries! If you notice a dropped stitch, simply use your yarn needle to weave the loose end back through the last few stitches. Make sure to run it through the back of your work so it remains discreet. If numerous stitches are dropped, consider frogging to that point to ensure consistency in your solid granny square.
What size hook should I use for my Solid Granny Square?
I recommend starting with a 5.5 mm (I-9 to J-10) crochet hook. This size provides an ideal tension for medium-weight yarn, ensuring that your square remains plush yet defined. If you’re using a thicker or thinner yarn, you may want to adjust your hook size accordingly to maintain an even gauge.
How can I add texture to my Solid Granny Squares?
You can create beautiful texture by incorporating different stitches! Adding rows of V-stitches or popcorn stitches will enhance the surface and create visual interest. Just be mindful of your stitch count as you switch up the techniques to ensure the overall pattern remains consistent!

Leave a Reply