
Surprise! I’ve stumbled upon a delightful project that captures the hearts of both crafters and loved ones alike: the Charming Crochet Baby Bonnet with Scalloped Detail. This handmade treasure isn’t just adorable; it’s also incredibly functional and a wonderful way to express your creativity. For those looking to embrace their yarn stash, this crochet baby bonnet is a fantastic stash-buster that takes only a short time to complete. With its vintage-inspired design, it’s sure to become a cherished accessory for any little one, perfect for both chilly days and sunny outings. The open stitch pattern provides a delightful texture, while the scalloped edges lend a rustic charm that is both timeless and stylish. Plus, it’s beginner-friendly enough for crafters eager to tackle something new without feeling overwhelmed. What treasures often lie within your yarn stash waiting to be transformed into something as sweet as this bonnet?
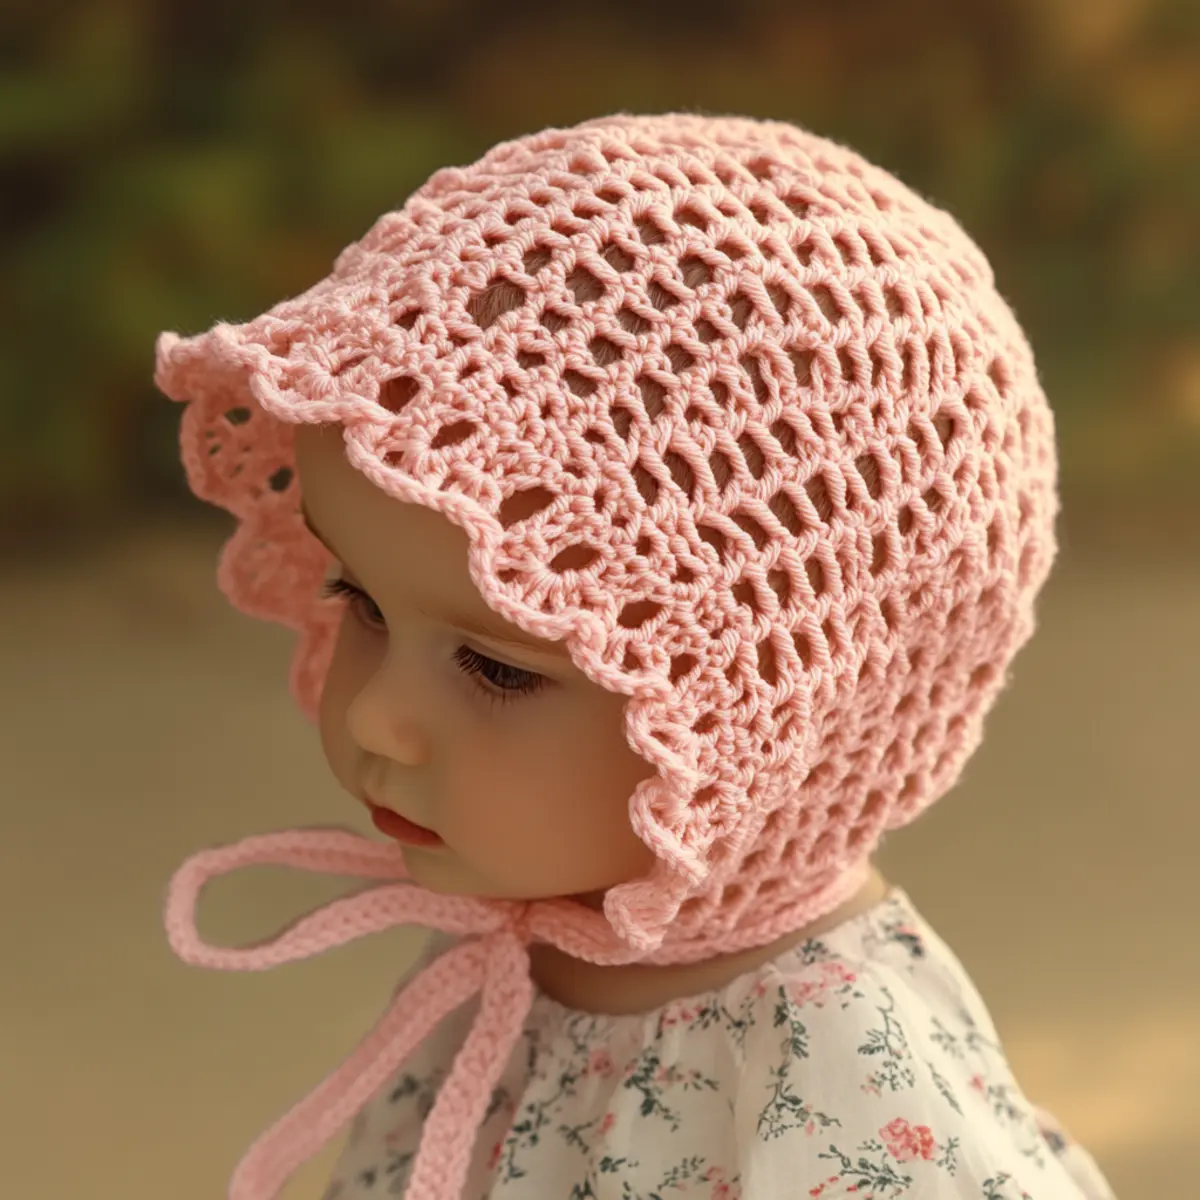
Crochet Baby Bonnet Materials & Tools
Yarn
DK or lightweight worsted yarn – A cotton or cotton-blend yarn works best for the baby bonnet, ensuring softness against the skin. Aim for about 100-150 yards for this crochet baby bonnet.
Color variation – Consider pastel colors like mint green or soft yellow for a cheerful look.
Tools & Notions
4.0 mm (G) crochet hook – This size provides the perfect balance for your stitches.
Stitch markers – Utilize these to maintain stitch counts for those intricate sections.
Small buttons – Opt for these as decorative elements, ensuring they are securely stitched for safety.
Why You’ll Love This Pattern
Simplicity is at the heart of this crochet baby bonnet design, making it easy for beginners to follow. The open stitch pattern and scalloped edge provide a stunning texture that enhances its vintage charm. This project is stash-friendly, allowing you to use up leftover yarn while crafting something beautiful. Not only is it time-saving for busy crafters, but it also boasts impressive aesthetic appeal that will draw compliments from family and friends. For an extra touch, consider adding some decorative flowers or experimenting with color variations to make it uniquely yours. Overall, this crochet baby bonnet is a fulfilling project you’ll be proud to create!
Gauge & Sizing Notes for Crochet Baby Bonnet
Checking your tension is crucial for achieving the right fit for the crochet baby bonnet. This project aims for a standard 4×4 inch gauge measurement of 16 dc across and 8 rows high. If your gauge differs, you may need to adjust your starting chain or rounds by adding or subtracting multiples of 2 stitches, depending on the size desired. A snug fit is necessary, especially for infants, so make sure your swatch matches. If it does not, adjust your hook size or yarn tension accordingly. This crochet baby bonnet is designed to fit a typical infant’s head size of 16-18 inches in circumference, making it an essential accessory for outfits and perfect for both chill or sunny weather. The scalloped edges add charm and texture while ensuring a cozy fit.
Step-by-Step Pattern for Crochet Baby Bonnet
Row 1: Foundation Chain
Start by creating a foundation chain of 52 ch. This will serve as the base for your crochet baby bonnet. Ensure the chain is loose enough for later stitches to fit comfortably.
Row 2: Establishing the Crown
In the 4th ch from the hook, make 1 dc. Continue across the foundation chain, working 1 dc into each ch until you reach the end. This creates the rounded crown of the bonnet (50 dc).
Row 3: Increasing for Shape
Now, turn your work and ch 3 (counts as first dc). In the same stitch, make 2 dc, then dc in the next 24 stitches. Here, you’ll make an increase in the last stitch (noting first increase counts as 26 dc).
Row 4: Continuing the Crown
Repeat the previous step to form an even larger crown. Turn, ch 3, and work 2 dc in the first stitch, then dc in the next 25 stitches, ending in an increase again (total of 27 dc).
Row 5: Creating the Open Stitch Pattern
Turn your work once more, ch 3, and dc in the next 5 sts. Next, make a ch 1, skip 1 st, and dc in the next 5 sts. Repeat across the row, ensuring you end with 1 dc in the last stitch(total 29 dc, 5 ch 1 spaces).
Row 6: Scalloped Edging Begins
In this row, your stitches will form the lovely scalloped edge. Turn your work, ch 3, and create 5 dc in the first ch 1 space. Now, skip the next dc and make sl st in the next for a neat peak (total of 6 scallop peaks across the row).
Row 7: Continue the Scallops
Repeat the last step across the entire row, working into each ch 1 space. This will further develop the charming scalloped aesthetic of your crochet baby bonnet (ending with 6 perfect scallops).
Row 8: Finishing the Bonnet
After achieving several scallops, it’s time to close the top. Make a slip stitch across the last row to secure the design. This gives a neat finish to the top part of the bonnet.
Row 9: Starting the Ties
For the ties, chain 60 for each side. Bring the chain back towards the bonnet and finish with a sl st in the base of the bonnet to secure the tie. Repeat on the opposite side.
Row 10: Final Touches
Return to the scalloped edges and if needed, create any additional decorative embellishments such as flowers by working into the next stitches. Secure with a sl st.
Row 11: Blocking
To finish, gently block your bonnet, stretching it slightly to enhance the scallops. This will also help to shape it, giving it that polished look. Allow it to dry flat.
Row 12: Ready for Baby
Finally, your crochet baby bonnet is complete! Check that all ends are woven in securely and that your stitches are even before gifting or using it.
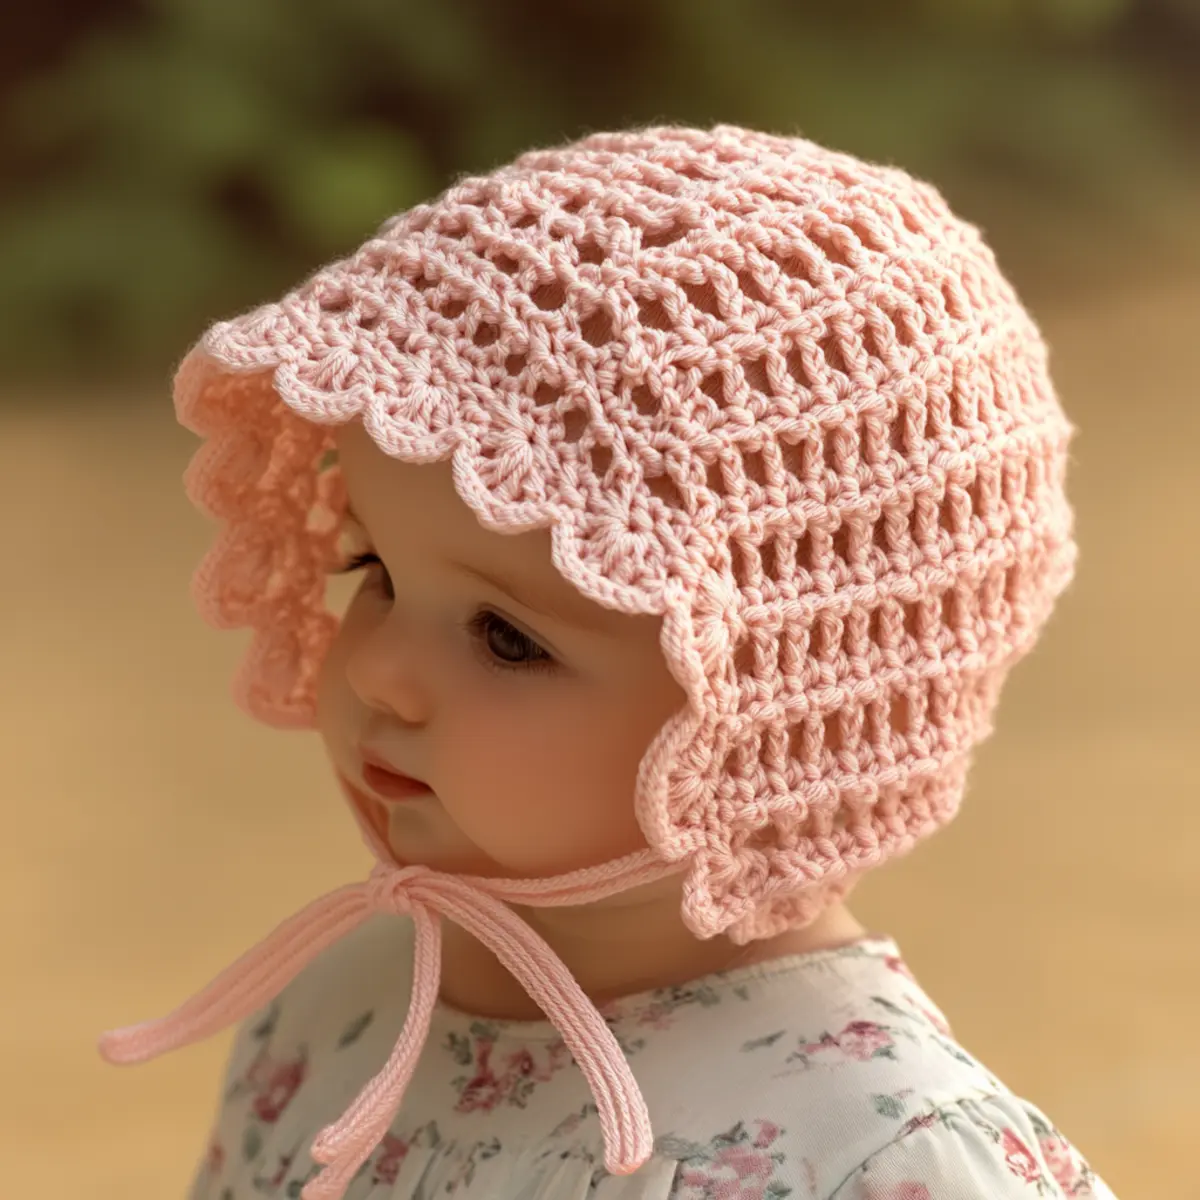
Expert Tips for the Perfect Crochet Baby Bonnet
Monitor Your Count: Keep track of your stitches as you work to avoid losing count, which can mess up your beautiful crochet baby bonnet!
Avoid Dropped Stitches: Use stitch markers to alert you when you need to increase or when changing rows, preventing dropped stitches.
Loose Foundation Chain: Make sure your foundation chain is not too tight, otherwise it can twist and affect the lay of the bonnet.
Consistent Tension: Maintain an even tension throughout to ensure that the bonnet fits snugly and maintains its shape.
Gauge Swatching: Always check your gauge before starting; this helps ensure the bonnet will fit correctly on the infant’s head.
Blocking Matters: Don’t skip the blocking step! Gently stretching it helps emphasize the scalloped edges and provides a polished finish.
Crochet Baby Bonnet Variations
Feel free to customize your crochet baby bonnet to suit your style and occasion!
- Color Variation: Experiment with pastel colors like mint green or soft yellow for a brighter and more playful take.
- Yarn Type: Consider using a bamboo or organic cotton yarn for an eco-friendly approach that adds a unique texture.
- Size Customization: Adjust the chain foundation to create a larger size for toddlers or even an adult retro version.
- Embellishments: Add decorative flowers or other crochet appliqués to the bonnet for personalized flair, ensuring that it remains safe for a child.
- Texture Changes: Switch to a textured yarn, like boucle, to introduce a funky look for a more modern vibe. This can transform the finished garment into a trendy statement piece that stands out even more.
- Pattern Modifications: Explore different stitch patterns combined with the scalloped edge to create unique visual interest. This will not only enhance your skills but also allow you to play with rhythm and texture in your work.
- Functional Ties: Consider using a contrasting yarn for the ties to make them stand out visually while still being functional. This small change can elevate the overall aesthetic of your bonnet, adding an element of surprise.
- Seasonal Colors: For seasonal celebrations, crochet the bonnet in festive colors or patterns that reflect the season’s themes. Think warm oranges and browns for fall, or pastel pinks and blues for spring, which bring seasonal joy to your project.
How to Wash and Care for Your Crochet Baby Bonnet
Machine Washing: If you opt for machine washing, use cold water on a gentle cycle to maintain the shape of your crochet baby bonnet.
Hand Washing: Best to hand wash with mild detergent, gently soaking and rinsing to preserve the delicate scalloped details and prevent distortion.
Drying: Lay flat to dry, avoiding hanging to prevent stretching out of shape. Reshape the bonnet as it dries.
Storage: Store in a cool, dry place, preferably flat to avoid crushing the scalloped edges. Proper storage helps maintain its adorable form.
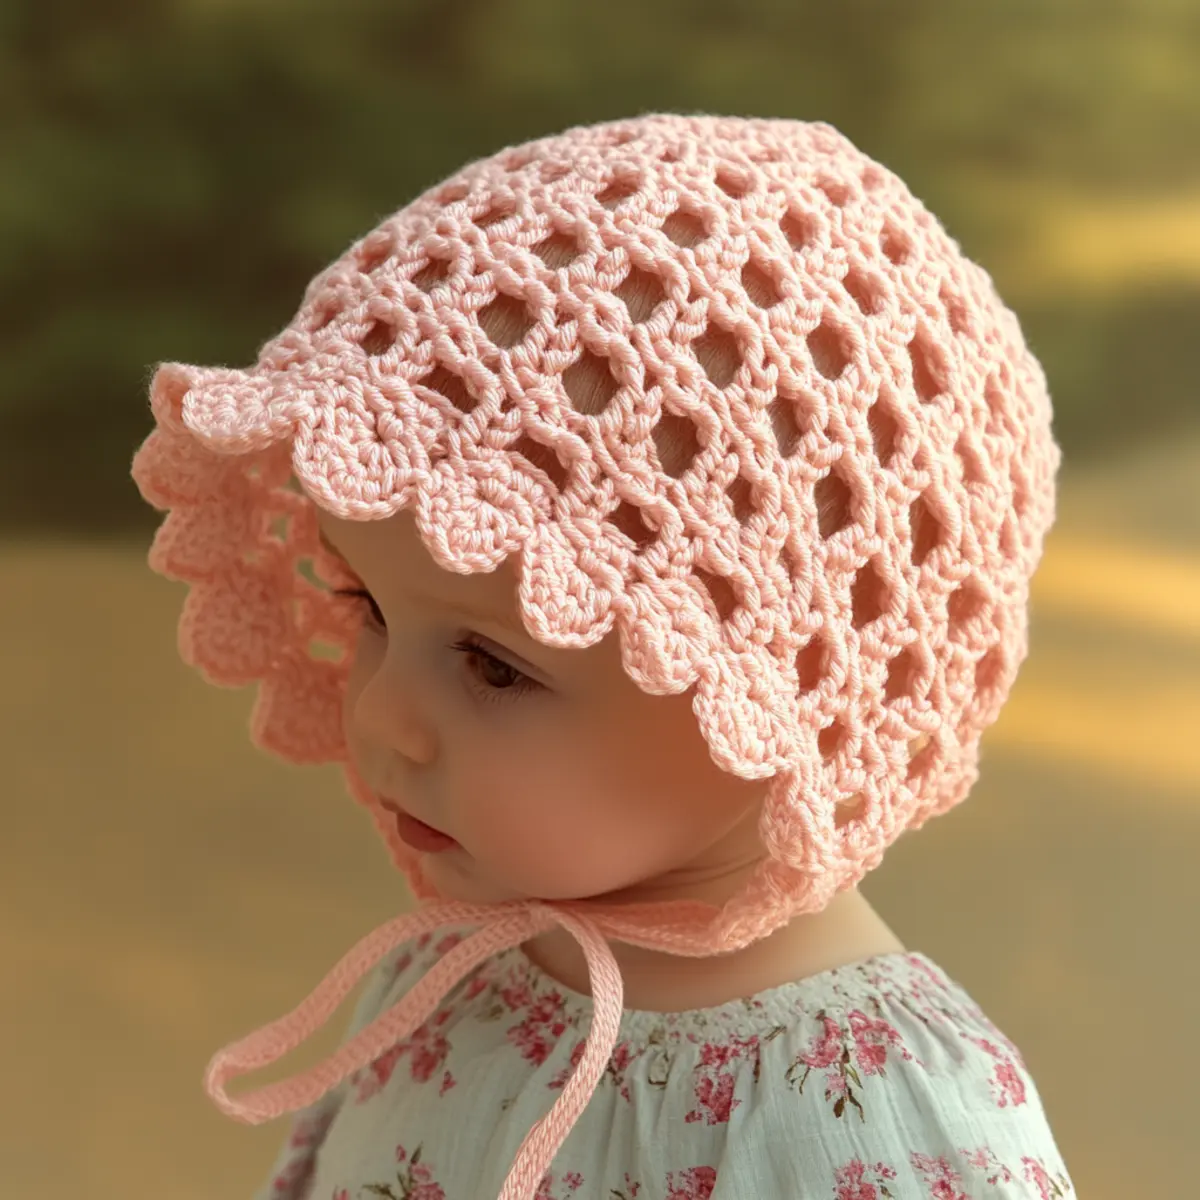
Crochet Baby Bonnet FAQs
Can I use different yarn types for this project?
Absolutely! You can experiment with bamboo or organic cotton yarn for unique textures, but ensure they’re soft and safe against the baby’s skin.
What if I want to size up the bonnet?
To create a larger size, simply adjust the foundation chain by adding multiples of two. Gauge swatches are essential to achieve the perfect fit!
What should I do if my stitches are curling?
Don’t panic! A common issue often occurs with open stitch patterns. Try using a larger hook size or adjusting your tension for a balanced look.
What hook size should I use for this bonnet?
A 4.0 mm (G) crochet hook is suggested, balancing stability and stretch, but you can modify this based on your own comfort and tension.
How do I troubleshoot if I drop stitches?
If you find dropped stitches, just take a deep breath! You can simply insert the hook back into the last known stitch and secure it, or frog back a few rows to fix it.
Is this bonnet suitable for outdoor use in sunny weather?
Yes, indeed! This crochet baby bonnet not only looks great but also offers protection from the sun when crafted with appropriate yarn materials!

Leave a Reply