
One sunny afternoon, I stumbled upon a charming crochet project that brought an unexpected smile to my face—the Buzzing Bee Amigurumi. This delightful crochet bee pattern is an impressive way to practice your stitches while creating something utterly adorable. What makes this project particularly enticing is its ability to transform simple yarn into a whimsical creature that’s perfect for gift-giving or brightening your living space. Plus, with just a small amount of plush chenille yarn, you can quickly whip up this playful bee, making it a fantastic stash-buster. Not only is it beginner-friendly, but the satisfaction of completing such a cheerful toy is second to none. I can’t help but wonder how many lovely variations you might create in your own unique style.
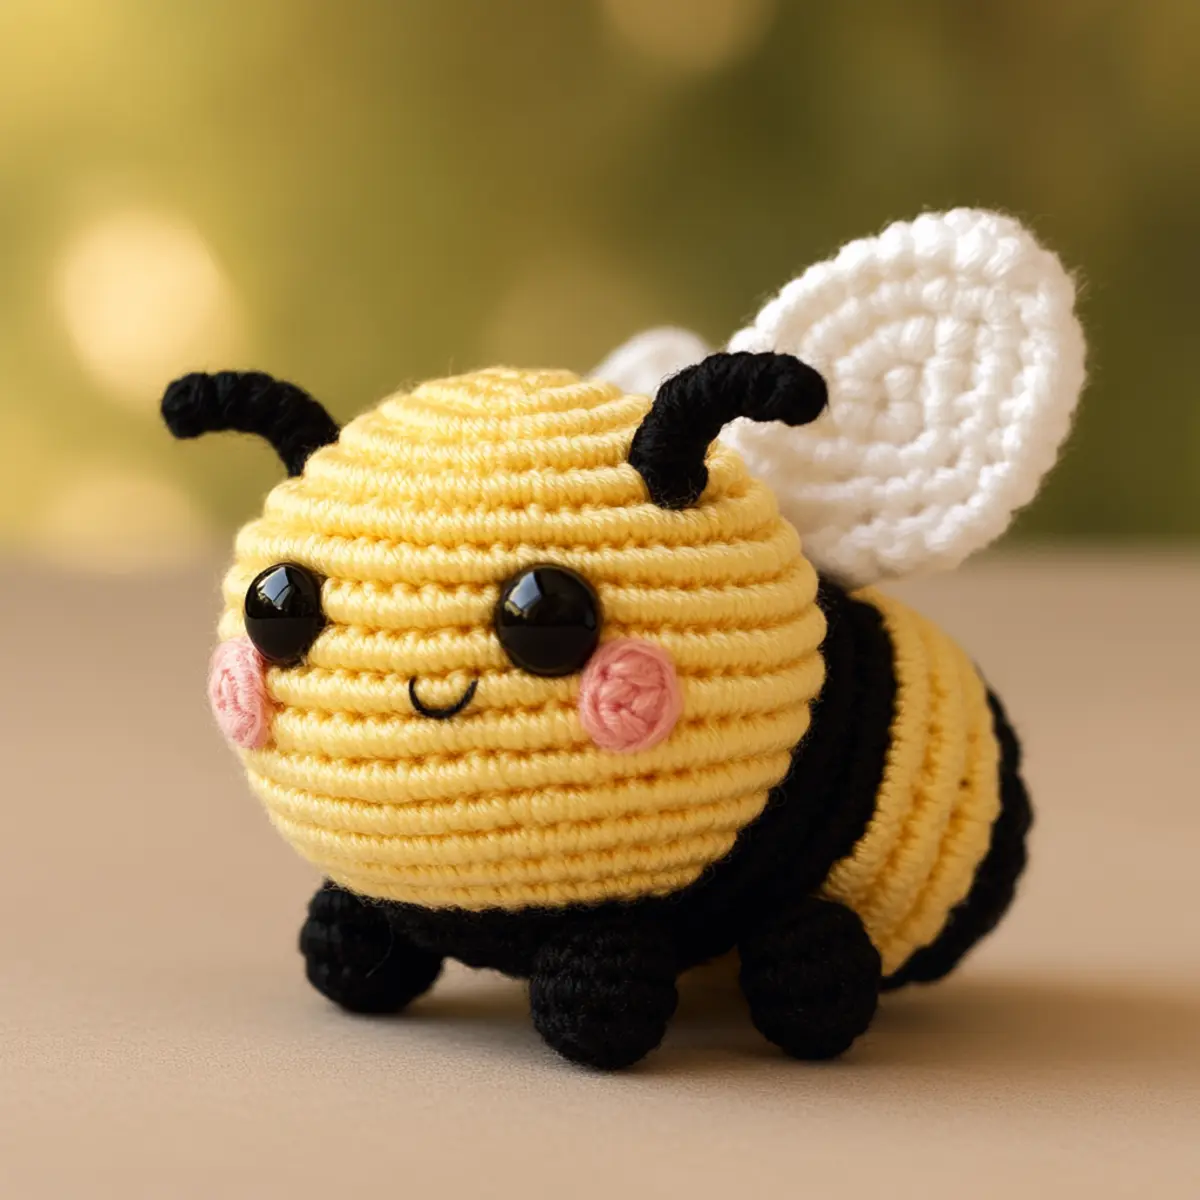
Crochet Bee Pattern Materials & Tools
Yarn
- Bulky Chenille Yarn – Approximately 100 yards per color; ideal for creating that plush, soft texture.
Tools & Notions
- Yarn Hook (G/6) – Ensure the right size for even stitches in your crochet bee pattern.
- Safety Eyes (12 mm) – These give your buzzing bee character and charm.
- Polyester Stuffing – Use enough to give your bee a nice plump shape.
- Yarn Needle – Essential for weaving in your ends and securing your pieces.
- Scissors – For clean cuts, vital for a neat finish.
What Makes This Pattern So Special?
Simplicity is key with this buzzing bee! The yarn techniques are easy to master and ideal for both beginners and seasoned crafters looking for a quick project. Texture plays a crucial role—crafted from soft chenille, the bee has a cuddly feel that enhances its charm. Bonus: it’s a fabulous stash-buster, allowing you to use up leftover yarn while making a delightful friend. The pattern is remarkably customizable, whether you choose to play with colors or scale up or down for various sizes. For those looking for quick results, this pattern is time-saving, so you can enjoy every stitch without feeling overwhelmed. Finally, the aesthetic appeal it adds to a child’s room or your crafting space is truly heartwarming. Don’t forget to check out related patterns like the Crochet Flower Pattern or Crochet Orchid Patterns to complement your new amigurumi creation!
Gauge & Sizing Notes for Crochet Bee Pattern
Checking your tension is crucial for the crochet bee pattern to ensure your final project maintains the desired dimensions and aesthetic appeal. A standard 4×4 inch (10×10 cm) gauge should yield approximately 12 stitches and 14 rows in a single crochet stitch using bulky chenille yarn. If your swatch does not match this measurement, experimenting with different hook sizes or yarn weights may be necessary. Be mindful when adjusting the starting chain or rounds to effectively resize your buzzing bee; adding or reducing rounds in the body or head may help you achieve the perfect size, whether you desire a smaller bee for a keychain or a larger plush companion. If your gauge is too loose, you may find stuffing challenging, while a tight gauge might make it difficult to work with. Always count your stitches to maintain the correct size throughout, ensuring that your craft not only looks beautiful but is also proportionate and cuddly!
Step-by-Step Pattern for Crochet Bee Pattern
Row 1: Make the Head Start by creating a magic ring (MR) and place 6 single crochet stitches (sc) inside. Pull tight to close the ring. By using a MR, you ensure a seamless start to your crochet bee pattern. (6)
Row 2: Increase Round In this row, you’ll double the number of stitches by working an increase in each stitch. This brings your stitch count to 12, helping to form the bee’s round head. (12)
Row 3: Continue Increasing Now, work an increase in each stitch again. Your total should now be 18 stitches. This process builds the necessary height for the bee’s head. (18)
Row 4: Keep Increasing Repeat the increase method to double your stitches once more. At the end of this row, you should have 24 stitches. This helps shape the bee’s head into a fuller form. (24)
Row 5: Sc Around This row consists of a simple single crochet around, maintaining your count at 24 stitches as you solidify the base of the head. It’s essential to keep an even tension for the bee’s structure. (24)
Row 6: More Increases Time for another set of increases. You’ll add 6 more stitches to total 30. This allows the head to expand a bit more, enhancing the bee’s round shape. (30)
Row 7: Sc Around Again Work one single crochet in each stitch. This keeps your total count at 30, ensuring a smooth transition to the next phase of your project. (30)
Row 8: Start Decreased Rows Begin decreasing to taper off the head. You’ll do this by doing a decrease 6 times, reducing your stitch count back down to 24. This shapes the top of your bee’s head nicely. (24)
Row 9: Sc Around Complete this round by single crocheting around for 24 stitches. It’s important at this stage to continually count your stitches to keep your piece uniform. (24)
Row 10: Continue Decreasing Another decrease round reduces the count to 18 stitches. This structured approach leads to the creation of a lightweight yet sturdy head. (18)
Row 11-12: Finish Off the Head Continue by crocheting around for 18 stitches in these rounds. This gives a final shape to your bee’s head while ensuring it remains proportional. (18)
Row 13-16: Create the Body Switching to the body, you’ll again use the MR and begin with 6 sc in the magic ring. This forms the base for your bee’s body. (6)
Row 17: Repeat Increases Work 6 increases in this row to achieve a count of 12 stitches for the body. This will provide a plump appearance to your crochet bee pattern. (12)
Row 18: Alternate Stripes Starting with a color change, alternate 6 yellow and 6 black stripes. This creates the classic bumblebee look. Aim for a total of 30 stitches here, alternating yarn every 3 or 4 rows as you please. (30)
Row 19: Final Body Decrease Complete this portion with a decrease round (6). This prepares your body for attachment to the head. (30)
Row 20: Make the Arms/Legs Return to your MR and create 6 sc in there for the limbs. You want a tight fit since they’ll be in constant motion. (6)
Row 21: Shape the Wings Work 6 sc in MR again, shaping the wings. The elegance of your wings will lend itself to an aesthetically pleasing Buzzing Bee. (6)
Row 22: Define Wings Shape Finish your wings with the last thoughtful row of increases, creating character and charm. All gentle motions help accentuate the wings on this perfect amigurumi friend. (12)
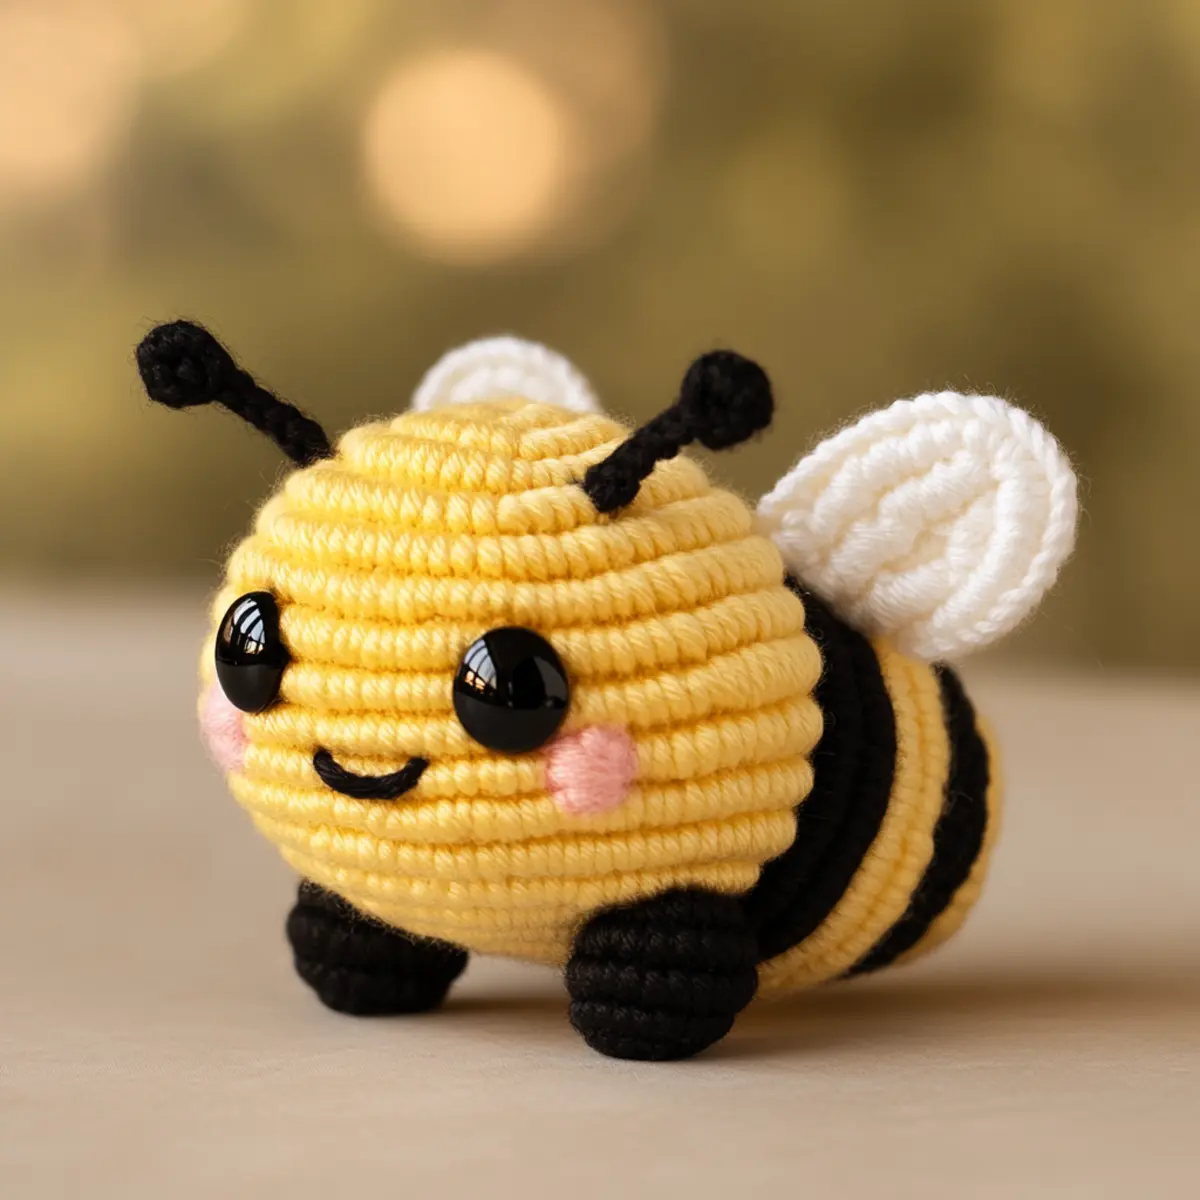
How to Wash and Care for Your Crochet Bee Pattern
Machine Washing: Use a gentle cycle with cold water, placing your crochet bee in a mesh laundry bag. Avoid harsh detergents to maintain its softness.
Hand Washing: If preferred, hand wash with mild detergent using cold water. Gently squeeze without twisting to retain the plushness of the yarn.
Drying: Always lay your crochet bee flat to dry. Avoid hanging as this can distort its shape. Reshape the arms, legs, and wings if needed while wet.
Storage: Store in a cool, dry place away from direct sunlight to prevent fading. Consider using air-tight containers to protect it from dust and pests, ensuring your crochet bee stays in top condition.
Crochet Bee Pattern Variations
Feel free to customize your buzzing bee amigurumi to reflect your unique style!
- Change Colors: Use pastel shades for a softer look or metallic yarn for an eye-catching twist. Experiment with combinations like Crochet Flower Pattern to add flair!
- Size Adjustments: Opt for a larger or smaller bee by adjusting the yarn weight and hook size, perfect for creating a family of bees!
- Texture Twist: Swap the chenille yarn for a smoother worsted weight yarn for a different feel. This gives you a chance to explore texture variations.
- Accessorize: Add tiny crocheted flowers or bows for personalization, making your bee even more charming. This extra touch can bring your buzzing friend to life!
- Eye Experimentation: Play around with different sizes of safety eyes to create varying expressions, transforming the bee’s personality. A smaller or larger eye can create a cute or silly character easily.
- Wing Blocking: To give your wings a flared effect, consider blocking them after completion. This method will enhance the delicate look and add more dimension to the finished piece.
- Playful Patterns: Try incorporating stripes not only in black and yellow but also in various colors for a whimsical garden bee look that is sure to stand out.
- Adventurous Yarn Mixes: Use cotton yarn or a silk blend for a more breathable texture if you’re looking for something different for a summer project. The softness can also offer a different drape.
Expert Tips for the Best Crochet Bee Pattern
Stitch Count: Always count your stitches after every round; this ensures that the shape of your crochet bee is correct and minimizes mistakes.
Tension Matters: Maintain consistent tension throughout your project to avoid gaps or difficulty with stuffing. A tight tension can make it hard to insert stuffing.
Foundation Chain: Make sure your magic ring is snug. A loose magic ring can cause your work to unravel and affect the shape of the bee.
Blocking Wings: Consider blocking the wings after finishing your crochet bee. This helps to shape them and adds a lovely flared effect that enhances their visual appeal.
Yarn Substitution: If chenille yarn isn’t available, look for another soft bulky yarn that maintains a plush texture and similar weight. Experiment but keep the weight consistent for best results.
Color Play: Customize your buzzing bee by changing up the colors! Try a mix of pastel shades or even metallic yarn for a unique twist. This keeps your crochet bee pattern fresh and fun.
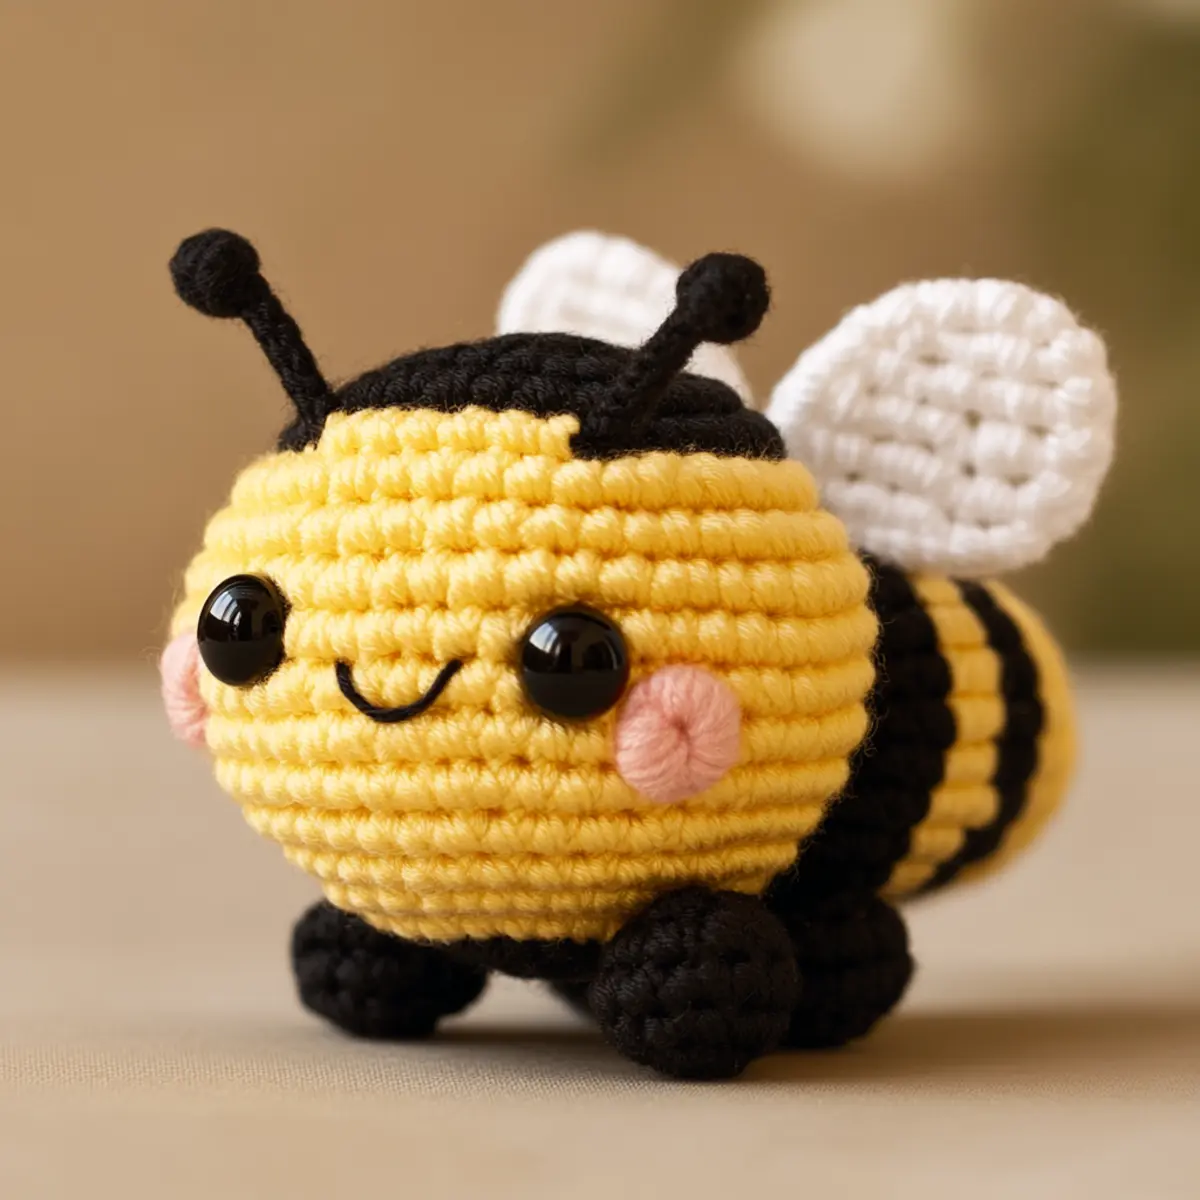
Buzzing Bee Amigurumi FAQs
Can I use a different yarn for this pattern?
Absolutely! Just make sure to keep the weight similar to bulky (weight 5) yarn for the right texture and size.
How do I adjust the size of my bee?
If you want a larger or smaller version, you can easily adjust the yarn weight and size of your hook. Changing the number of rounds or stitches also helps achieve your desired size.
What to do about dropped stitches?
Don’t panic! Just pull back to the last complete round and redo it. Keep a stitch marker handy to track your current round and minimize future drops.
What hook size is best for this pattern?
The recommended hook size for this crochet bee pattern is G/6. However, always check your gauge to ensure that your bee will come out the desired size and shape.
Why is my bee curling?
If your crochet bee pattern is curling, it might be due to too tight of stitches or incorrect tension. Make sure to relax your grip or use a larger hook to create a more even tension.
How can I personalize my buzzing bee?
You can add accessories like tiny crocheted flowers or custom bows. Experimenting with different sizes of safety eyes can really change the expression and personality of your bee!

Leave a Reply