
There’s something magical about crafting a bloom that won’t wilt—especially when it’s a stunning crochet rose! This timeless crochet rose pattern invites you to step into a world of creativity, where you can design a three-dimensional flower that adds a personal touch to any occasion. Aimed at intermediate crafters, this project not only hones your skills but also provides two irresistible perks: it works up beautifully quick and lends an elegant charm to your home or thoughtful gifts. Imagine gifting a loved one a handmade treasure that captures the essence of affection and artistry! Let’s dive into the world of yarn and explore how to create this delightful crochet rose that’s just waiting to blossom in your hands.
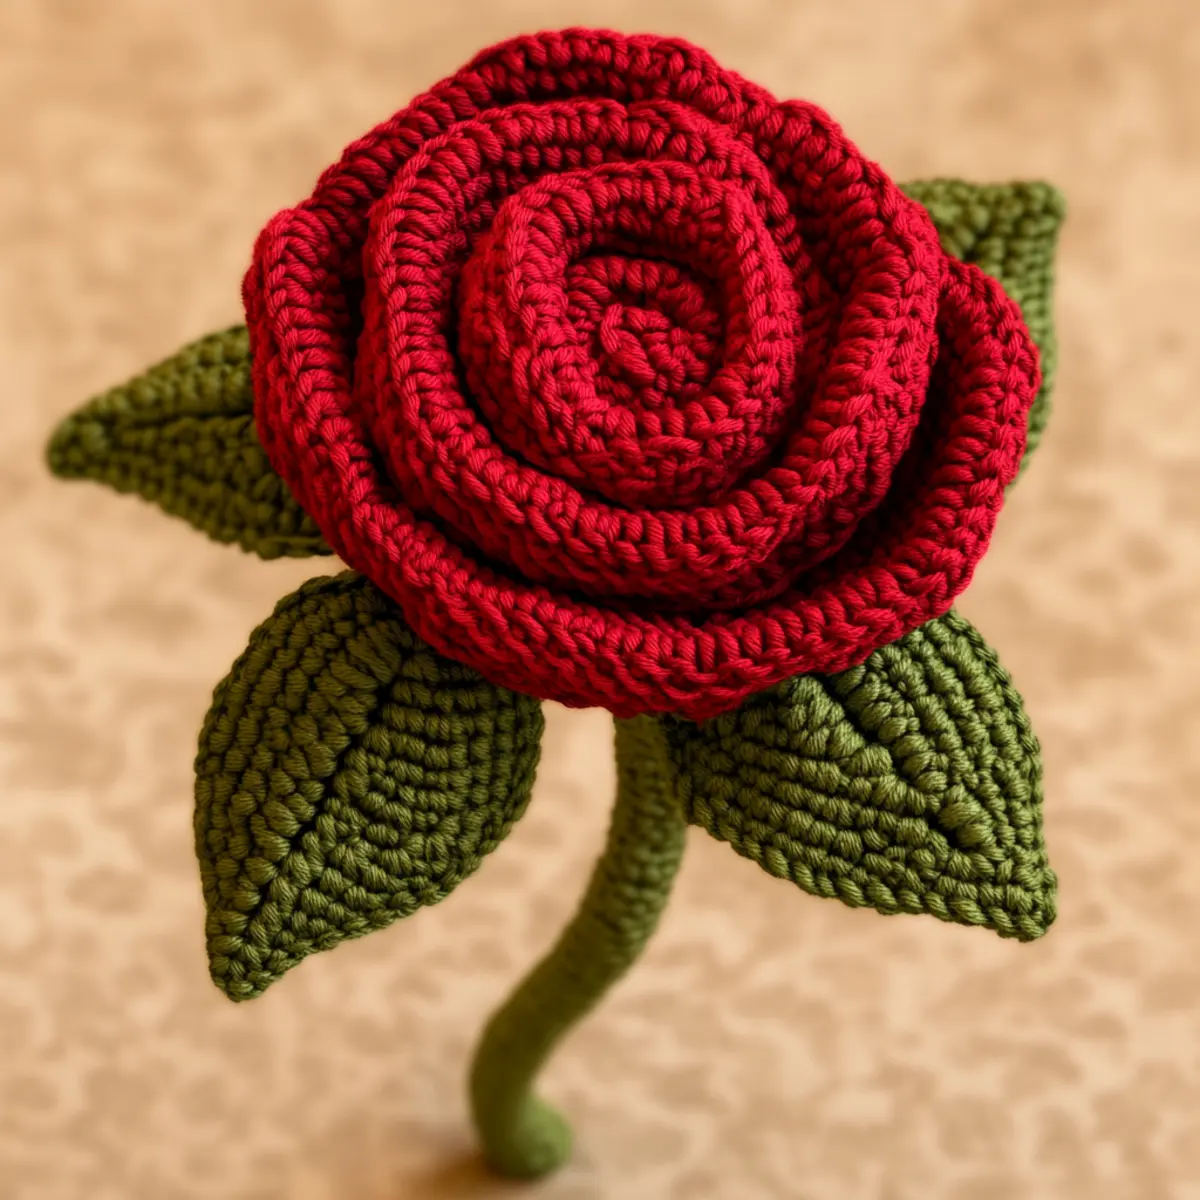
Crochet Rose Materials & Tools
- Medium-Weight Cotton Yarn – Use about 100-150 yards of rich red for petals and 30-50 yards of green for leaves, perfect for creating your stunning crochet rose.
- 3.5mm (US E/4) Hook – This size helps in achieving the ideal tension for the rose petals, allowing them to drape beautifully.
- Scissors – Essential for cutting yarn cleanly while creating your petals and leaves.
- Yarn Needle – Ideal for sewing your rose pieces together securely and weaving in loose ends.
- Floral Wire (Optional) – Provides extra support for the rose stem, giving it a lovely and sturdy form as you showcase your creation.
Dive into crafting your beautiful crochet rose and let your creativity flourish!
Why Not Craft a Timeless Crochet Rose?
Enduring Beauty: This crochet rose is a classic that never fades, providing you with a stunning piece that lasts.
Quick & Easy: With straightforward techniques, you’ll find this project works up rapidly, making it perfect for last-minute gifts!
Endless Color Options: Experiment with a spectrum of yarn colors to create personalized roses for any occasion, from vibrant reds to soft pastels.
Versatile Decor: Whether displayed as a centerpiece or gifted as a heartfelt gesture, this rose adds charm wherever it goes.
Unique Textures: Using different yarn types, like cotton or a soft blend, allows for experimentation in texture and draping while enhancing each rose’s charm.
Embrace your crochet journey and find more delightful patterns for your crafty heart in our stunning floral patterns section!
Gauge & Sizing Notes
Don’t skip the gauge swatch! Checking your tension is crucial for ensuring your crochet rose turns out just right. For this project, a standard gauge measurement is 4×4 inches (10×10 cm), which should yield 14 double crochets by 8 rows. If you’d like to create a larger rose, simply increase your starting chain in multiples of 4 to expand the overall size, while a smaller rose can be achieved by reducing your initial stitch count. If your swatch doesn’t match the desired gauge, don’t worry! If it’s too small, try going up a hook size to achieve the beautiful dimensions of your crochet rose. Happy crafting!
Step‑by‑Step Pattern for crochet rose
Row 1: Create the Petal Base
Ch 14, then in the 2nd ch from the hook, make 1 sc, followed by 1 hdc in the next 2 chs. Now, make 5 dc in the next ch, then in the following ch, make 1 hdc and 1 sc. To finish the petal, sl st into the last ch. Repeat until you have 6 to 8 petals (6-8 petals).
Row 2: Shape the Petals
To create depth, begin forming the petals. Start with a new petal, ch 14, sc in the 2nd ch from the hook, then 1 hdc in the next 2 chs. This time, increase to 6 dc in the next ch, followed by 1 hdc and 1 sc in the next ch. Sl st in the final ch to secure (6-8 petals).
Row 3: Assemble the Petals
Now, gather your 6 to 8 completed petals. Use the yarn needle to sew the bases of the petals together, creating a circular shape for your crochet rose. Ensure they are layered slightly over each other for a natural bloom effect, with your work starting to form a flower-like shape.
Round 1: Form the Base
In order to create the base for your crochet rose, make a magic ring. Inside the ring, work 12 sc. Pull the ring closed, being mindful that the tension must be even, helping to secure your petals effectively (12 sts).
Round 2: Build the Layer
Next, in the same ring, make 2 inc in each sc around for added stability and structure. After this round, you should have a total of 24 sc. Your base will begin to cup slightly as you fill it out, providing a strong foundation for each petal attachment (24 sts).
Step 1: Attach Petals to Base
Begin attaching the petals to the base. With the right side facing up, evenly space the petals around the base, using your yarn needle to secure each one with 2-3 stitches at the base. Your crochet rose will take form, visibly showcasing each layer of petals beautifully.
Step 2: Create Leaves (Optional)
For additional detail, ch 12 for leaves. Turn and sc in the 2nd ch from the hook, then hdc in the next ch, followed by 3 dc in the next ch and hdc, then sc in the last two chs as you return. Finish with a sl st to create a leaf shape. Repeat for a second leaf.
Step 3: Assemble the Leaves
Place your leaves strategically around the base of your rose or attach them to the stem if using floral wire. Secure with your yarn needle, making sure they complement your crochet rose’s overall aesthetic. This final touch elevates the design, adding nature’s charm to your work.
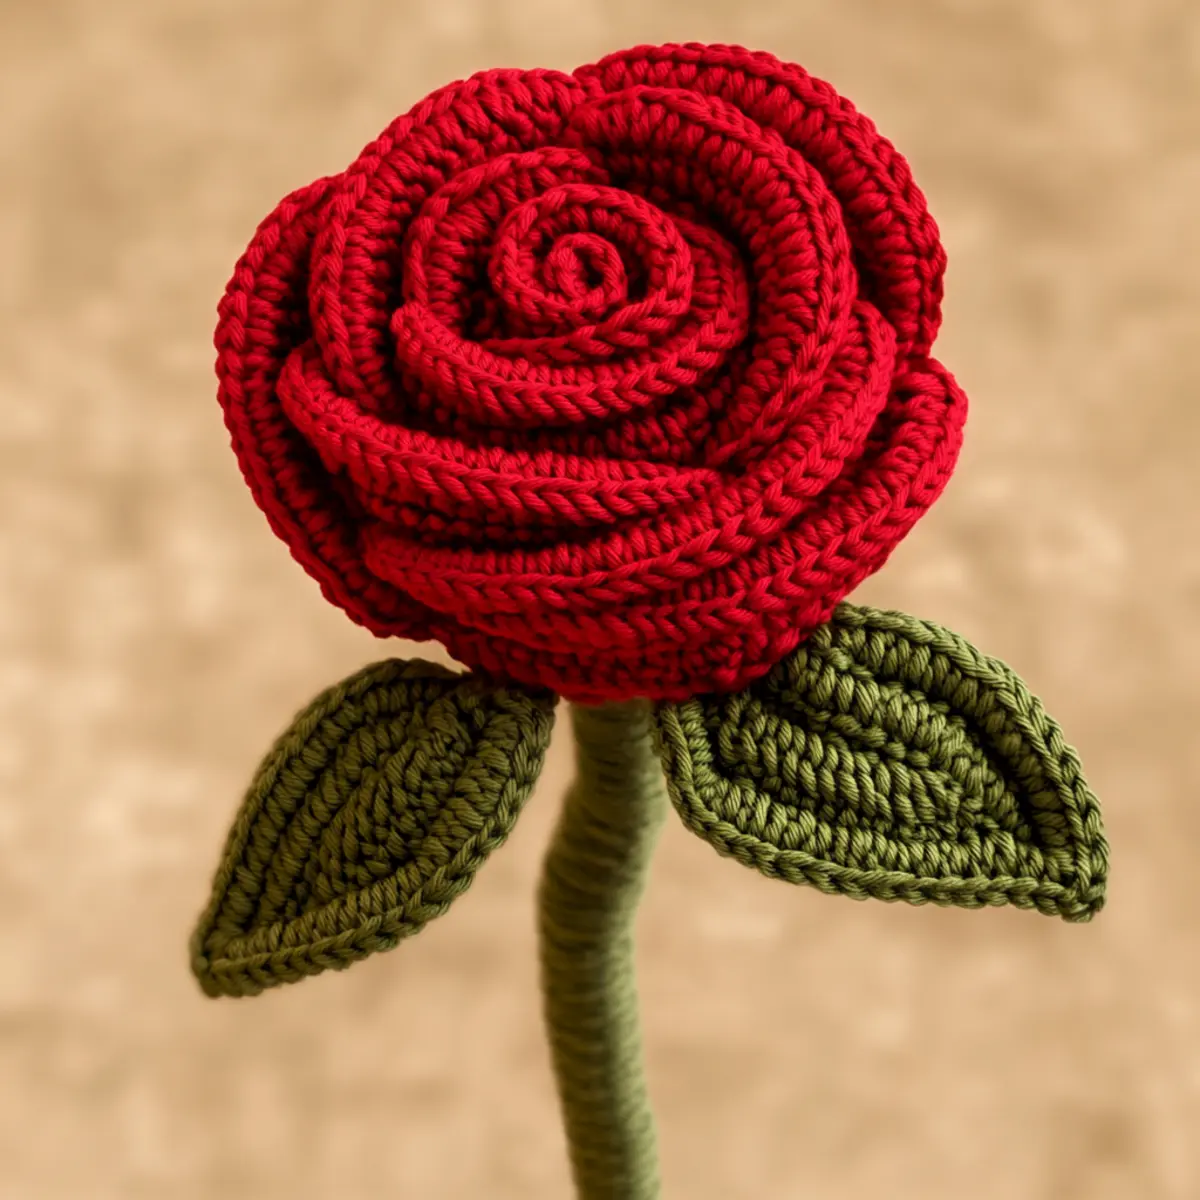
Crochet Rose Variations & Substitutions
Feel free to let your creativity flourish and customize this crochet rose pattern in delightful ways!
-
Yarn Substitutions: Try using cotton blends for a softer touch. Experiment with texture to see how it alters the rose’s look.
-
Color Play: Go beyond red—imagine roses in lavender, peach, or even a gradient! Play with different shades for an eye-catching bouquet effect.
-
Yarn Weight Adjustments: Switch to bulky yarn for a larger flower or use finer yarn for a delicate, petite rose that’s utterly charming.
-
Texture Tweaks: Add a playful pom-pom or fringe to the tips of the petals for extra flair, giving your rose a whimsical touch.
-
Leaf Variations: Create different sizes of leaves or stitch them in contrasting colors for a dramatic effect, enhancing your rose’s overall appeal.
-
Personalized Embellishments: Incorporate beads, sequins, or even a touch of glitter to create a sparkling rose that draws the eye!
-
Stem Options: Use floral wire for a sturdy stem or crochet a whimsical ribbon to tie around it for a delightful finish—conveying love with every detail!
-
Size Adjustments: Make a stunning statement piece by increasing the number of petals or adding an extra layer, transforming it into a show-stopping blossom.
Searching for more inspiration? Check out our collection of unique crochet patterns to keep the creativity flowing!
Care Instructions for Your Crochet Rose
Machine Washing: Use a gentle cycle with cold water if needed and place your crochet rose in a mesh bag to protect it from snags.
Hand Washing: For best results, hand wash your crochet rose in cold water with mild detergent, gently soaking before rinsing to maintain its shape and integrity.
Drying: Lay your rose flat on a clean, dry towel to air dry—avoid wringing or hanging, as this can distort the petals and affect the overall appearance.
Storage: Keep your finished crochet rose in a cool, dry place, avoiding direct sunlight to prevent colors from fading and ensuring it stays beautiful for years to come.
Expert Tips for Your Crochet Rose
• Tension Matters: Ensure your stitches are not too tight; a loose tension allows flexibility in shaping the petals beautifully.
• Count Carefully: Keep a close eye on your stitch count while working through rows. Losing track can lead to uneven petals, so consider marking your rows as you go.
• Blocking Beauty: Don’t skip blocking! It defines the edges of your crochet rose, enhancing its lifelike appeal and ensuring it holds its shape.
• Petal Perfection: When joining petals, sew them securely to the base but avoid pulling too tight to maintain that soft, natural drape of the rose.
• Tailoring Size: Adjust the size of your crochet rose by using a larger hook or bulkier yarn—both methods can yield stunning results without losing integrity.
Explore the joy of creating by applying these tips to your crochet rose project, bringing your floral vision to life!
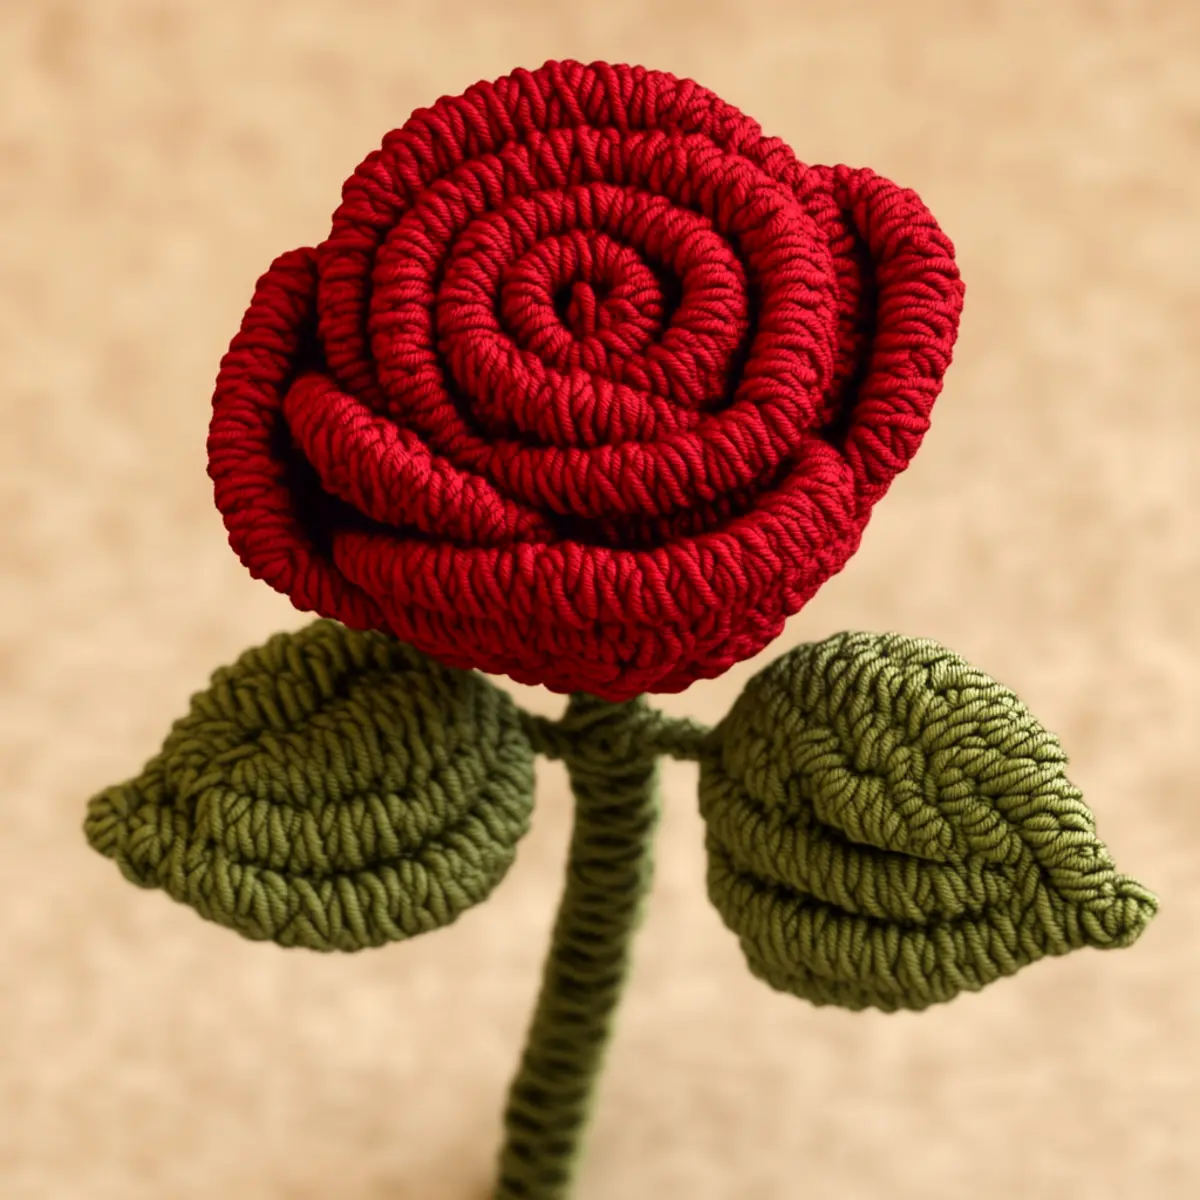
Timeless Crochet Rose Pattern FAQs
Can I substitute yarns in this crochet rose pattern?
Absolutely! While medium-weight cotton yarn is recommended for durability and ease of handling, you can experiment with other yarn types such as acrylic or wool blends. Keep in mind that different fibers will create variations in texture and drape, but they can still yield beautiful results.
How can I adjust the size of my crochet rose?
It’s easy to change the size! You can either use a larger crochet hook or opt for bulkier yarn to create a larger rose. Conversely, if you’d like a smaller flower, try using a lighter weight yarn and a smaller hook. Just remember to maintain your stitch count for balanced petals!
Why is my work curling while making the petals?
Don’t panic! If your petals are curling like a bowl, you may need to adjust your tension. Make sure your stitches are not too tight, as loose stitches allow for better shaping. Blocking your petals after completion can also help to flatten and define them beautifully.
What hook size should I use for this crochet rose?
The recommended hook size for the timeless crochet rose is a 3.5 mm (US E/4) crochet hook. This size strikes a perfect balance between creating dense, yet flexible stitches—ideal for shaping those lovely petals!
How do I fix dropped stitches when assembling the rose?
It’s an easy fix! Simply locate the dropped stitch and loop it back onto your hook. If you’re unsure, you can always add a small single crochet in the row below the drop for extra security. Ensure to pay close attention while assembling to maintain a seamless finish.
What if my petals are uneven in size?
Keep an eye on your stitch count as you work through the rows; even minor slip-ups can lead to uneven petals. If you notice discrepancies, it can be helpful to retrace and maintain consistency while stitching. This will make a lovely difference in your finished crochet rose!

Leave a Reply