
As I settled into my favorite crafting corner, the realization hit me: creating a unique accessory doesn’t have to be complex. That’s why I’ve designed the Crochet Lucy Tote Bag—a delightful project embracing the charm of floral motifs and the beloved granny square technique. This crochet tote bag is not only beginner-friendly but also a fantastic stash-buster, letting you experiment with colors you already have on hand. Imagine the thrill of using those leftover yarns while crafting something practical and stylish for your daily errands! With each stitch, I felt my creativity bloom, knowing that I was crafting something that serves a purpose while showcasing my skills. Plus, there’s just something special about carrying a handmade bag wherever you go—it’s a little piece of art that reflects your personality. As we dive into the specifics of this cheerful crochet pattern, I can’t help but wonder: what colors will you choose to make it your own?
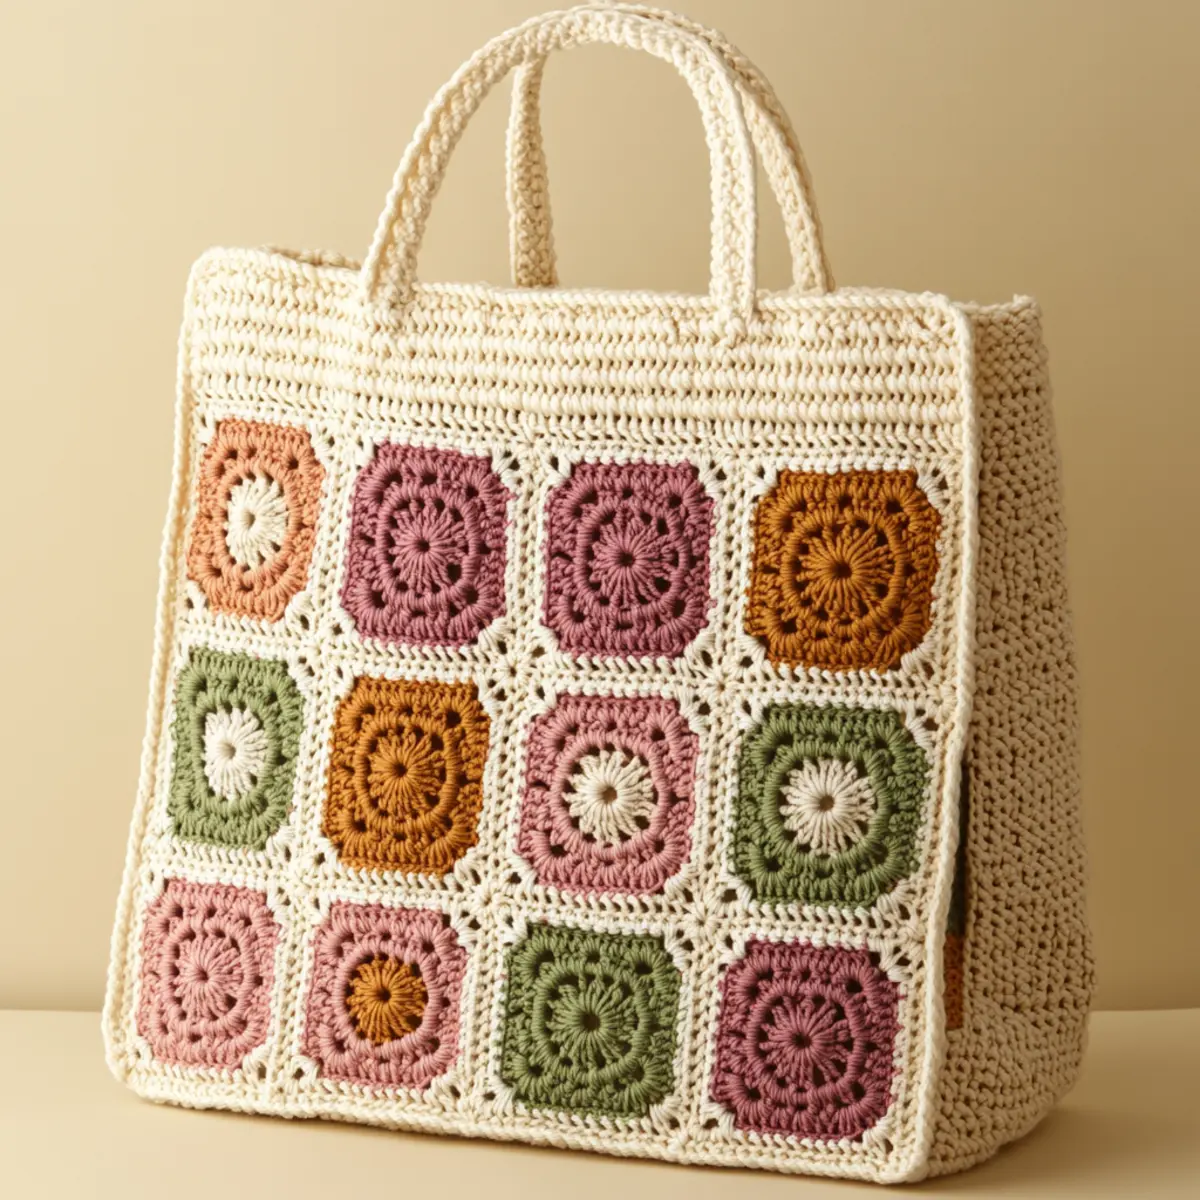
Crochet Tote Bag Materials & Tools
Yarn
Worsted Weight Cotton Yarn – Choose approximately 500-600 yards in your chosen colors, perfect for a durable crochet tote bag.
Accent Colors – Use shades like blush, sage, mustard, and brown to create vibrant floral motifs.
Tools & Notions
4.5 mm Crochet Hook – This hook size is ideal for achieving a balanced tension, ensuring the perfect structure for your bag.
Stitch Markers – Essential for marking your rows, helping maintain order as you create each granny square.
Scissors – A must-have for those clean cuts while working on your crochet tote bag.
Yarn Needle – Use this for weaving in ends and joining squares seamlessly.
Measuring Tape – A handy tool for checking dimensions and ensuring accuracy during assembly.
Why You’ll Love This Pattern
Easy-to-Follow: The Crochet Lucy Tote Bag pattern is designed for simplicity, making it approachable for beginners eager to dive into the world of crochet. Textured Elegance: With its combination of floral motifs and classic granny squares, you’ll create a textured bag that’s visually stunning and functional. Stash-Friendly: This pattern is perfect for utilizing leftover yarn, allowing you to mix and match colors creatively. You can also explore various yarn types like cotton or cotton blends to find the perfect feel for your crochet tote bag. Endless Customization: Make this tote uniquely yours by experimenting with different color palettes or adding personal touches like tassels or decorative buttons. It’s also a great chance to create an eye-catching seasonal accessory with the right colors. If you’re curious about other stash-busting projects, check out our guide to upcycling yarn or see how to turn your scraps into cozy accessories. Each reason highlights how this pattern stands out, wrapping practicality in a cozy, eye-catching design!
Gauge & Sizing Notes for Crochet Tote Bag
It’s crucial to check your gauge when creating the Crochet Lucy Tote Bag to prevent any sizing issues that might affect its function. Aim for a standard gauge of 4×4 inches (10×10 cm) with approximately 16 dc and 10 rows to ensure that your granny squares stay uniform and consistent throughout. If your swatch is larger or smaller than expected, adjust your hook size or tension accordingly—switch to a smaller hook if stitches are too loose, or try a larger one if they’re too tight. You can resize the bag by adding or subtracting rows of squares or altering the width of your side panels. The final bag dimensions will be approximately 14 inches wide and 13.5 inches high; adjusting the number of squares can help you achieve the perfect fit for your needs. By maintaining consistent tension and having a reliable gauge, your crochet tote bag will boast a beautiful shape and structure, making it a practical accessory for all your outings.
Step-by-Step Pattern for Crochet Tote Bag
Row 1: Begin Your Granny Square
Start by making a magic ring. Ch 3 (counts as dc), then work 2 dc into the ring, ch 2, and repeat this 3 more times to create a total of 4 dc clusters. Join with a sl st to the top of the ch 3. You should now have a ring with 4 clusters. (Total: 16 dc)
Row 2: Expanding the Square
Ch 3, work 1 dc in the same sp. Then, in each ch-2 sp, work 2 dc, ch 2, and 2 dc. At the end, join with a sl st to complete the round. This gives your granny square a fuller look. (Total: 32 dc)
Row 3: Floral Motif Creation
Change colors as desired for the floral effect. Ch 3, work 2 dc in the same sp and then ch 2, 3 dc in the next ch-2 sp. Repeat until all corners are filled. Join with a sl st at the end. This round brings a beautiful floral shape. (Total: 48 dc)
Row 4: Continue Flower Theme
Keep your new color! Ch 3, work 2 dc in the first ch-2 sp, then dc in each dc across, and in each ch-2 sp, work 3 dc, ch 2, and 3 dc. This step enhances the floral design by adding petals. (Total: 64 dc)
Row 5: Completing the Floral Square
Switch back to your base color. Ch 3, 1 dc in the first sp, then 3 dc in each ch-2 corner and connect at the end with a sl st. This row gives dimension to your floral granny square. (Total: 80 dc)
Row 6: Preparing for Assembly
Make a total of 6 granny squares. Follow the floral pattern closely but feel free to explore color variations. Keep your tension even to make sure all granny squares are consistent in size. (Total: 80 dc each)
Row 7: Assemble the Tote Base
Using a round of dc, ch 3 to start, and work around putting 3 dc in each corner of the granny squares. Make sure to join each square to create a base where you’ll attach the side panels later. (Total: 240 dc)
Row 8: Create Side Panels
For the side panels, crochet up from the squares using dc. Start with the same initial chain and add 3 rows, ensuring the side panels match the height of the granny squares. This forms the structure of your tote. (Total: 120 dc per side)
Row 9: Attach the Base with Whip Stitches
With your yarn needle, use whip stitches to seam the base of your tote to the granny square panels. Ensure you keep edges aligned for a neat finish. It’s essential to have the squares seamlessly blend into the sides of the bag.
Row 10: Handles Construction
Make the handles by chaining 40 and then working 3 rows of hdc (half double crochet). Join to each side of the top opening securely by stitching with your yarn needle. This gives your tote sturdy supports for carrying. (Total: 120 hdc)
Row 11: Finishing Touches
Weave in all ends using your yarn needle for a clean finish. Block your tote bag lightly to ensure all squares lay flat and the shape is well defined. This also helps to set the final size of your tote.
Row 12: Add Your Custom Touches
Personalize your tote bag with decorative buttons or tassels for a unique flair. Use scrap yarn to make these embellishments and sew them securely onto your finished crochet tote bag. Let your creativity shine through every stitch.
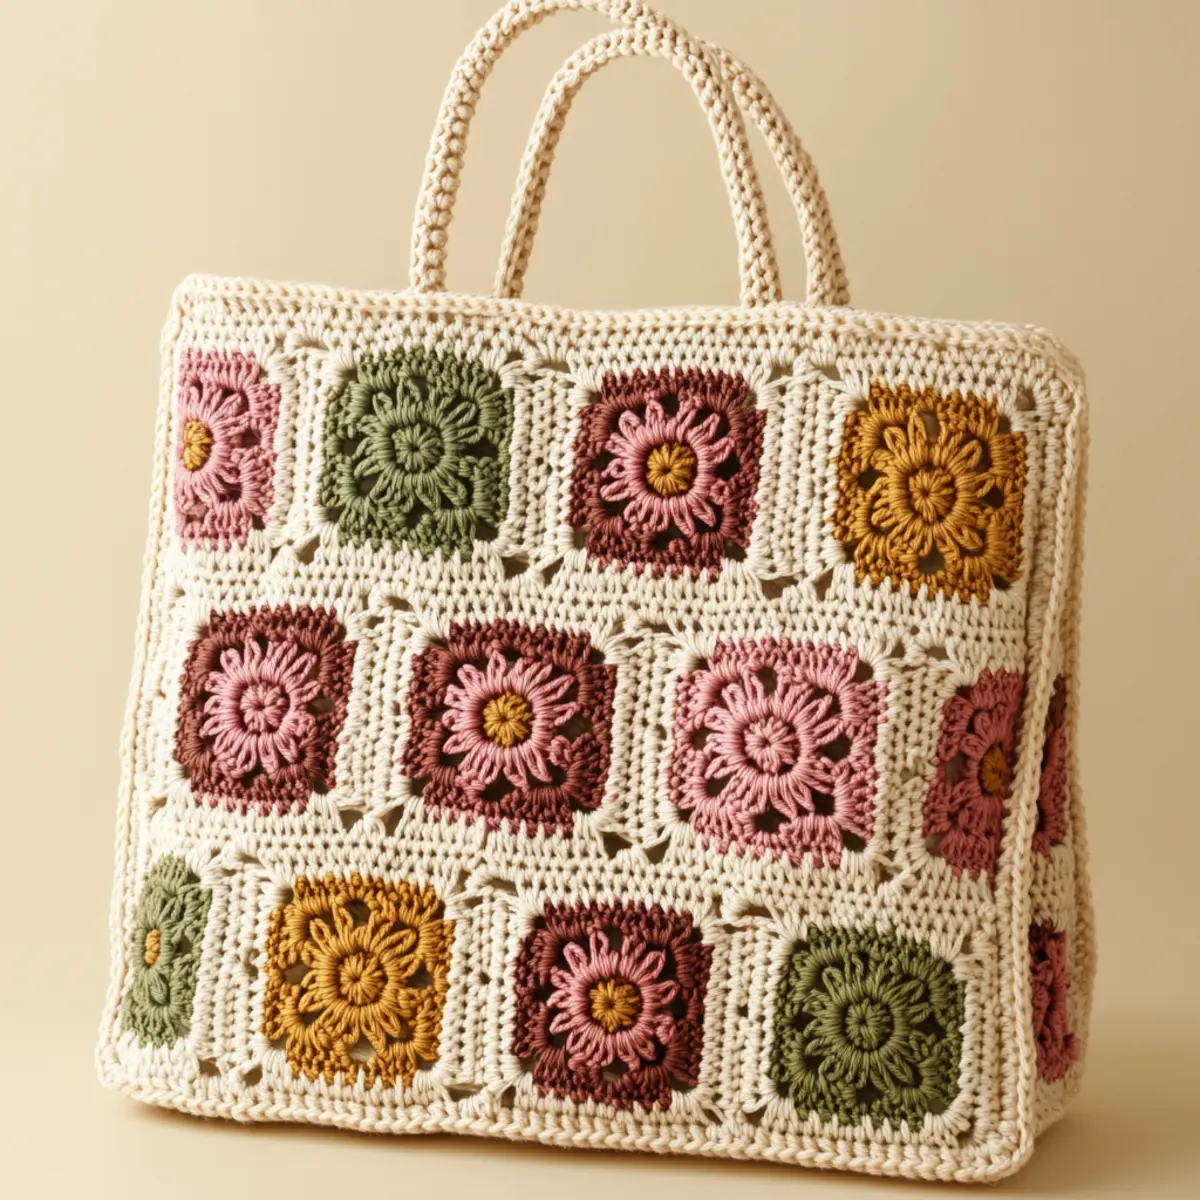
How to Wash and Care for Your Crochet Tote Bag
Machine Washing: Wash on a delicate cycle with cold water. Use a mesh laundry bag to prevent snagging.
Hand Washing: Immerse the tote in cool water with mild detergent. Gently agitate without twisting; this keeps the motifs looking fresh.
Drying: Lay your bag flat to dry. Avoid hanging it to prevent stretching out the shape.
Storage: Store in a cool, dry place. Avoid damp areas to prolong the life of your tote bag and keep it mildew-free.
Crochet Tote Bag Customizations
Feel free to personalize your crochet tote bag to match your unique style!
- Vibrant Colors: Experiment with bright jewel tones for a standout look that celebrates creativity.
- Textured Yarn: Use bamboo or linen blends for a different feel, perfect for summer months.
- Size Adjustments: Add extra squares for a larger tote, or reduce them for a smaller bag suitable for outings.
- Seasonal Swaps: Try holiday-themed colors like red and green for festive occasions, giving your bag a cheerful flair.
- Embellishments: Attach decorative buttons, tassels, or patches to elevate your tote’s visual interest.
- Color-Blocking: Interchange the arrangement of granny squares for a chic, modern color-blocked appearance.
- Different Fiber: Swap out cotton for a warm wool blend for colder months, adding insulation during chilly trips to the market.
Incorporating unique yarn choices opens endless avenues for creativity. Remember, every project tells a story, from the yarn selection to the final stitch, making your crochet tote bag a true expression of your artistic journey. Don’t forget to explore other patterns like crochet dishcloths or blankets that utilize granny squares for more practice!
Expert Tips for the Best Crochet Tote Bag
Consistent Tension: Ensure all your granny squares are uniform in size to avoid gaps during assembly. Recheck your tension regularly.
Block Before Joining: Always block your squares before you join them. This method creates a cleaner, neater final shape.
Use Correct Hook Size: A 4.5 mm hook is recommended. Using a different size may result in a bag that sags or loses structure.
Yarn Choice: Opt for worsted weight cotton yarn for durability. This ensures your crochet tote bag holds up well for daily usage.
Track Your Rows: Utilize stitch markers to keep track of your rows. This will help in maintaining consistent row counts throughout your project.
Take Breaks: If you’re feeling frustrated, take a break. Continuous focus can lead to mistakes like dropped stitches and twists in your foundation chain.
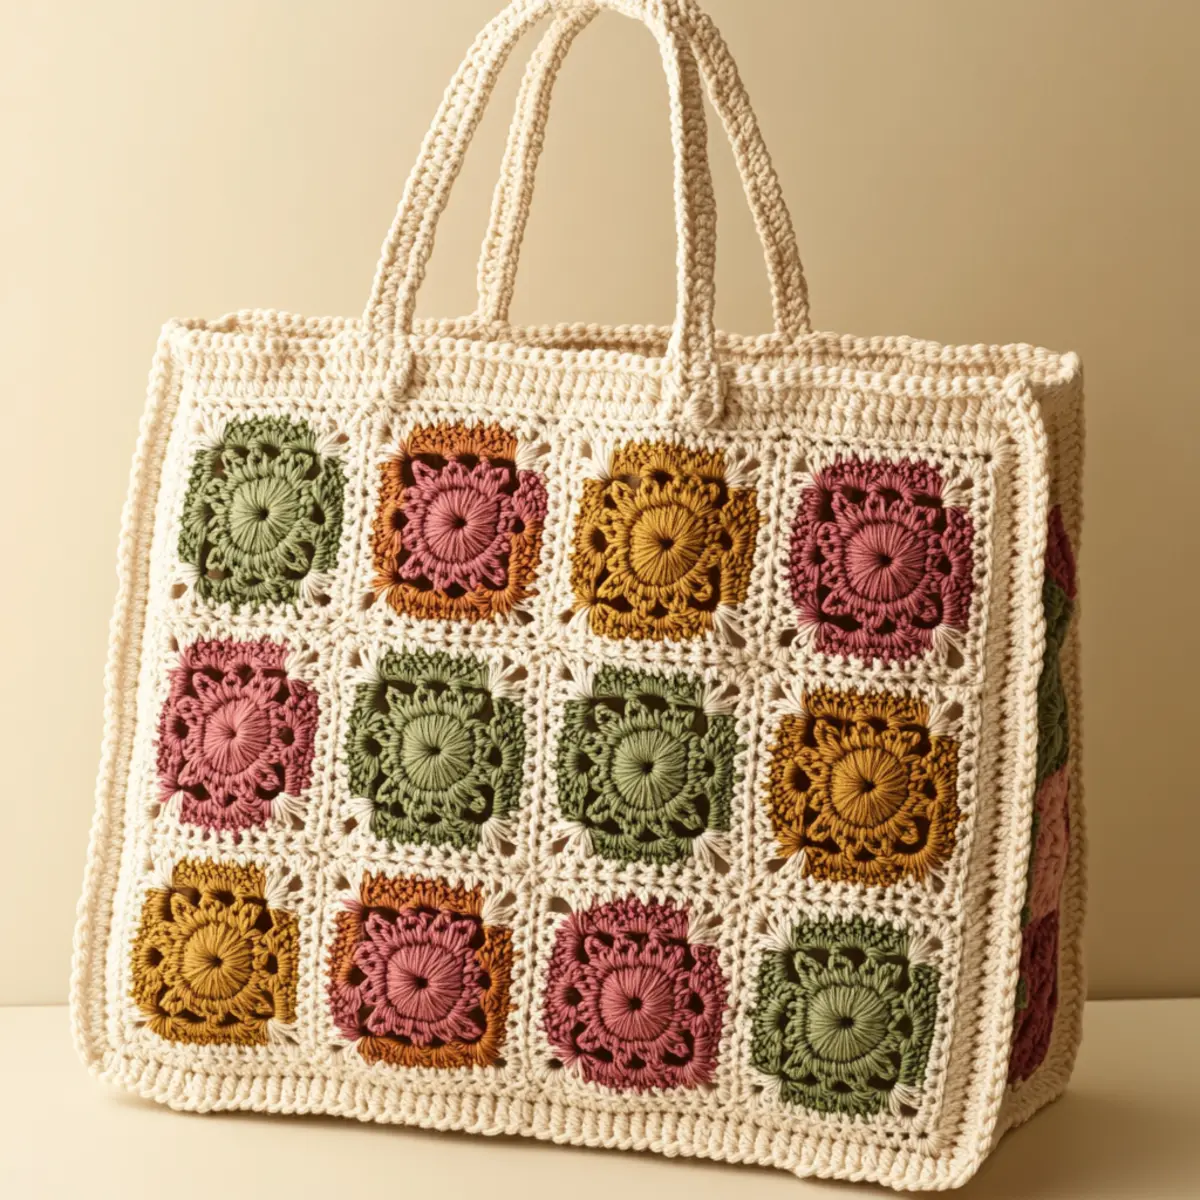
Crochet Lucy Tote Bag FAQs
Can I use a different yarn for this project?
Absolutely! You can use any worsted weight yarn that suits your style. Just remember that different fibers might affect the overall look and durability of your crochet tote bag.
What if my stitches are curling?
Don’t panic! If your bag’s edges are curling, it might be due to tight stitches. Loosen your tension while crocheting or consider using a larger hook size.
What size should my hook be?
For the Crochet Lucy Tote Bag, a 4.5 mm (US 7) hook is suggested. Changing hook sizes will influence the final size and drape of your bag.
Can I adjust the size of the tote bag?
Yes! You can add or subtract squares or rows to increase or decrease the size. Just ensure you maintain consistent measurements as you adjust.
What if I drop a stitch?
It’s easy to drop a stitch, but no need to worry! Simply work backward to the dropped stitch and pull it back up to maintain your count.
How do I add embellishments?
Consider using scrap yarn for tassels or decorative buttons. Sew them securely onto the finished crochet tote bag to personalize your creation!

Leave a Reply