
Walking into my cozy craft corner, I stumbled upon a vibrant array of yarns just waiting to be transformed into something beautiful. It’s moments like these that ignite my passion for crochet, and today’s project—a modern floral granny square—perfectly embodies that excitement. This granny square pattern is not only visually stunning but also offers a wonderful way to use up your stash. As a versatile piece, it can become anything from a colorful blanket to a simple coaster, making it ideal for both new and seasoned crocheters alike. The best part is how engaging the stitch patterns are, keeping you motivated to create more. Plus, there’s no sewing involved—just pure crochet magic! So, what will you create with your new favorite square?
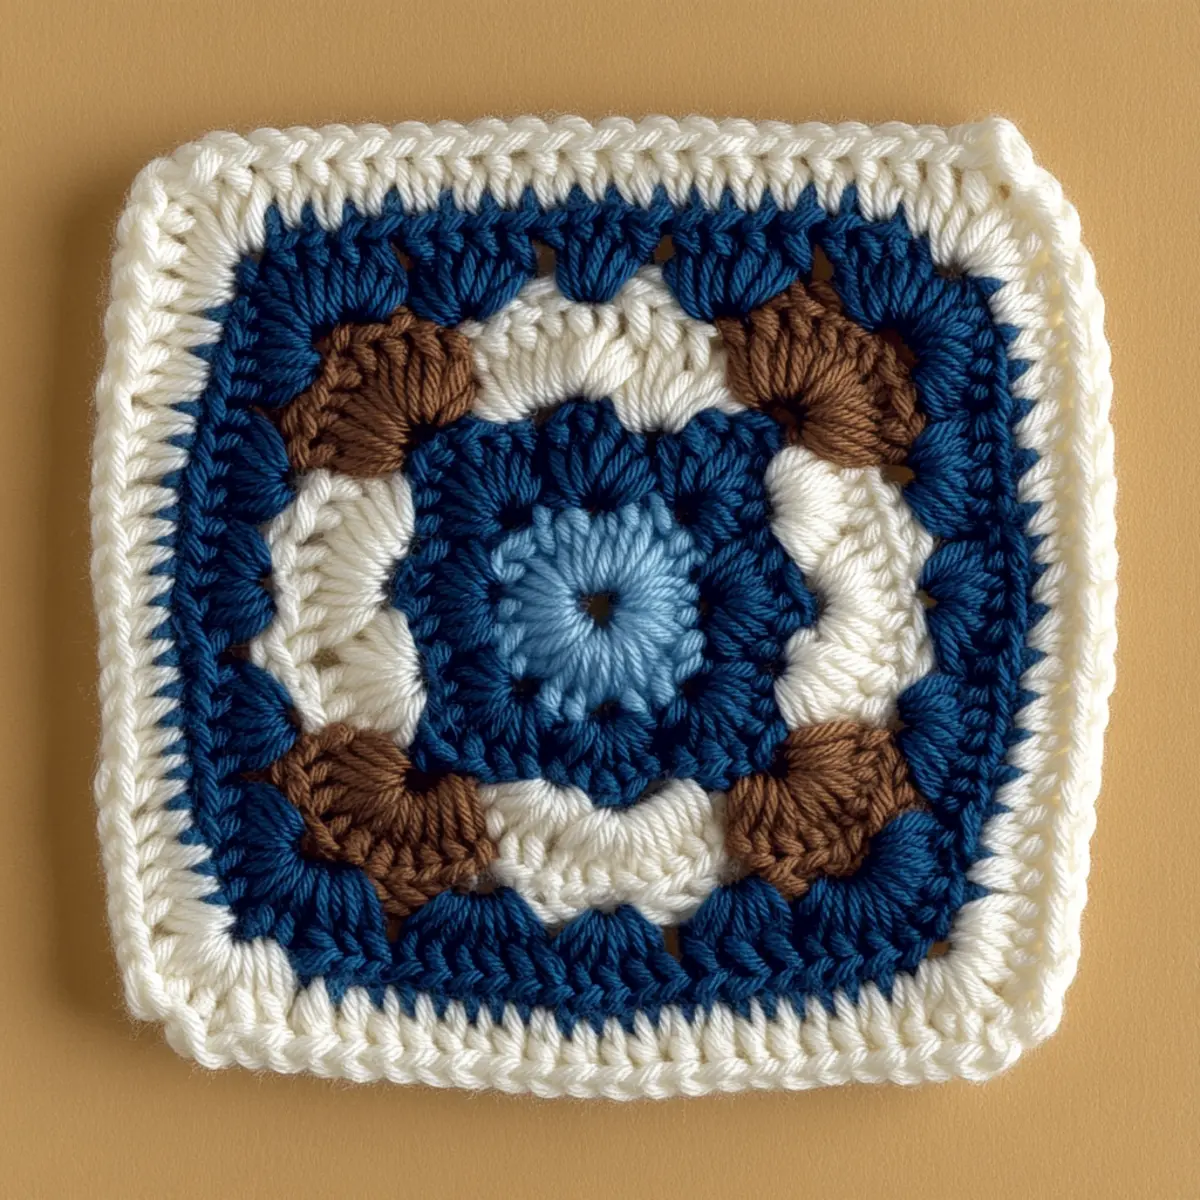
Granny Square Pattern Materials & Tools
Yarn
- Medium worsted weight yarn – Aim for a blend of cotton and acrylic for durability and softness; around 200-300 yards will give you plenty of yarn for your granny square pattern.
- Optional contrasting colors – These can be used for creating intricate floral designs or personalizing your squares.
Tools & Notions
- 5.0 mm (H-8) crochet hook – This size will help you achieve the drape and stitch definition needed for your granny square.
- Stitch marker – Essential for counting rounds, especially when working with multiple color changes.
- Tapestry needle – Perfect for weaving in ends once you’ve completed your granny square pattern.
Why You’ll Love This Pattern
Versatility is key with this stunning design! Whether you want to craft a cozy throw or a quick set of coasters, this granny square is adaptable to suit your needs. Engaging stitches keep your hands busy and your mind entertained, turning every completed square into a new triumph. Plus, it’s stash-friendly! With a simple granny square pattern, you can effortlessly incorporate leftover yarn into your creations, making it perfect for those who love to minimize waste. The aesthetic appeal is undeniable—each square exudes modern charm while staying true to traditional craftsmanship. And let’s not forget the time-saving factor; these squares can be whisked up quickly, allowing you to churn out multiple in a single sitting. For even more inspiration, explore my collection of granny squares or check out color combinations that pop to elevate your projects further!
Gauge & Sizing Notes for Granny Square Pattern
Checking your tension is vital for the success of your granny square pattern. A standard gauge should measure 4×4 inches (10×10 cm) and be achieved with a 5.0 mm (H-8) hook. If your swatch differs from this, you may need to alter your needle size or adjust your tension by either loosening or tightening your yarn hold. The size of your granny square can be altered by increasing or decreasing the number of rounds you make—each completed square typically measures between 6 to 8 inches per side. If aiming for a larger piece, simply add more rounds; however, remember to adjust your starting chain accordingly for uniformity. This granny square pattern not only offers a gorgeous texture but also embodies versatility in its applications, whether you’re crafting a chic shawl or decorative coasters, all while ensuring an aesthetically pleasing finish.
Step-by-Step Pattern for Granny Square Pattern
Row 1: Start with a Magic Ring Begin your granny square by making a magic ring. Chain 3 (ch 3) to start your rounds, then work 11 double crochets (dc) into the ring and pull tight. Close your first round with a slip stitch (sl st) into the top of the initial ch 3, completing a total of 12 dc (12).
Row 2: Create the First Round Chain 3 (ch 3) and dc into the same stitch to create a corner. In the next stitch, make 2 dc, then ch 1—this forms the corner. Repeat around, making 3 corners in total and joining with a sl st at the top of your initial ch (24 dc, 3 ch).
Row 3: Increase for Flower Petals Start with a ch 3 and dc in the same corner stitch. For each corner, work 2 dc, ch 1, and 2 dc. Between the corners, place 2 dc in each space to form flower petals. Connect with a sl st at the top of the initial ch to finish this round (36 dc, 4 ch).
Row 4: Puff Stitch Petals Begin with a ch 1, then make a puff stitch in the first space. To create a puff stitch, yarn over, insert your hook, yarn over again, and pull through, repeat this 3 times. After making the puff stitch, ch 1 to secure, and repeat in the next space until you reach the corners (12 puff stitches).
Row 5: The Floral Pattern Continues Start with ch 3, and make 2 dc in the corner. In the spaces between puff stitches, create 2 dc for height. At each corner, work 2 dc, ch 1, 2 dc to re-establish the corner. This will help elevate the floral design and keep your granny square pattern engaging (60 total stitches).
Row 6: Solidifying Your Design Chain 1 and work one round of single crochet (sc) around the entire square for a robust border. Make sure to place 3 sc in each corner stitch for proper articulation of the corners (totaling approx. 72 sc).
Row 7: Adding Color If you want to introduce a contrasting color, attach it with a sl st. Continue the same sc pattern, making sure to change colors every round if desired. This is a great way to show off your creativity within the granny square pattern.
Row 8: The Final Round To finish your granny square, reinforce the edge with another round of double crochet (dc). This adds just the right touch of elegance and ensures your square maintains form. Connect with sl st at the end (total 84 dc).
Row 9: Weaving in Ends After completing the granny square pattern, it’s crucial to weave in your ends. Use a tapestry needle to ensure everything stays secure, particularly important if you’ve changed colors many times throughout your project.
Row 10: Blocking Your Square To achieve the best look, block your finished square. Wet it and stretch it into shape, letting it dry. This helps define the stitches and gives your granny square pattern a clean finish, making it more presentable.
Row 11: Customization Options Go ahead and customize your granny square! Experiment with different yarn combinations, colors, or even alternate stitches for added flair. Each change will transform the look and feel of your project, keeping your creativity flowing.
Row 12: Putting Everything Together If planning to join multiple squares, use a whip stitch for a seamless finish. Arrange your squares in a layout you prefer and join them together to form a larger piece—a beautiful blanket, a decorative wall hanging, or other innovative creations await your touch!
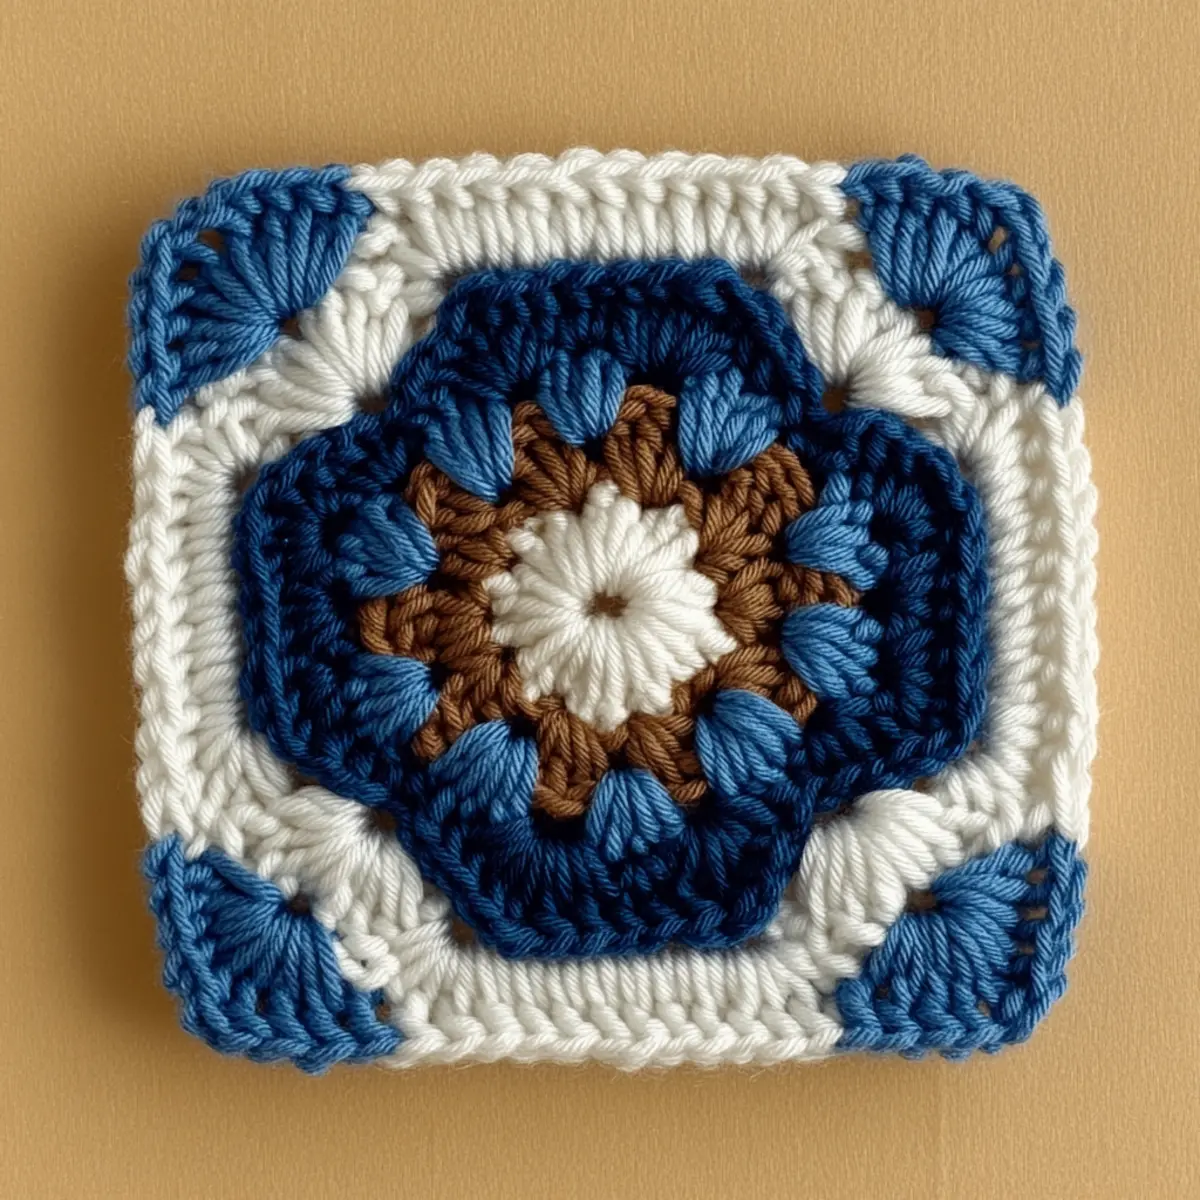
How to Wash and Care for Your Granny Square Pattern
Machine Washing: Use a gentle cycle at a low temperature to avoid agitation, and place your granny square inside a protective mesh bag.
Hand Washing: For delicate care, hand wash in cold water with mild detergent. Be gentle to maintain your stitches and color integrity.
Drying: Always lay your granny square flat to dry rather than hanging. This helps maintain its shape and prevents stretching.
Storage: Store your finished granny squares in a cool, dry place. Avoid direct sunlight to prevent color fading.
Granny Square Pattern
Feel free to customize this granny square pattern to make it uniquely yours!
- Color Combinations: Choose pastel shades for a soft spring effort or vibrant hues for a bold statement.
- Yarn Type: Swap cotton for wool to create a warmer, cozier square perfect for winter throws.
- Size Adjustments: Easily modify the square’s dimensions by adding or subtracting rounds.
- Textural Tweaks: Consider adding bobbles for a3D effect or using worsted hemp for an earthy texture.
- Embellishments: Turn your granny square into a one-of-a-kind piece by adding beads or embroidery for extra flair.
When crafting your granny square, remember that each alteration brings out a new personality in your project, allowing your creativity to shine through. Explore various stitch types for different aesthetics, too—there’s no limit to how these squares can evolve! Whether you stick to traditional motifs or venture into bold patterns, customizing this granny square pattern makes it a true reflection of your artistic vision.
Expert Tips for the Best Granny Square Pattern
Count Carefully: Always count your stitches after each round to avoid losing track—it’s easy to miscount during complex designs.
Stay Loose: Keep a consistent and slightly loose tension, especially with puff stitches, to ensure your flowers bloom perfectly without curling.
Use Markers: Employ stitch markers at the beginning of each round; this makes it easy to identify where your rounds begin and helps maintain an even square.
Block Your Square: Don’t forget to block your finished granny square! Blocking helps enhance stitch definition and allows your square to hold its shape better.
Choose Yarn Wisely: Opt for medium worsted weight yarn blends like cotton and acrylic—this provides durability and a delightful texture for your granny square project.
Be Creative: Feel free to experiment with different colors and embellishments; each granny square pattern can be personalized to reflect your unique style!
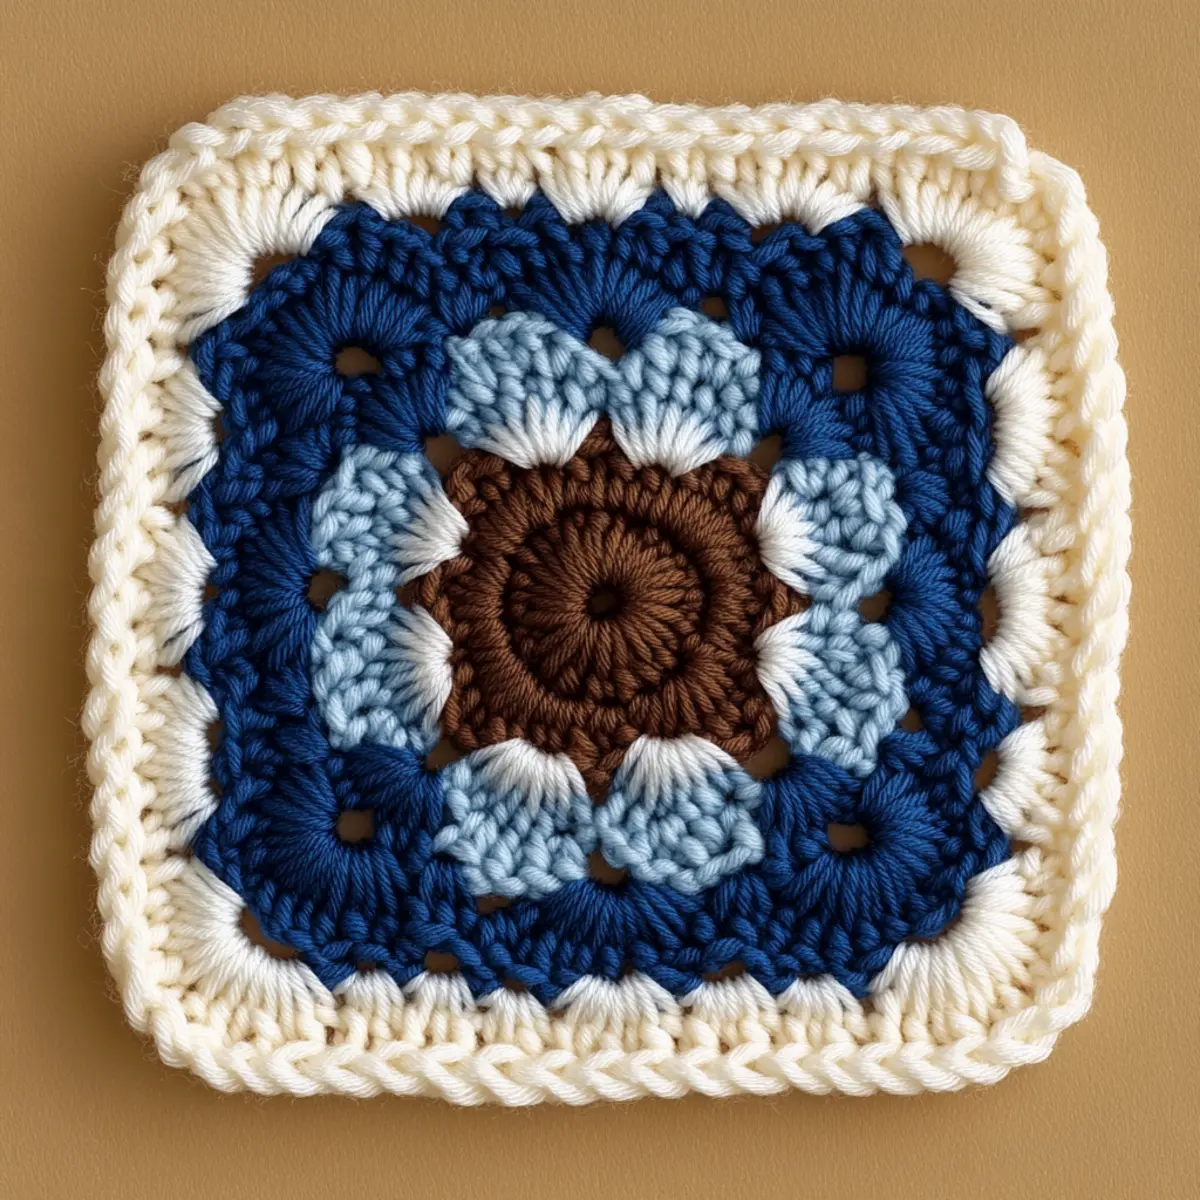
Granny Square FAQs
Can I use a different yarn for this pattern?
Absolutely! While medium worsted weight works best, feel free to use alternatives like cotton blends or even wool for a warmer finish.
How do I adjust the size of my granny square?
You can easily increase or decrease the number of rounds. Just remember, each additional round will add approximately 1 inch per side.
What if my granny square curls?
Don’t panic! This can happen with tension inconsistencies. Blocking your square should help flatten it and maintain its shape.
What hook size should I use?
For this granny square pattern, a 5.0 mm (H-8) crochet hook is ideal for achieving the right drape and stitch definition.
Help! I’ve dropped a stitch! What should I do?
No need to worry! Simply pull the yarn back to the dropped stitch, insert your hook, and carefully work back up. Visualize stitching to help you stay on track!
Can I make coasters using the same pattern?
Absolutely! Just adjust how many rounds you use to create smaller squares for coasters, making versatile little gifts or items for home decor.

Leave a Reply