
On a sunny afternoon, with yarn spilling from my basket like a playful waterfall, I stumbled upon the perfect project: the Ombre Granny Hexagon. This delightful design transforms basic crochet techniques into a stunning array of hexagonal motifs, each bursting with vibrant color gradients. What I adore most about creating ombre granny hexagons is how they spark creativity, allowing you to showcase your color preferences while remaining beginner-friendly. Plus, they make for fabulous stash-buster projects where you can use up leftover yarn! As I watched my hexagons take shape, the process filled me with a cozy joy, a refuge from the chaos of daily life. The combination of soft textures and eye-catching designs kept me glued to my hook, eager to see how each piece would turn out. With patterns like these, it’s easy to get lost in the moment, and I find that the more I embrace my creativity, the more I want to explore new techniques. Will you join me on this colorful journey? Let’s dive into this enticing crochet adventure together!
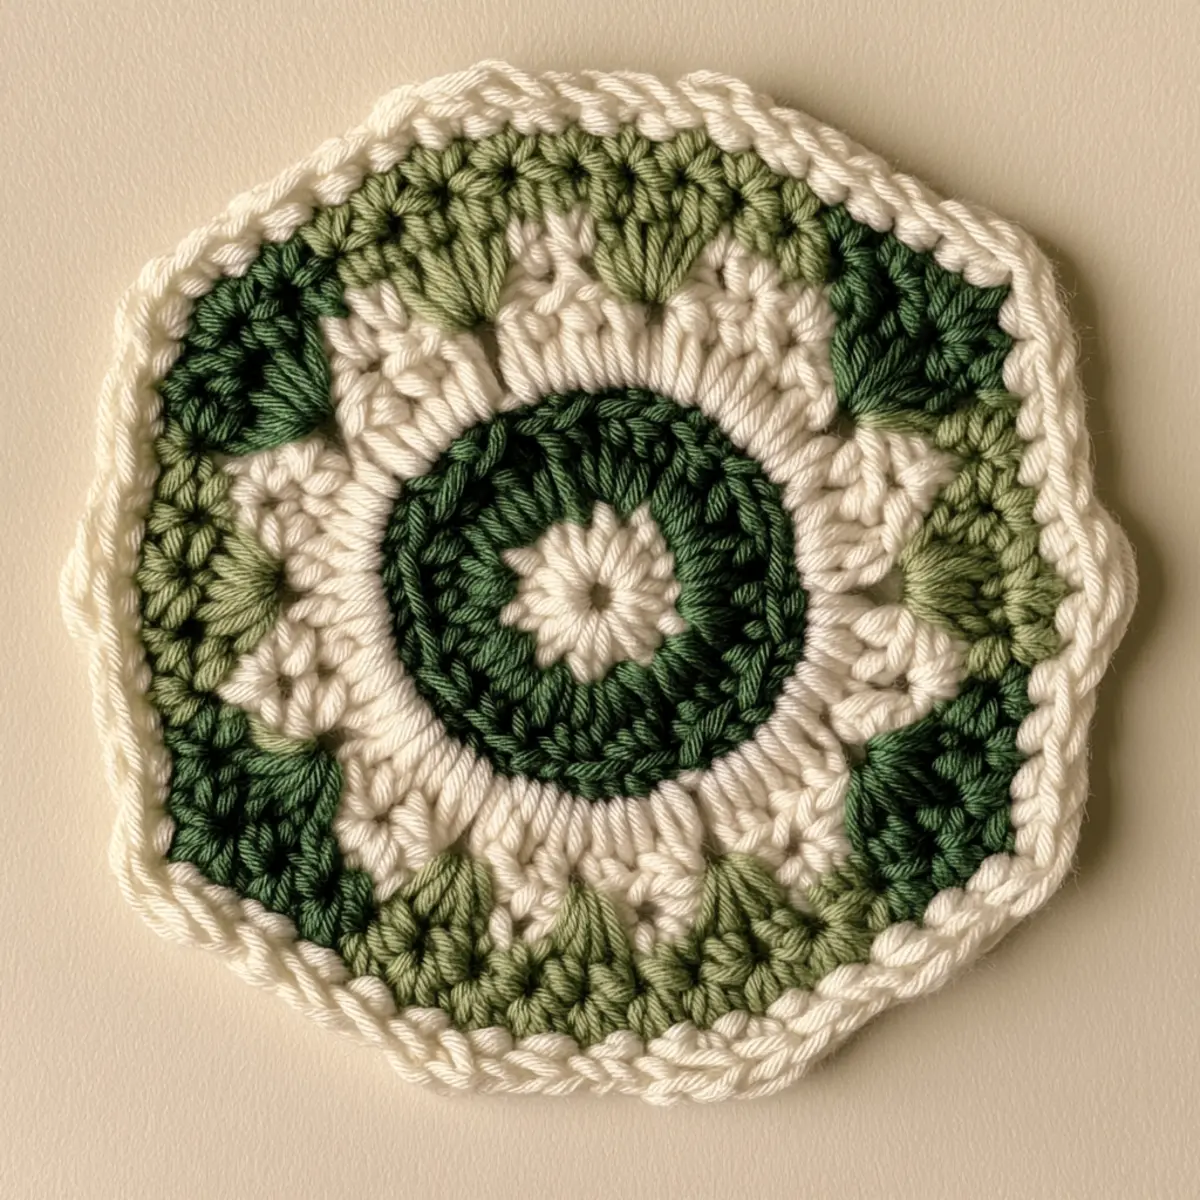
Ombre Granny Hexagon Materials & Tools
Yarn
Medium weight yarn (Category 4) – Approximately 300-500 yards, pick a soft blend of cotton and acrylic for the best results when creating your ombre granny hexagons.
Color packs or various skeins – Select a gradient palette that speaks to you; consider using yarn remnants for a beautiful stash-busting project.
Tools & Notions
5.0 mm (H-8) crochet hook – This size helps provide optimal stitch definition for the hexagonal shape.
Stitch markers – Keep your rounds organized and help with tracking color transitions.
Blocking materials (optional) – Essential for defining the shape and enhancing the stunning aesthetic of your finished ombre granny hexagons.
Scissors – Always handy for neat yarn snipping, especially when working on your ombre techniques.
Why You’ll Love This Pattern
Endless creativity awaits you with the Ombre Granny Hexagon pattern, creating a stunning centerpiece for any room. Simplicity reigns, allowing crocheters of all skill levels to enjoy the process of mastering hexagonal motifs without feeling overwhelmed. Not to mention, this project is a fantastic stash-buster, inviting you to use up those colorful yarn remnants you’ve been holding onto. With its aesthetic appeal, your finished pieces can easily transition from cozy throws to chic wall hangings. Plus, by exploring different color palettes, you’re free to make each hexagon uniquely yours. This pattern also allows for customizability—adjust the size and border colors to fit your personal style or home decor. Ultimately, the ombre granny hexagon pattern serves as a perfect project for boosting your skills while enjoying the satisfaction of creating something truly remarkable.
Gauge & Sizing Notes for Ombre Granny Hexagon
It’s important to check your gauge for the Ombre Granny Hexagon project to ensure the sizes of your hexagons remain uniform and fit nicely together if joined. A typical gauge measurement for these motifs is 4×4 inches (10×10 cm) worked in double crochet (dc) with a 5.0 mm (H-8) hook. If your swatch does not match this measurement, consider adjusting your starting chain to either increase or decrease the size of your hexagon. For instance, increasing your initial stitches can lead to a larger hexagon, while tighter tension might mean decreasing some stitches. Keeping consistent tension throughout each round allows every hexagon to maintain its structure and beauty. The dimensions of each completed hexagon are around 6-8 inches across, allowing ample space for creativity whether used as decorative pieces or components of a larger project. By regularly checking your gauge and adjusting accordingly, you can master the ombre granny hexagon and create beautifully cohesive designs.
Step-by-Step Pattern for Ombre Granny Hexagon
Row 1: Create Initial Loop
Start by chaining 4 stitches (ch) and join with a slip stitch (sl st) to form a loop. This center allows your ombre granny hexagon to take shape as you work in rounds, setting the stage for a colorful design.
Row 2: First Round of Hexagon
Ch 3 (counts as first double crochet), then work 2 double crochets (dc) into the center loop. This increases your stitch count, creating the hexagon’s texture by making three double crochet clusters. Finish the round by joining with a sl st (total 3 dc).
Row 3: Expanding with Color
Join your first ombre color, working ch 3, and then 2 dc into the same stitch. Continue creating two more clusters of 3 dc in each of the next 2 stitches, increasing hexagon sides. Join with a sl st to close the round (total 3 clusters).
Row 4: Adjusting for Shape
Ch 3, work 1 dc in the next stitch, then make 1 cluster of 3 dc in the following stitch. Repeat around for a total of 6 sides. This sharpens the hexagonal form while beginning to display that ombre effect. Close with a sl st (total 6 clusters).
Row 5: Color Transition Round
Switch to your next ombre shade, ch 3, and cluster 2 dc in the next stitch. For every 2 clusters in this round, increase by 1 dc in your following stitch. This mixing enhances the gradient look. Join with sl st (total 9 clusters).
Row 6: Defining the Edges
Ch 3, then work clusters as established but add an extra cluster in every 3rd stitch. This maintains continuity while broadening the hexagon’s edges, emphasizing the beauty of your yarn shades. Close with a sl st (total 12 clusters).
Row 7: Bringing it Together
Change to your final ombre color, ch 3, then create clusters as per previous rounds while adding 1 cluster in every 2nd stitch. This further sharpens the definition of each hexagon. Make sure to finish with a sl st (total 15 clusters).
Row 8: Final Round Trim
Ch 1 and switch to hdc or sc to create a clean border around your hexagon. This edging provides stability and heightens texture. Work evenly all around to finish off your ombre granny hexagon, with a well-defined outline. Conclude by securing the yarn (total length should reflect finished hexagon size).
Row 9: Bringing It All Together
Finally, to complete your ombre granny hexagon, weave in all ends. It’s essential for a neat finish and will help in ensuring the beauty of your finished piece shines without distractions. Enjoy seeing a stunning array of colors!
Row 10: Block Your Hexagon
To enhance its shape, gently block your hexagon using steam or wet blocking techniques. This will help in defining your beautiful ombre colors while ensuring your stitches sit just right, preparing for display.
Row 11: Experimenting with Sizes
Consider enlarging hexagons by increasing the number of rounds or stitches. Adding rounds or changing yarn weight will allow you to customize your designs, perfect for making a stable, striking piece!
Row 12: Connecting Hexagons
Finally, join your ombre granny hexagons together for added projects like throws or wall hangings. Use slip stitches or whip stitches to attach them, ensuring a seamless blend of colors across your newly crafted piece. Watch your projects flourish with every stitch you make.
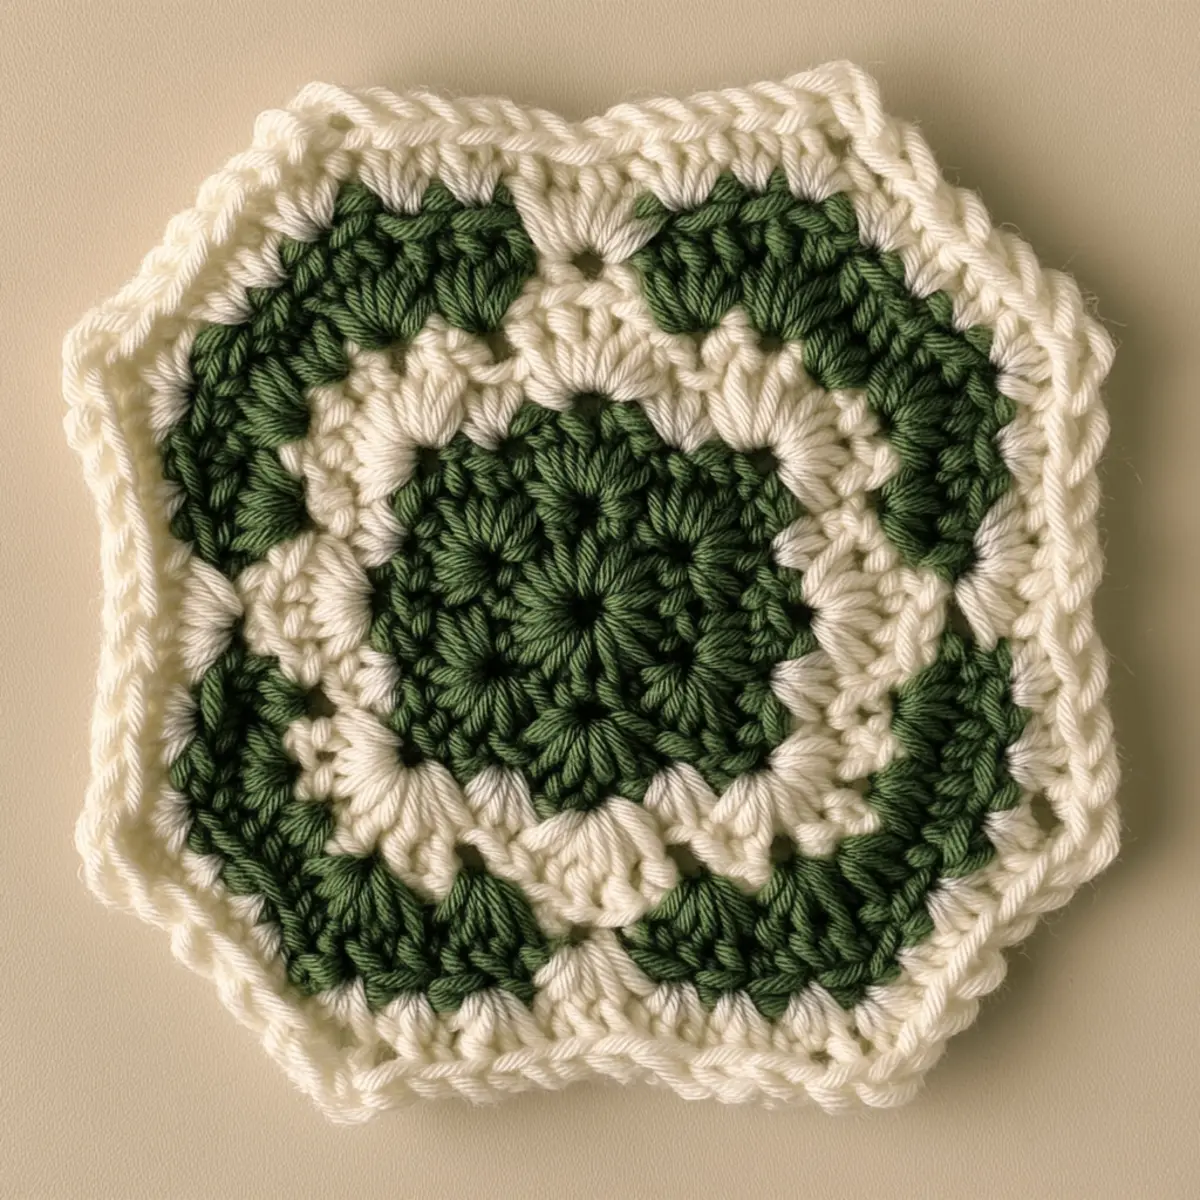
How to Wash and Care for Your Ombre Granny Hexagon
Machine Washing: Use a gentle cycle in cold water with mild detergent. Avoid bleach to preserve color integrity and prevent fading in your beautiful ombre granny hexagon.
Hand Washing: For delicate care, hand wash in cool water with a gentle soap. Agitate gently to remove dirt, ensuring your colors and stitches remain intact.
Drying: Lay flat to dry rather than using a dryer. This prevents misshaping and allows your crochet pieces to maintain their lovely defined structure.
Blocking: Lightly steam or wet block your hexagons after washing. This helps reshape them and enhances the appearance of the ombre color transitions beautifully.
Ombre Granny Hexagon Variations
Feel free to experiment with different variations and make this ombre granny hexagon uniquely yours!
- Color Palettes: Try earthy tones or vibrant pastels to achieve contrasting visual effects. A beautiful mix of warm hues can add depth.
- Yarn Choices: Swap medium weight yarn for lighter or heavier alternatives to see how texture changes your hexagon’s appearance. Wool blends may offer warmth while cotton provides a cooler touch.
- Size Adjustments: Change the hook size or yarn weight to make either larger or smaller hexagons, tailoring them for specific projects. Larger hexagons work well for throws, while smaller ones make delightful coasters.
- Textured Edges: Instead of simply using hdc or sc stitches for the edging, consider adding a shell stitch border for an eye-catching finish. This could create a lovely visual contrast, enhancing the overall design.
- Contrast Borders: Introduce contrasting colors for borders to make edges pop—this can add vibrancy and draw attention to the hexagons when assembled in larger projects like wall hangings.
- Borderless Version: For a minimalist look, leave the hexagons unbordered. This style highlights the beauty of the ombre design itself. An unbounded hexagon could serve as an elegant standalone decoration.
- Combination Designs: Merge with traditional granny squares for a dynamic blanket. The unique textures create visual interest, offering a modern twist on classic designs.
- Stash Buster: Utilize leftover yarn scraps to create a patchwork of colors, giving each piece a personal touch while minimizing waste. These improvisations can tell beautiful stories through colors and textures.
Expert Tips for the Ombre Granny Hexagon
Consistent Tension: Maintain even tension across rounds to ensure each hexagon retains its shape. This helps avoid uneven sizing that can disrupt patterns.
Use Stitch Markers: Keep track of critical points, especially during color transitions. Stitch markers prevent confusion and ensure your ombre granny hexagons look clean and uniform.
Double-Check Counts: Losing count is common! Always verify your stitch count at the end of each round to prevent dropped stitches or uneven sides during assembly.
Block Before Assembly: Block your hexagons before joining them to define their shape. This enhances the overall aesthetic, giving your pieces a polished look.
Experiment with Colorways: Try out different color palettes before committing to a full project. Play with gradients to find combinations that reflect your personal style and creativity.
Hexagon Sizes: Adjusting the yarn weight or hook size allows flexibility in the size of your hexagons. This is great for personalizing projects to fit various needs.
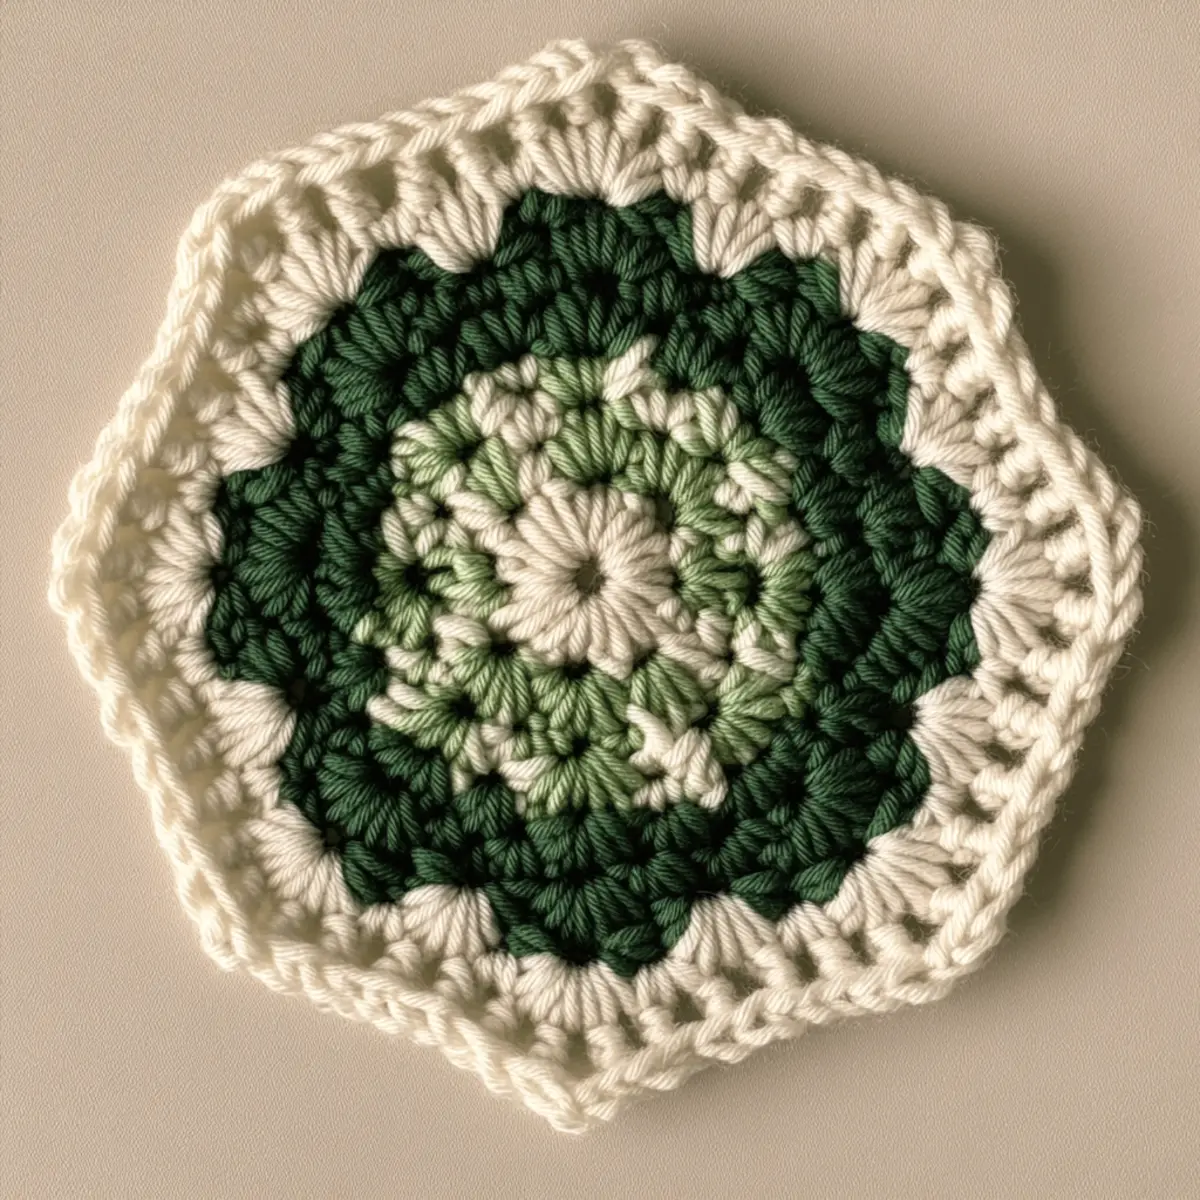
Ombre Granny Hexagon FAQs
Can I use different yarn types for my ombre granny hexagon?
Absolutely! While medium-weight yarn (Category 4) is preferred, you can use various yarn types. Just remember that changing weight may affect size and texture.
How do I adjust the size of my hexagons?
You can easily adjust the size by increasing or decreasing your starting chain. Opting for a larger hook or heavier yarn also increases size, while tighter tension results in smaller motifs.
What can I do about curling edges?
If you encounter curling, try blocking your hexagons. Gentle steam or wet blocking helps shape and flatten edges, ensuring they sit nicely together in your projects.
What if I drop a stitch while crocheting?
Don’t panic! Simply use a yarn needle or your crochet hook to gently pick up the dropped stitch and secure it back into place. Maintaining a close eye on your counts can help prevent this too.
What hook size is best for this project?
A 5.0 mm (H-8) crochet hook works best for optimal stitch definition in your ombre granny hexagon. If you’re aiming for a tighter or looser fabric, feel free to adjust your hook size accordingly.
How many hexagons do I need for a blanket?
It depends on your desired blanket size! Typically, you’d need about 36-60 hexagons, depending on size and layout. Experiment with arrangements to find what feels right for your project.
What if I want to join different colors of hexagons?
Feel free to mix and match hexagons of varying colors! Use slip stitches or whip stitches to join them together seamlessly. The contrast adds visual interest and makes your project uniquely yours.

Leave a Reply