
In a burst of color and charm, this delightful plush duck with a basket of fruits is here to brighten your crafting journey! This plush duck crochet project is perfect for crafters of all levels, allowing beginners to dive into the joy of making something truly special. With its adorable kawaii aesthetics and cuddly design, you’ll not only impress yourself but also create a heartwarming gift that friends and family will cherish. Plus, this cozy toy is a fantastic stash-buster, using just 150-200 yards of worsted or bulky weight yarn. Join me as we embark on the adventure of creating this whimsical plush companion that’s sure to inspire smiles and snuggles all around. Are you ready to whip out your hook and bring this cutie to life?
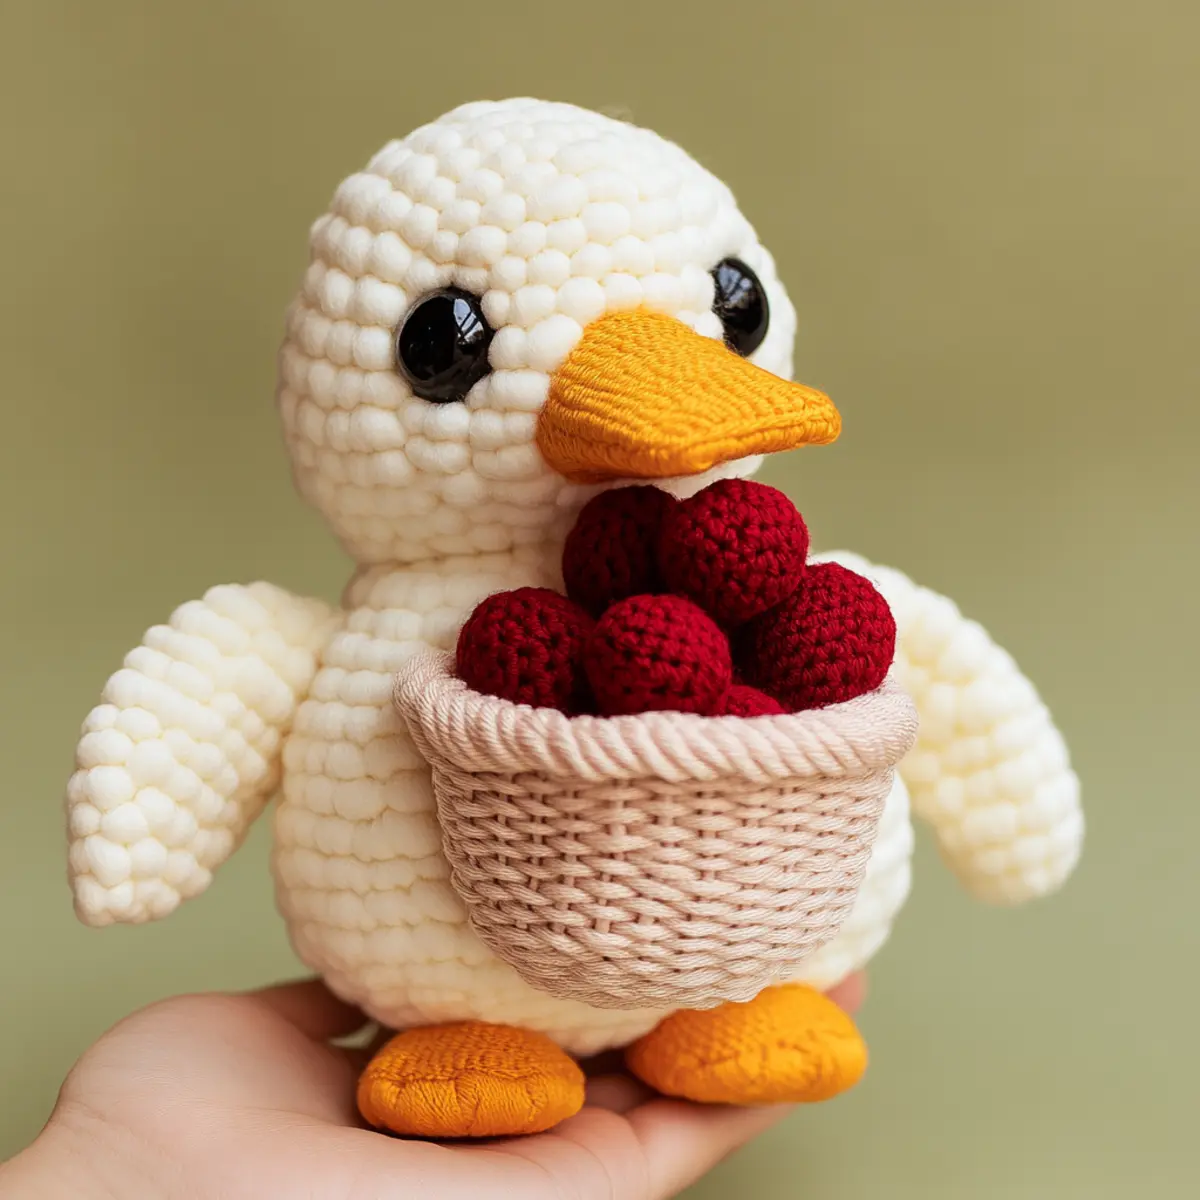
Plush Duck Crochet Materials & Tools
Note: Gather these materials to transform your yarn into an adorable plush duck!
Yarn
- Worsted or Bulky Weight Yarn – Approximately 150-200 yards of soft yarn in white for the body, blush for the beak, and vibrant colors for the fruits.
- Yarn Substitutes – You can replace with a cotton blend for added durability if desired.
Tools & Notions
- 4.5mm (US Size 7) Hook – This size will help create a smooth finish and maintain durability for your plush duck crochet.
- Fiberfill Stuffing – Amount will vary; use gradually to achieve your desired firmness without overstuffing.
- Plastic Safety Eyes – Optional but adds character, giving life to your cuddly duck!
Additional Embellishments
- Yarn Needle – For sewing parts together and weaving in ends, ensuring a tidy final project.
- Stitch Markers – Helpful for tracking rounds and maintaining your stitch count with ease.
Grab these supplies, and let your creativity soar as you bring this charming plush duck to life!
Why is this plush duck crochet so special?
Joyful design: This plush duck is not only adorable but also functional as a toy or decoration, making it a delightful piece for any home.
Beginner-friendly: The project welcomes both novice and seasoned crafters, ensuring that everyone can dive in and experience the happiness of crocheting.
Kawaii charm: Embrace the joy of crafting with this cute design that showcases your skills while adding a whimsical touch to your space.
Textured cuddle: Crafted from soft yarn, this duck offers an irresistibly fluffy texture, perfect for cozy snuggles or playful adventures.
Customizable: Feel free to get creative—play with colors and seasonal themes for the fruit basket, enhancing the uniqueness of your plush companion.
Get started on this fun adventure by exploring tips on crafting a plush with consistent crochet tension for a seamless finish!
Gauge & Sizing Notes
Don’t skip the gauge swatch! Checking your tension is essential for the plush duck crochet project to ensure that your finished toy has the right shape and size. Aim for a standard gauge of 4×4 inches (10×10 cm), which should consist of 14 double crochets by 8 rows. If you’d like to make your adorable plush duck larger, consider increasing your starting chain in multiples of 4 for the body. Conversely, if your tension doesn’t quite match and your swatch is smaller, try going up a hook size to achieve a cozier, fluffier finish. Happy crafting!
Step‑by‑Step Pattern for plush duck crochet
Row 1: Begin the Body
Start your plush duck crochet by creating a magic ring. Ch 1, then work 6 sc into the ring (6 sts). Pull the ring tight, and your work should form a small circle. This foundation sets the stage for your duck’s rounded body, so ensure your tension is just right for a cuddly finish.
Row 2: Increase for Bulk
In the next round, perform an inc in each stitch around, resulting in a total of 12 sts (12 sts). To do this, simply work 2 sc in each st from the previous round. As you crochet, take note of how the circle starts to grow, providing the body of your whimsical plush duck.
Row 3: Continue to Form the Body
For the third round, sc in the next stitch, inc in the following stitch; repeat this sequence around for a total of 18 sts (18 sts). This alternating pattern helps shape and expand the body of your plush duck, allowing it to take on a delightful cylindrical form.
Row 4: Further Increasing
In Row 4, do 2 sc in the first st, then sc in the next 2 sts, inc; repeat this sequence to finish the round for 24 sts (24 sts). Your plush duck’s body will be taking shape with a soft, rounded body; maintain an even tension for a plush look.
Row 5-8: Forming the Body Height
For Rows 5-8, simply work in continuous sc around without increasing, maintaining the stitch count at 24 sts for each round (24 sts). You should see the body elongating, creating a lovely plush shape that will eventually be filled with stuffing.
Row 9: Preparing to Close
In Row 9, sc in the next 3 sts, dec; repeat until the end of the round for a total of 18 sts (18 sts). This step begins to taper the body, prepping your plush duck for a snug finish. Keep the magic of your creation in your hands as you shape it.
Row 10: Final Tapering
Continue with sc in the next 2 sts, dec for Round 10, which should yield 12 sts (12 sts). As you see your duck take form, imagine all the cuddles that will come from this lovely plush toy!
Row 11: Close Up
For the final round, work sc in the first stitch, dec; repeat to achieve 6 sts (6 sts). Your plush duck crochet body should be closing in now. Pause to appreciate the adorable shape you’ve crafted so far.
Step 1: Stuffing the Body
Carefully stuff the body of the plush duck with fibrefill until it is firm yet cuddly. Ensure not to overstuff to maintain a soft and huggable feel. Shape the body gently with your hands to give it a round, plushy appearance.
Step 2: Creating the Beak
To create the beak, ch 6 and starting in the 2nd ch from the hook, work 5 sc return down the chain (5 sts). This forms a small triangle shape that will be sewn onto the front of your plush duck’s head, adding a big splash of charm.
Step 3: Detailing with Wings
For the wings, ch 6 and work in the same fashion, with sc in each chain to yield 5 sts. Turn and work back in the next rows by alternating increases, creating a simple oval shape. You’ll make two wings, attaching them later to both sides of your plush duck.
Step 4: Basket Preparation
To create the fruit basket, ch 4 and make a ring with 10 sc into it (10 sts). You’ll begin crafting the basket that will hold the vibrant fruits. This section will evolve into a round section, so keep your sc even for a smooth finish.
Step 5: Building the Basket Depth
For Round 2 of the basket, work sc in each st, inc for a total of 15 sts (15 sts). Your basket is shaping up nicely, allowing for ample space to hold colorful fruits, all while maintaining that playful aesthetic of your plush duck crochet.
Step 6: Finishing the Basket
Continue in rounds, working sc around without increasing, until the basket reaches a desirable height. Typically, 4-5 rows will give your basket depth, so feel free to check your work as you go along.
Step 7: Assembling the Plush Duck
With all the components ready, sew the beak onto the head, wings onto the sides, and basket to your duck’s base. Use a tapestry needle and yarn to securely attach each part, making sure they are placed for optimal cuteness in your plush duck crochet.
Step 8: Adding Features
Attach the plastic safety eyes to give life to your plush duck’s face, ensuring they are placed evenly to create that adorable and inviting look. These little features will bring character to your project and make it even more delightful!
Step 9: Final Touches
Weave in any loose yarn tails and consider lightly blocking your plush duck to help define its shape while preserving the fluffiness. Give it one last cuddle test to ensure everything is secured and ready for snuggles!
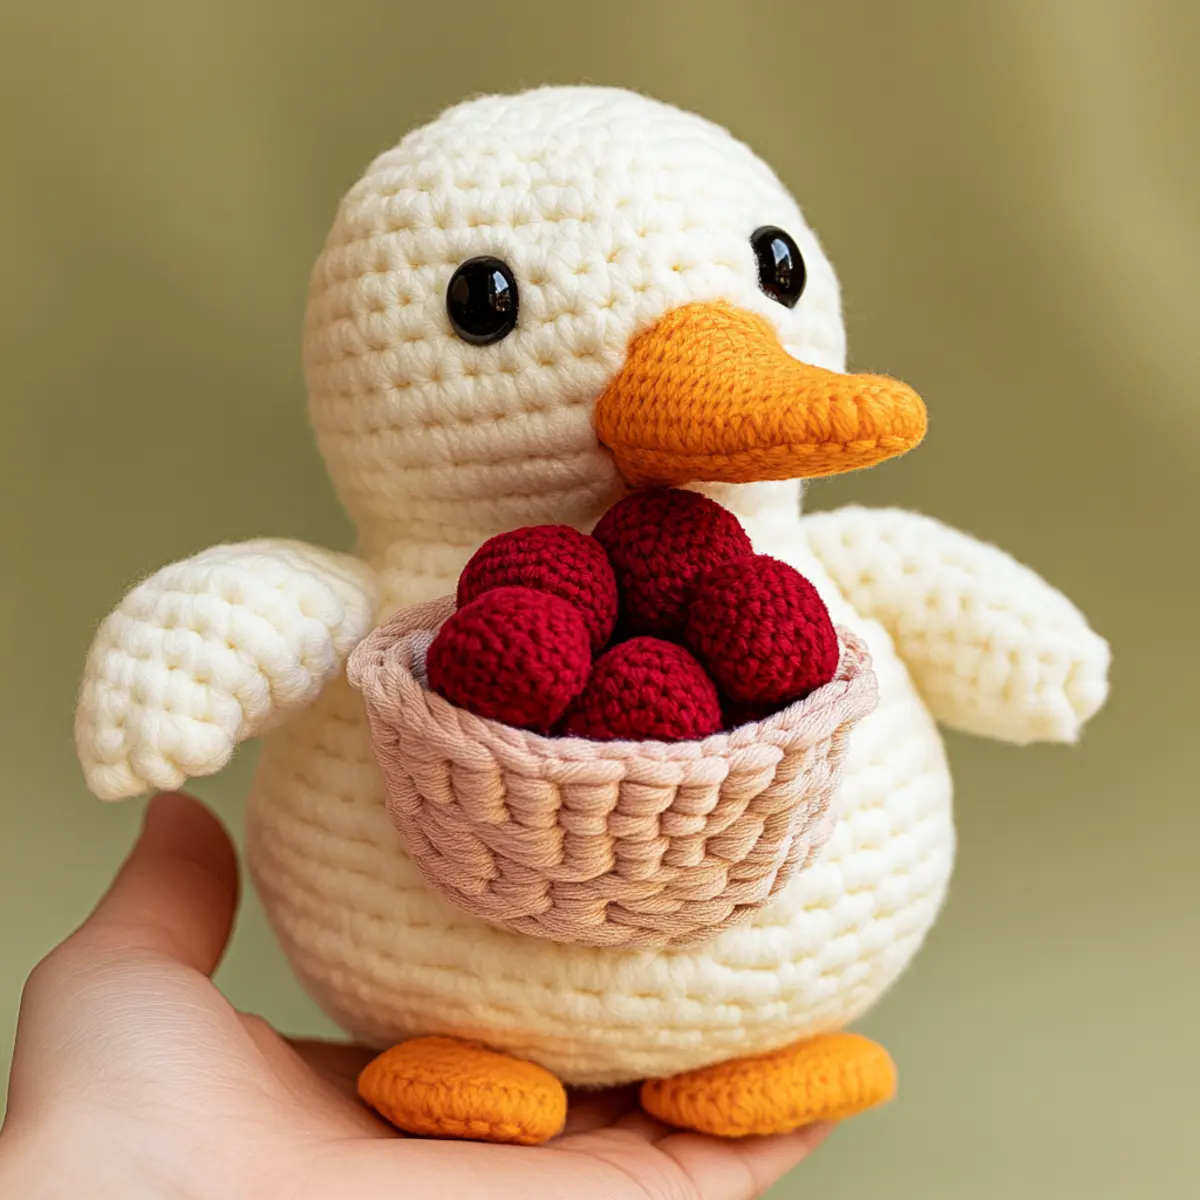
How to Wash and Care for Your Plush Duck Crochet
Machine Washing: Use a gentle cycle with cold water to keep your plush duck looking fresh. Avoid vigorous agitation to prevent any pilling or distortion of its adorable shape.
Hand Washing: For a more delicate approach, gently hand wash in cold water with mild soap, ensuring the plush duck is treated lovingly to maintain its fluffy texture.
Drying/Blocking: Lay flat to dry on a clean towel, reshaping as needed. This will help maintain its cuddle-worthy form without causing any unwanted changes.
Storage: Keep your plush duck in a cool, dry place away from direct sunlight to protect its colors and plush texture. Avoid stacking heavy items on top to prevent deformation.
Plush Duck Crochet Variations & Substitutions
Explore the delightful world of customization with your plush duck crochet project! Let your creativity shine as you craft something truly unique.
- Yarn Weight Swaps: Experiment with lighter or heavier yarn for different sizes; use DK for a mini duck or super bulky for a jumbo cuddly toy.
- Color Variations: Try vibrant hues for a rainbow effect or pastel shades for a softer, dreamy look that enhances the kawaii charm.
- Fruit Basket Ideas: Swap the fruits for seasonal varieties; think pink strawberries for summer or earthy-toned pears for autumnal delight.
- Texture Modifications: Add playful textures like a fluffy pom-pom on the hat or vivid fringes on the basket for a fresh twist.
- Sizing Adjustments: Change your hook size to create a petite version or a larger duck; adjust yardage accordingly to keep proportions charmingly cute.
- Embellishment Inspirations: Incorporate unique embellishments such as embroidered patterns or patches on the duck’s belly to make it truly yours.
- Shape Tweaks: Alter the body shape or wing design by playing with the stitch count; try a rounder body for a pudgier look or elongated wings for flapping fun.
- Safety Eyes Alternatives: If plastic eyes aren’t your thing, consider using safety stars or heart-shaped buttons for a whimsical take on the duck’s expression.
Dive deeper into your crafting journey with innovative ideas like these, and enhance your skills with tips on creative color blocking or tension techniques to elevate your plush duck crochet!
Expert Tips for Plush Duck Crochet
• Consistent Tension: Always maintain even tension throughout your stitches to avoid an uneven or lumpy appearance in your plush duck.
• Count Your Stitches: Regularly count your stitches as you go to ensure the body remains symmetrical and retains its rounded shape. Mistakes happen quickly if you lose track!
• Block Finishing Pieces: Lightly blocking your finished pieces can help define their shape without flattening your plush duck, enhancing its kawaii charm.
• Gradual Stuffing: Stuff your plush duck gradually to achieve the perfect firmness. Be wary of overstuffing, which can distort its adorable shape.
• Safety Eyes Placement: If using plastic safety eyes, position them carefully for a charming expression that will bring your plush duck to life!
Embrace these helpful tips, and you’ll be on your way to creating a delightful plush duck crochet that everyone will adore!
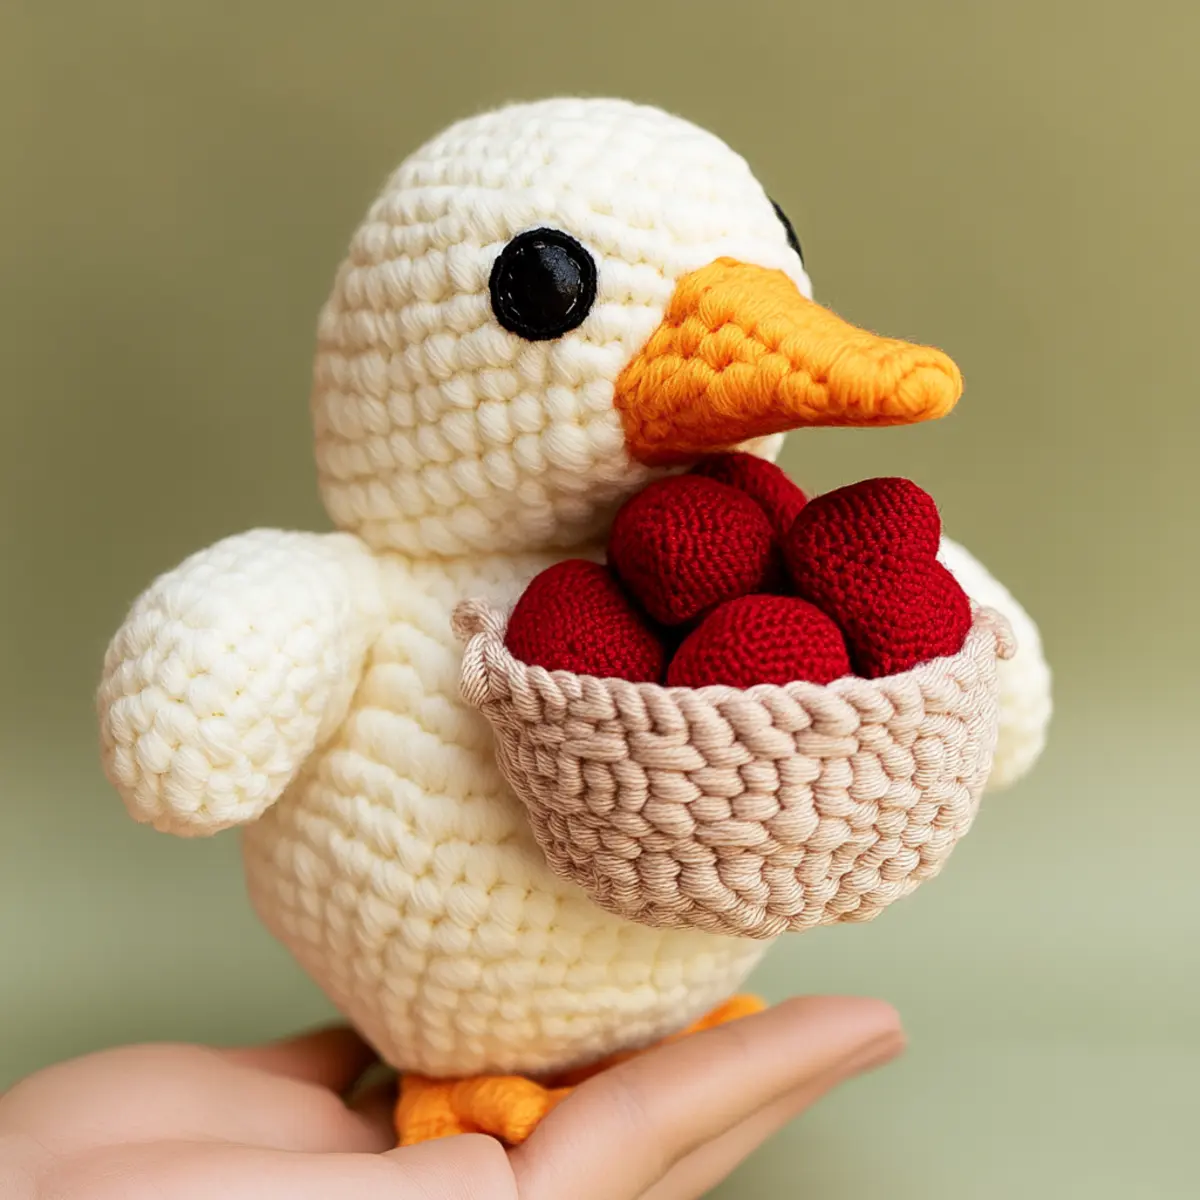
Whimsical Plush Duck Crochet with Fruit Basket Delight FAQs
Can I substitute different yarns for this plush duck crochet?
Absolutely! While worsted or bulky weight yarn is recommended, you can use different yarn types like cotton or bamboo. Just be mindful to adjust your hook size accordingly to maintain the same plush effect.
How can I make my plush duck bigger or smaller?
To adjust the size of your plush duck, consider either using a heavier yarn and a larger hook for a bigger version, or opting for lighter yarn and a smaller hook if you prefer a mini plush. Don’t forget to check your gauge so your stitches are consistent!
Why does my work keep curling, especially the edges?
Don’t panic! If your edges are curling, it may be due to tight tension. Try using a larger hook to loosen your tension. Also, remember to count your stitches to ensure you have the right number for each row.
What hook size should I use for this project?
For the soft, plush texture of this duck, a 4.5mm (US size 7) hook is recommended. This size helps create a dense fabric that holds its shape well while still being cuddly.
How do I fix dropped stitches while crocheting?
It’s an easy fix! Simply find the dropped stitch, use a crochet hook to pull it back through your work, and secure it in place with a slip stitch. Don’t let it dampen your crafting spirit; we all make mistakes sometimes!
What should I do if my crochet pieces aren’t aligning properly during assembly?
If your pieces don’t seem to align as expected, check your stitch count and ensure each piece was crocheted consistently. You can gently stretch the pieces while assembling to help them fit better, giving that adorable plush duck its perfect shape!

Leave a Reply