
Have you ever walked through a garden and been captivated by the sight of delicate lavender swaying in the breeze? The Charming Crochet Lavender Sprigs project brings that botanical beauty right into your crafting space! With this pattern, you’ll create lifelike lavender flowers that aren’t just stunning but also offer the cozy satisfaction of working with puff stitches. This project is perfect for showcasing your skills while adding a touch of nature-inspired decor to your home or crafting thoughtful gifts for loved ones. Plus, it’s a wonderful stash-buster, making it suitable for those colorful skeins you’ve been saving. So grab your hook and let’s bring a splash of vibrant purple and lush green into our lives—your new favorite floral pieces await!
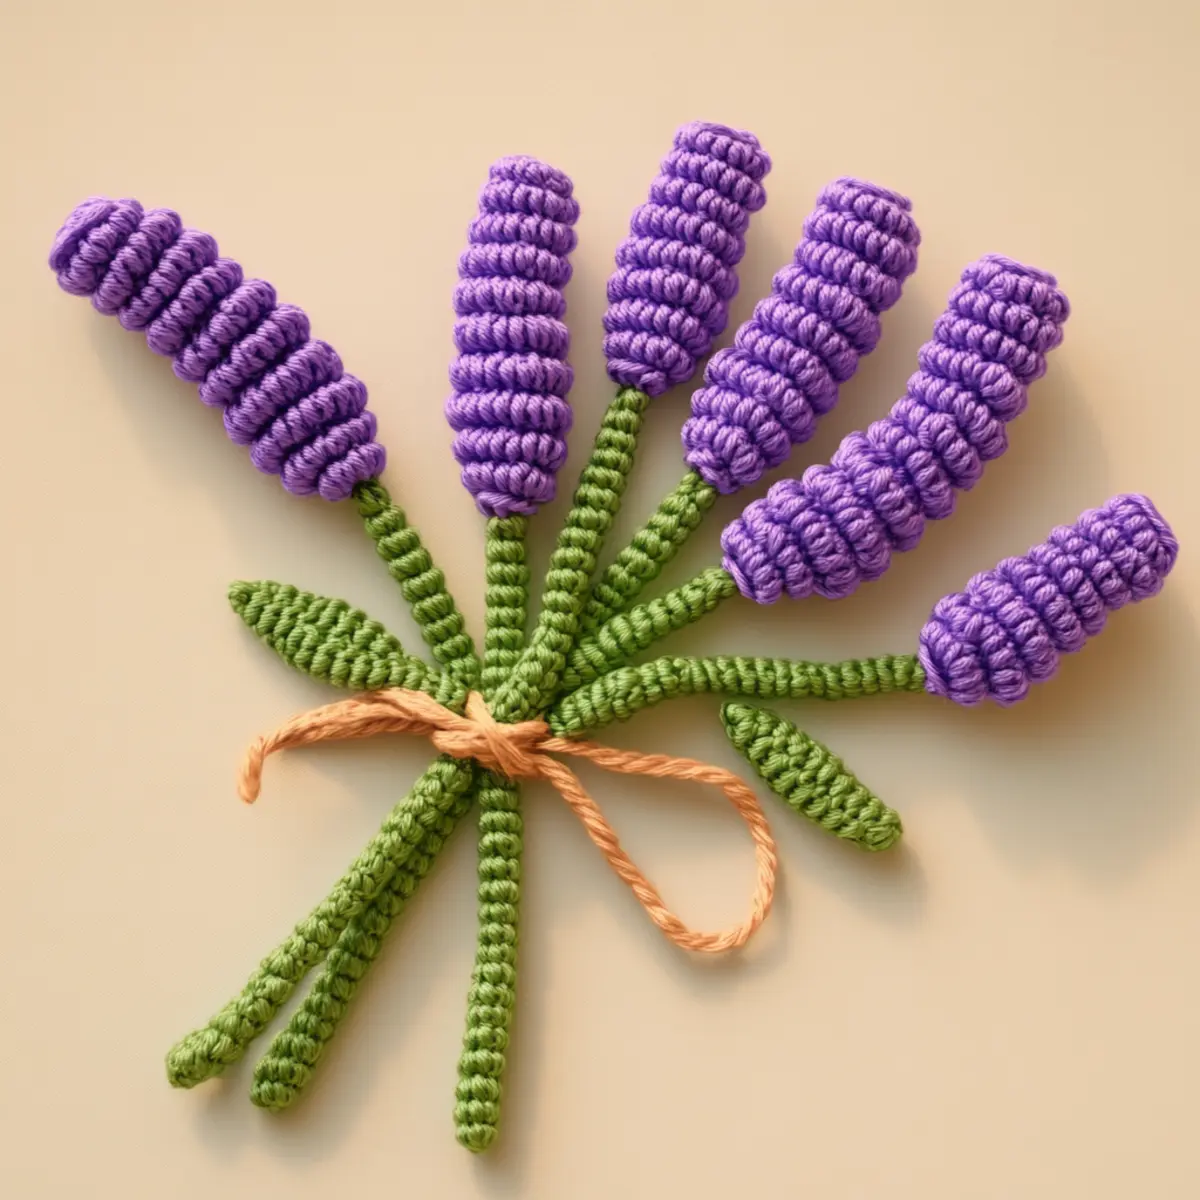
Crochet Lavender Materials & Tools
Note: Gather these supplies to create beautiful crochet lavender sprigs that will brighten up any space!
Yarn
• Worsted Weight Yarn (Purple) – Approximately 100 yards to create vibrant, lifelike lavender flowers.
• Worsted Weight Yarn (Green) – About 100 yards for the leaves and stems, adding a natural touch.
Tools & Notions
• 4.5mm (G-6) Hook – Ideal for achieving the right texture and drape in your crochet lavender.
• Stitch Markers – Handy for keeping track of your rows and ensuring consistent puff stitches.
• Yarn Needle – Perfect for weaving in ends for a neat finish.
• Floral Wire (optional) – Provides extra sturdiness to your lavender stems.
With these materials, you’re ready to bring your crochet lavender project to life! Happy crafting!
Why Choose Crochet Lavender Sprigs?
Versatile Use: Crochet lavender sprigs can effortlessly elevate your home decor or serve as charming gifts for friends and family, bringing a touch of nature indoors.
Unique Texture: The puff stitch technique provides a stunning depth, mimicking the soft, natural appeal of real lavender flowers.
Stash-Busting Delight: Perfect for using up leftover yarn, this project allows you to explore vibrant color combinations, potentially even with shades like blue or white for a wintry twist.
Skill-Building: Designed for intermediate crafters, it’s an opportunity to refine your puff stitch technique while creating something beautiful.
Aesthetic Appeal: With their soft drape and lush colors, these sprigs are sure to be eye-catching! If you enjoy floral designs, consider checking out our Crochet Flower Enchanting or Crochet Rose Timeless patterns for more inspiration. Let creativity bloom!
Gauge & Sizing Notes
Don’t skip the gauge swatch! Ensuring you check your crochet gauge is vital when crafting your beautiful crochet lavender sprigs. For this project, aim for a standard gauge of 4×4 inches (10×10 cm), which should measure approximately 14 puff stitches by 8 rows. If you wish to adjust the size of your lavender sprigs, simply increase your starting chain in multiples of 6 for wider or taller blooms. If your tension doesn’t match, don’t worry! If your swatch is too small, try going up a hook size to achieve the ideal fit and shape. Happy crocheting!
Step‑by‑Step Pattern for crochet lavender
Row 1: Flower Base
Begin by making a magic ring (or ch 4 and sl st to form a ring). Ch 3 (counts as 1 dc), then work 11 dc into the ring, pull tight to close. This creates your flower base. Join with a sl st to the top of the ch 3 to complete the round. Your work should form a tightly clustered circle (12 sts).
Row 2: Puff Stitch Blooms
Ch 1, then work 1 puff stitch into the next dc, ch 1 around. To create a puff stitch, yarn over, insert the hook into the dc, yarn over again and pull through (4 loops on hook), yarn over, pull through first 2 loops, yarn over, insert into the same dc again and repeat until you have 5 loops on your hook, yarn over and pull through all loops. Join with sl st to the top of the first puff (12 puff sts).
Row 3: Leaf Attachment
Next, switch to your green yarn. Ch 5, then skip the first chain and make 1 hdc in the next chain, followed by 1 sc in the last chain. This creates one leaf. Sl st into the next puff stitch to attach, and repeat this process for 4 more leaves, evenly spaced around your flower. Your flower should now feature beautiful, balanced leaves.
Row 4: Stem Foundation
To begin the stem, ch 15 using green yarn. Sl st to the last chain to form a loop. This forms the foundation of your stem. You can make this longer or shorter based on your desired height for the lavender sprig. Your work should be sturdy, allowing for a realistic representation.
Step 5: Secure the Flowers
Now, use your yarn needle to secure the flower to the top of the stem. Weave the needle through the center of the flower and pull tight to attach, ensuring it’s well-anchored. Add additional stitches if needed for support. Now, your crochet lavender flowers should feel stable atop their charming stem!
Step 6: Finishing Touches
Finally, weave in all ends using your yarn needle for a neat finish. Gently block your crochet lavender sprigs to help set the shape and enhance the overall appearance. The final product should look lovely and lifelike, perfect for home decor or gifting.
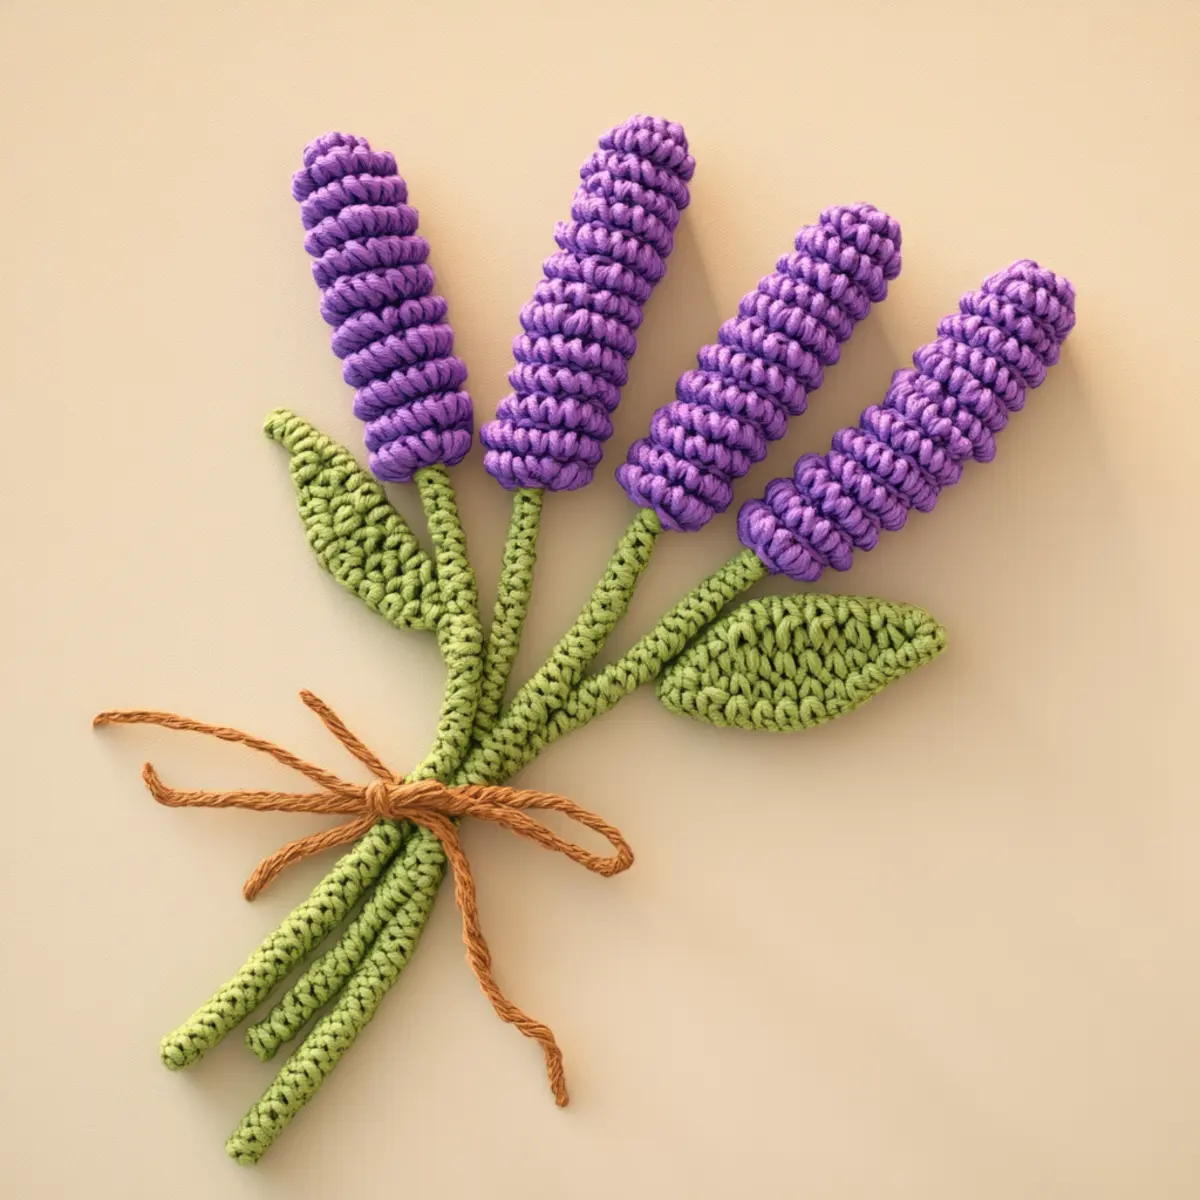
How to Wash and Care for Your Crochet Lavender
Machine Washing: Use a gentle cycle with cold water to protect the delicate puff stitches and prevent felting. It’s best to place your crochet lavender in a mesh bag for added protection.
Hand Washing: For more delicate care, hand wash your lavender sprigs in cold water with mild detergent. Gently agitate without twisting to preserve the shape and texture.
Drying/Blocking: After washing, lay your crochet lavender flat on a clean towel to dry. Avoid hanging, as this may distort the shape. Block gently to enhance the overall appearance and set the puff stitches.
Storage: Store your finished crochet lavender in a cool, dry place away from direct sunlight to maintain its vibrant color and shape—keeping it lovely for years to come!
Crochet Lavender Variations & Substitutions
Feel free to let your creativity flourish by customizing this lovely crochet lavender pattern!
-
Yarn Weight Swaps: Use a lighter or heavier weight yarn for a different drape or dimension. A bulky yarn will create plush, bold lavenders!
-
Fiber Alternatives: Try cotton instead of acrylic for a more breathable texture. This is especially great for warm climates or decorative kitchen pieces.
-
Color-Blocking: Experiment with shades like pastel purples or even vibrant yellows and blues for a stunning, modern interpretation of lavender.
-
Sizing Adjustments: Alter the number of flowers on each sprig for a fuller or minimalistic look. This allows you to cater to your personal decor style.
-
Textural Modifications: Add a pom-pom or fringe to the flower tips for a fun twist. Textures can amplify the playful nature of your lavender sprigs.
-
Embellishments: Incorporate beads or glitter yarn within flower clusters to create sparkling accents, perfect for those special occasions.
-
Seasonal Themes: Switch colors to create seasonal variations, like deep reds and greens for Christmas or soft pastels for a spring fête.
-
Stems & Bases: Add floral wire or decorative stems to provide sturdiness, enabling your lavender sprigs to stand beautifully on their own.
As you explore these delightful variations, you may also enjoy expanding your floral crochet collection with patterns like the Crochet Flower Enchanting or the Plush Duck Crochet. Embrace the art of crochet, and let each sprig tell a beautiful story!
Expert Tips for Crochet Lavender
Keep Tension Even: Use a larger hook if you find puff stitches puckering; this will help maintain consistent tension throughout your crochet lavender project.
Count Your Stitches: Place a stitch marker in the first stitch of each round to avoid losing count, which is crucial for achieving uniformity in your lavender sprigs.
Gentle Blocking: After completing your pieces, gently block them to set the shape and enhance the texture, making those puff stitches pop beautifully.
Access the Basics: If you’re unsure about any stitch used, refer back to video tutorials or your favorite crochet book for additional clarity on puff stitches and leaf shaping.
Secure Your Ends: Be sure to weave in any loose ends carefully; this not only keeps your piece tidy but also ensures the durability of your crochet lavender sprigs.
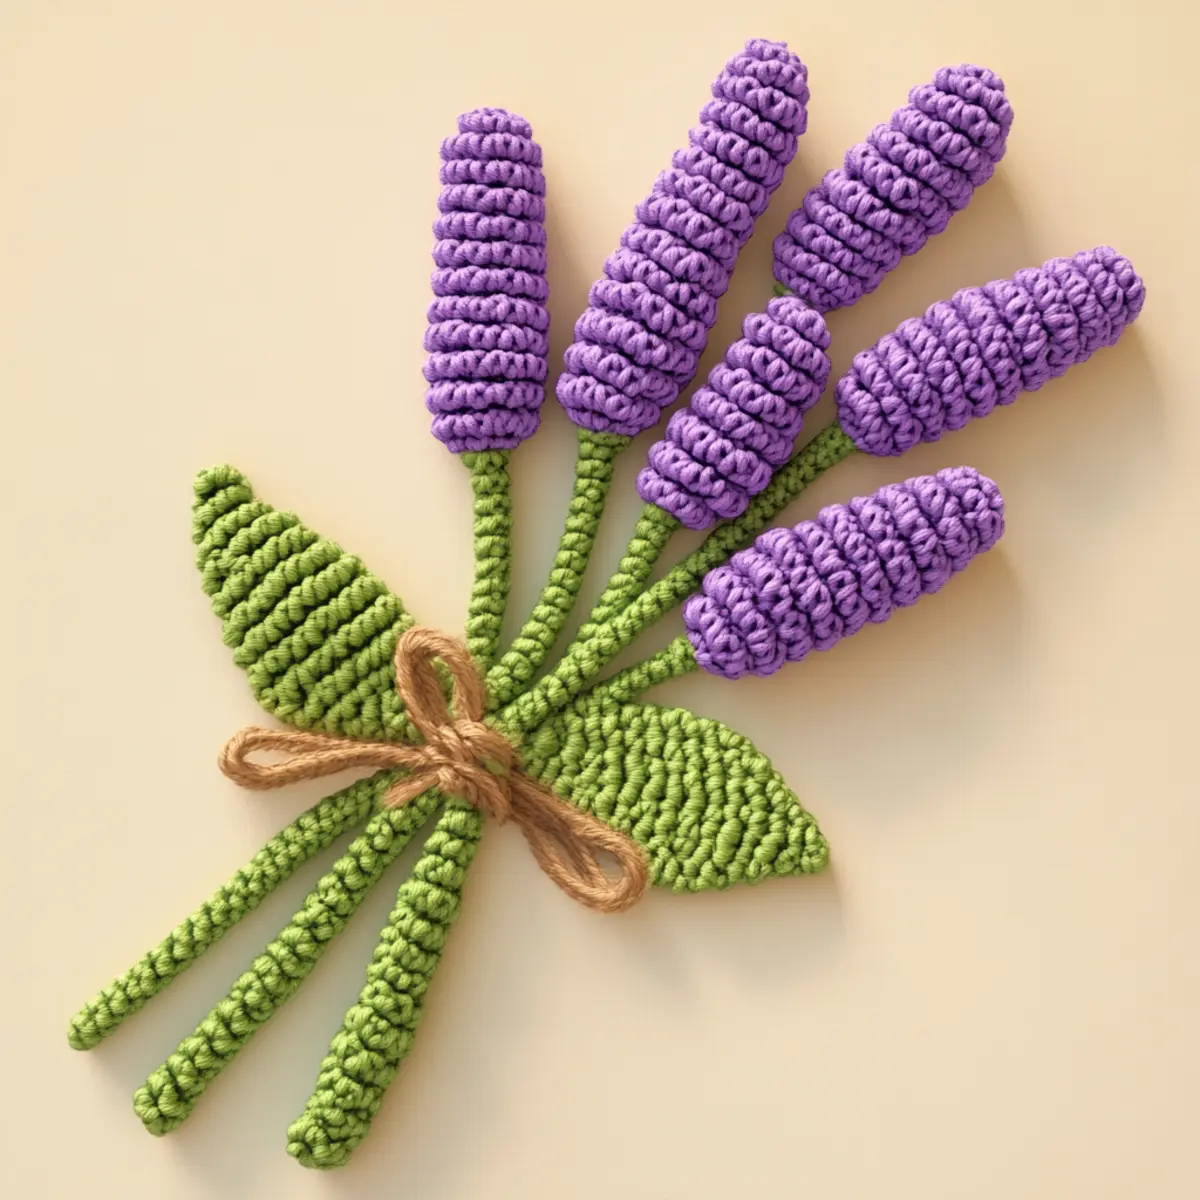
Charming Crochet Lavender Sprigs FAQs
Can I use a different yarn for my crochet lavender sprigs?
Absolutely! While worsted weight yarn is recommended for vibrant purple flowers, you can experiment with cotton or blends to achieve different textures. Just ensure you match yarn weight for best results.
What if my lavender sprig is curling at the edges?
Don’t panic! This is often caused by tight tension. Try switching to a larger hook size when working on puff stitches, which should help prevent puckering and allow your sprigs to lay flatter.
How do I adjust the size of my crochet lavender flowers?
To make your flowers bigger or smaller, simply adjust the number of chains you begin with before working into puff stitches. For instance, increase your chains in multiples of 3 for a fuller flower while decreasing them for a smaller bloom.
Why are my puff stitches uneven?
It’s easy to lose track of tension with puff stitches. Make sure to keep your tension even throughout your work. I recommend checking your gauge before starting, and consider using a stitch marker to help maintain the consistency of your stitches.
What hook size should I use for the crochet lavender sprigs?
A 4.5 mm (G-6) crochet hook is ideal for this project. However, if you find your puff stitches difficult to manage, you can size up to a 5 mm hook for more comfort and ease in creating those luscious blooms.
How do I fix dropped stitches in my lavender project?
If you notice a dropped stitch, don’t worry—it’s an easy fix! Carefully pick up the dropped stitch using your crochet hook and make sure to work it back into the surrounding stitches, ensuring it blends in seamlessly. Remember to count your stitches afterward to keep your pattern intact!

Leave a Reply