
Yesterday, while watching the clouds slowly drift by, I had this sudden urge to crochet something special – a delightful project that would bring smiles to everyone who touches it. Enter the crochet duck pattern! This adorable toy is not just a perfect stash-buster, ensuring you use up that plush yarn you’ve been hoarding, but it also serves as a great beginner-friendly introduction to the world of amigurumi. With its simple techniques and easy-to-follow instructions, you’ll find yourself whipping up this charming duck in no time at all. The soft texture of plush yarn combined with the whimsical design creates a toy that is as comforting to snuggle as it is visually appealing. Besides making for an irresistible gift, crafting this crochet duck can deeply enhance your crocheting skills. It’s an exploration into both creativity and craftsmanship. Who knew such joy could come from a little ball of yarn? Let’s dive into how to bring this fluffy friend to life, shall we?
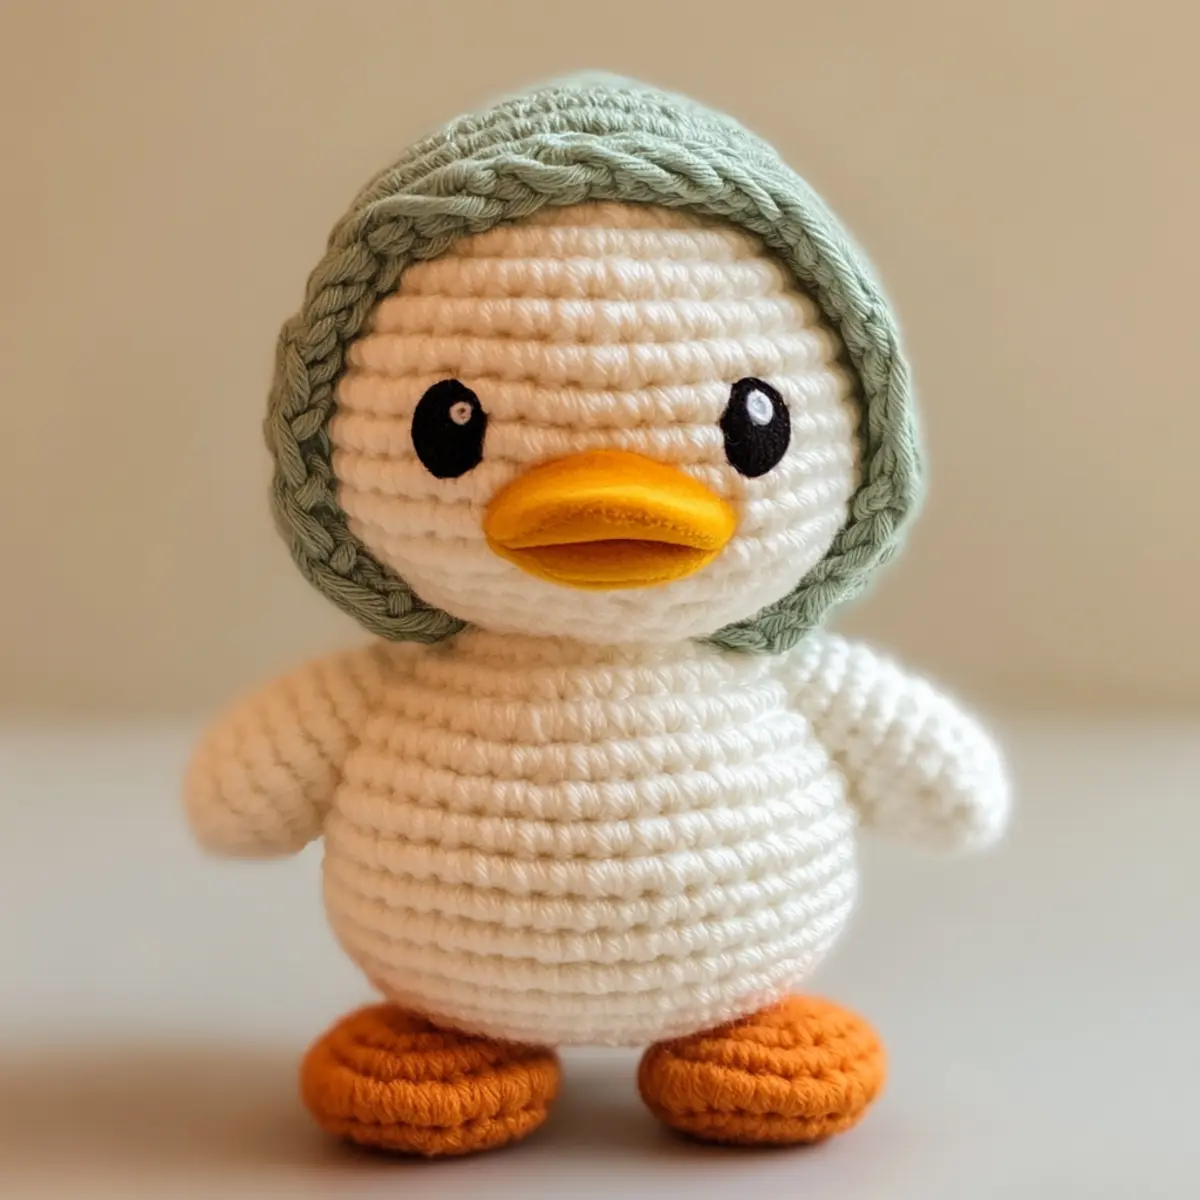
Crochet Duck Pattern Materials & Tools
Yarn
— Use worsted-weight plush or velvet yarn for a soft, cuddly finish. You’ll need approximately 200-250 yards for the entire crochet duck, including body, beak, and charming accessories.
Tools & Notions
— 5.0 mm crochet hook – Corresponds to US hook size H, perfect for this plush yarn.
— Safety eyes – Add adorable expressions to your duck while ensuring they remain safe for kids.
— Yarn needle – Essential for sewing all the parts together seamlessly.
— Stitch markers – Helpful for keeping track of your rounds and ensuring a smooth project flow. Consider keeping them on hand for all your crochet adventures!
Optional Accessories
— Enhance your duck with fun features like a bow tie or a unique color scheme to give it personality. Changing primary colors to soft pastels makes for a truly custom piece.
What Makes This Crochet Duck Pattern Special?
Delightfully simple: The crochet duck pattern is designed with beginners in mind. Each stitch is accessible, encouraging you to unleash your creativity without feeling overwhelmed. Cuddly texture: Made from plush yarn, the final duck boasts a delightful squish factor, making it perfect for hugs! You’ll enjoy the velvety touch as much as the aesthetic appeal of the piece. Stash-buster: Got leftover yarn? This project is a fantastic way to use it up while creating a whimsical decor piece or gift. Dive into your yarn stash and pull out your favorite colors! Fun customization: With just a few easy tweaks, such as switching up colors or adding accessories like a bow tie, you can personalize each duck to truly make it your own. For more inspiration, check out this Plush Duck Crochet project. Plus, once you’ve mastered this pattern, you can explore more playful designs like the Crochet Flower Pattern to further enhance your skills. Joyful crafting experience: As you create each part, the anticipation of bringing your duck together is exhilarating. This engaging process transforms mere yarn into a cherished toy, ensuring crafting joy from beginning to end.
Gauge & Sizing Notes for Crochet Duck Pattern
Checking your gauge is essential for this crochet duck pattern. Consistent tension influences the overall appearance and durability of your creation. A standard 4×4 inch (10×10 cm) gauge measurement in single crochet (sc) with your chosen plush yarn is critical, and perform necessary adjustments to the starting chain or rounds to achieve the size you wish. If the gauge does not match—too tight or too loose—you may need to alter your hook size to 5.0 mm (US H) for best results. Remember that the final dimensions should ideally be 8-10 inches for this duck, making it perfect for little hands to grasp or as playful decor. Customize by increasing or decreasing initial stitches, tailoring sizes for a personalized touch. Luckily, once you understand the foundations here, you can fashion numerous crochet ducks in various colors and styles, ultimately enhancing your crochet skills!
Step-by-Step Pattern for Crochet Duck Pattern
Row 1: Create the Head
Begin with a magic ring. Work 6 sc into the ring and pull tight to close. This establishes the center point of your adorable duck’s head, ensuring a rounded shape that will come to life. (6)
Row 2: Increase for Size
In this round, inc in each sc around. This will double your stitch count and provide the necessary volume for shaping. The head forms a solid base as you continue to build up your cute creation. (12)
Row 3: Continue Increasing
Make 1 sc in the first stitch, then inc in the next. Repeat this pattern around for increasing. This method gradually alters the dimensions while maintaining balance in your crochet duck. (18)
Row 4: More Structure
For this row, create 2 sc in the first stitch, follow with 1 sc in the next two stitches, and repeat around. This structured increase allows you to further enlarge the head, providing a substantial form. (24)
Row 5: Build Up
Continue with 1 sc in each stitch for another two rounds. This staple maintains the head’s shape and allows a plush volume to develop, making it soft and cuddly. (24)
Row 6: Add Safety Eyes
Before you finish the head, securely attach safety eyes between rounds 12 and 13. The placement brings personality to your crochet duck, giving it the playful expression every duck should have!
Row 7: Decrease for Shape
To begin rounding off the head, sc 1, then dec the next stitch. This will softly taper the head, preparing for the final touches just above the beak. (18)
Row 8: Secure the Head
Repeat the decrease pattern, ensuring to check the tightness of your stitches. A cohesive finish will allow the doll to hold its shape as you move onto the beak. (12)
Row 9: Start the Beak
Begin the beak by chaining 6 and placing 1 hdc in the second chain from the hook. Then, follow with 1 sc into the next four chains, securing a delightful shape for your duck’s adorable face. (5)
Row 10: Completing the Beak
In your next row, create 2 inc stitches at the beginning of the previous row—the beak now has volume! Finish with a slip stitch to close the beak. (7)
Row 11: Prepare the Body
Using the same method, start the body with a magic ring and work 6 sc inside, just like the head. Follow through the same construction method, ensuring to increase as necessary to maintain symmetry. (6)
Row 12: Detailing the Body
Repeat the increase rounds similar to the head. Keep track of stitches here as they are vital for achieving a well-proportioned body. The head and body should match proportionally for a fun aesthetic. (30)
Row 13: Final Assembly
Once all parts—head, beak, body, and feet—are crocheted, ensure everything is sewn together securely. This last step provides stability to your crochet duck, enhancing the charm and making it perfectly huggable.
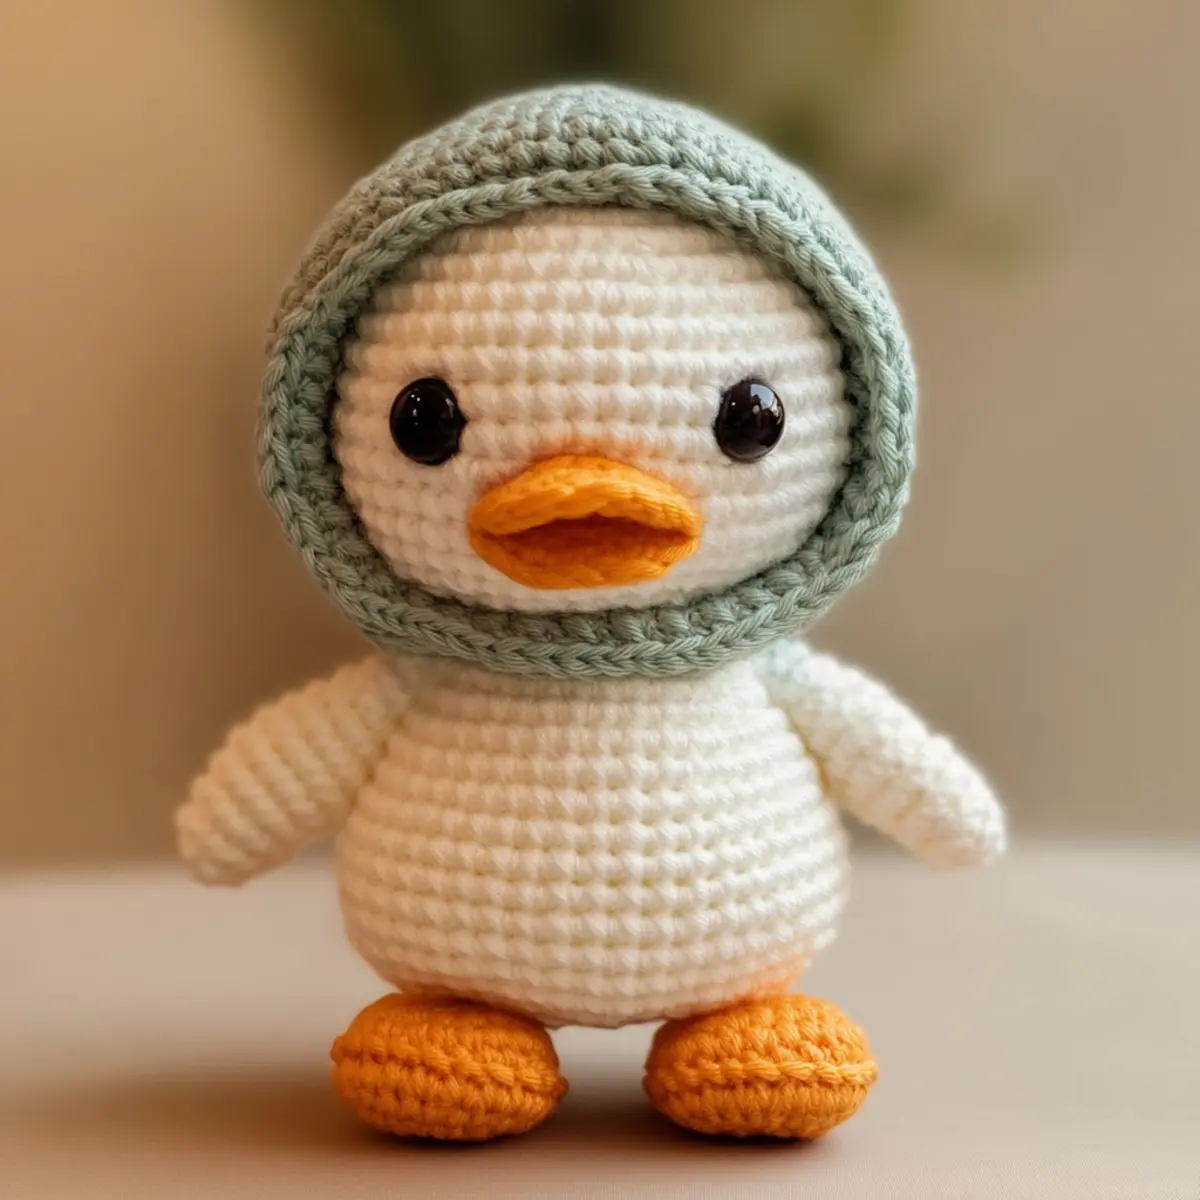
Expert Tips for the Best Crochet Duck Pattern
- Track Your Stitches: Always keep a count of your stitches after each round, especially when creating the body, to avoid losing your count and ending with a misshaped duck.
- Foundation Chain: When starting with a magic ring, make sure to pull it tight to avoid gaps in the head, which could lead to a less polished look.
- Count Carefully: As you increase your stitches, it’s easy to drop one if you aren’t careful. Take your time to ensure each increase is smooth and consistent.
- Tension Matters: Maintain even tension throughout your work. If you crochet too tightly, stuffing may be difficult, while too loose may lead to an unstable structure, affecting the overall cuddly appearance of your plush duck.
- Blocking Tips: Lightly block your finished pieces, like the feet and beak, to keep their shapes defined and give your crochet duck a neat, finished look.
How to Wash and Care for Your Crochet Duck
- Machine Washing: Generally, it’s best to hand wash your crochet duck to prevent any agitation and potential distortion. If using a machine, opt for a gentle cycle with cold water.
- Hand Washing: Gently wash using lukewarm water and a mild detergent. Avoid excessive scrubbing, focusing instead on any stained areas for clean-up without rough handling.
- Drying: After washing, lay your crochet duck flat on a clean towel to dry. Avoid hanging or wringing it out, which could alter its shape.
- Storage: When not in use, store your plush duck in a cool, dry place away from direct sunlight. This prevents fading and keeps the material soft to the touch.
crochet duck pattern variations
Feel free to adapt and personalize your crochet duck to match your style and preferences!
- Soft Pastels: Switch up the primary color to soft pastels like lavender or mint for a fresh look.
- Yarn Swap: Experiment with different yarn types, like cotton or bamboo, for a sustainable and unique touch.
- Larger Size: Alter the hook size to create a larger version of the duck; perfect for bigger cuddles!
- Accessory Boost: Consider adding a fun accessory like a bow tie to give your duck a charming personality.
- Texture Play: Incorporate different yarn textures, such as boucle or chenille, to change the overall feel of the duck.
Blend these variations seamlessly into your project; for example, try using a soft cotton yarn for a summer duck and add a bright-colored scarf for a delightful finish. The charm of customization truly enhances the purpose of this crochet duck pattern, making it personal and meaningful.
- Color-Blocking: Experiment with color-blocking techniques to add fun designs or patterns to your crochet duck.
- Embellished Beak: Use felt or fabric to create a larger beak or embellish your duck with unique details to stand out.
Each variation helps ensure your crochet duck can reflect your creativity while still following the original design, fostering both skill development and artistic expression. Explore more with our Crochet Flower Pattern for added inspiration!
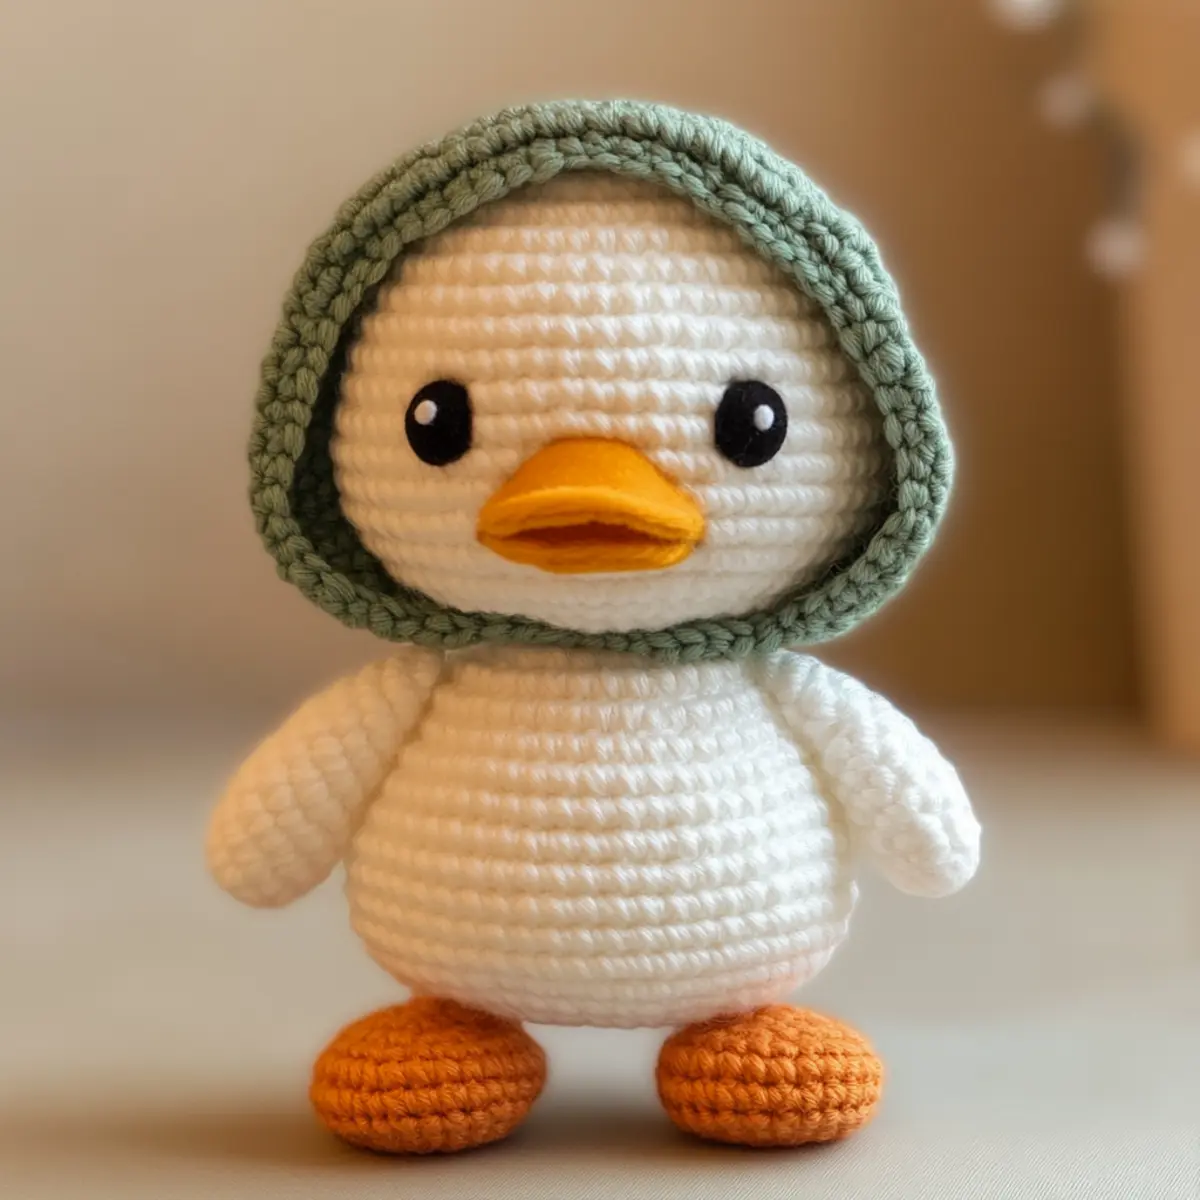
Crochet Duck FAQs
What yarn substitutions can I use for this project?
Absolutely! You can use cotton or bamboo yarn for a more sustainable option, though your duck won’t be as soft. Just ensure your gauge matches to keep the right size.
How can I adjust the size of my crochet duck?
You can alter the hook size to create a smaller or larger version. Additionally, adjusting the number of starting stitches will help you tailor the size while maintaining proportions for the head and body.
What should I do if my stitches curl?
Don’t panic! Curling often happens if your tension is too tight. Consider loosening your grip on the yarn or re-evaluating your hook size to get rid of any curling effects in your crochet duck.
How do I fix dropped stitches while crocheting?
If you notice a dropped stitch, simply go back to the last secure round and carefully re-stitch without pulling too tightly. Retrace your steps and ensure every round is neatly worked without gaps.
What hook size should I use for this crochet duck?
Use a 5.0 mm hook (US size H) for this pattern. This size is perfect for working with plush or velvet yarn, ensuring a soft, cuddly finish for your duck.
Can I add accessories to my crochet duck?
Definitely! Personalizing your duck with a bow tie or unique colors can add charm. Feel free to get creative and let your imagination guide your crafting to reflect your style!

Leave a Reply