
Amidst a flurry of emotions, I found myself reflecting on the beauty that flowers bring to our lives—not just in bloom, but in the joy of crafting something enduring. This crochet flower bouquet project is the perfect way to channel that love into a unique decorative piece that won’t wilt over time. Designed with intermediate crafters in mind, it offers the delightful flexibility of color customization, allowing you to match your creation with any home decor. Plus, it makes a charming gift that carries a personal touch, adding warmth to any occasion. Let’s get started on this rewarding journey together and breathe new life into your crochet adventures!
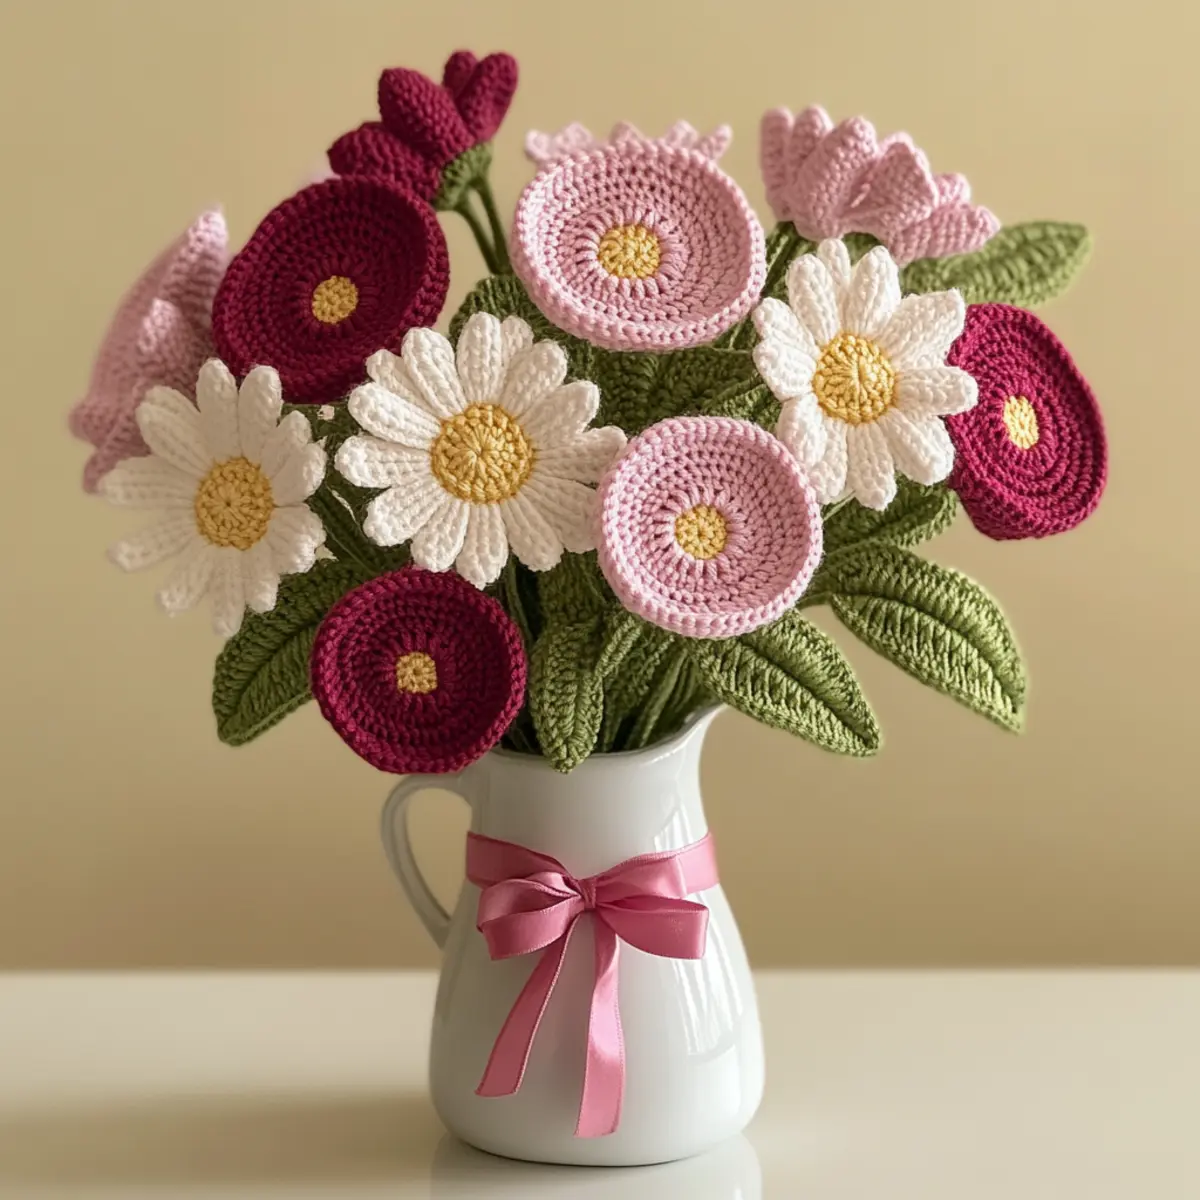
Crochet Flower Bouquet Materials & Tools
Note: Gather your materials to create a stunning crochet flower bouquet that will brighten any space!
Yarn
• Light Worsted Weight Yarn – Choose approximately 300-400 yards in shades of pink, green, and yellow for a vibrant bouquet.
• Cotton or Acrylic Fiber – Opt for fibers that provide both softness and structure, creating a lovely drape.
Tools & Notions
• 4.0 mm (G/6) Crochet Hook – This size will help achieve the right tension for your intricate flower designs.
• Yarn Needles – Essential for sewing flower parts together securely, ensuring a neat finish.
• Floral Wire – Use this for added stability in your flower stems, allowing your bouquet to stand tall and proud.
• Stitch Marker – A handy tool to maintain consistent tension for a uniform appearance in your crochet work.
Get ready to craft a beautiful crochet flower bouquet and infuse your home with warmth and creativity!
Why Make a Crochet Flower Bouquet?
Timeless Appeal: This crochet flower bouquet brings a lasting elegance to your home, offering the beauty of fresh blooms without the hassle of upkeep.
Customization Galore: Choose vibrant or subtle colors to match your decor effortlessly—be the artist of your own living space!
Perfect for Gifting: Gift a handmade bouquet for any occasion; it adds a personal touch that’s truly memorable.
Creative Challenge: Intermediate crafters will revel in the intricate designs, making the process as rewarding as the final product.
Textural Depth: The variety of stitches creates stunning textures that enhance the bouquet’s visual allure, making it a superb focal point.
Dive deeper into your crafting journey with our Crochet Flower Pattern, and perhaps pair it with a delightful Crochet Headband Charming for an added flair!
Gauge & Sizing Notes
Don’t skip the gauge swatch! Ensuring you have the right tension is crucial for achieving the beautiful proportions of your crochet flower bouquet. Aim for a standard gauge of 4×4 inches (10×10 cm), which should equal 14 double crochets by 8 rows. If you’d like to make your bouquet larger or smaller, simply adjust your starting chain in multiples of 4. For instance, if your tension differs—let’s say your swatch is smaller—try using a larger hook size to loosen up your stitches. Remember, a well-fitting gauge leads to a stunning, balanced final piece!
Step‑by‑Step Pattern for crochet flower bouquet
Row 1: Begin the Daisy
Start with a magic ring, ch 3 (counts as first dc), and work 11 more dc into the ring for a total of 12 dc. Pull the magic ring tight to close. Slip stitch (sl st) into the top of the beginning ch 3 to join. Your work should form a circular shape resembling a daisy.
Row 2: Create the Petals
Ch 2, work in the same stitch: 2 hdc in next st, 1 hdc in next st. Repeat from * around for an additional layer of petals, ending with a sl st in the top of the ch 2. You should have 18 stitches around, giving your flower a lovely, ruffled appearance.
Row 3: Forming the Center
With a contrasting color, join yarn in any stitch. Ch 1, work 6 sc into the center of the last round, pulling tight. Slip stitch to join and secure with a knot. You will notice the center contrasting beautifully against the flower petals, adding depth to your crochet flower bouquet.
Row 4: Starting the Rosebud
Begin with a ch of 5, then work 1 sc in the second ch from the hook. Continue with 1 hdc, 1 dc, and 1 tr into the remaining stitches. This will create the base of the rosebud. Your work should begin to spiral slightly, resembling the inner layers of a rose.
Row 5: Layering the Rose
Ch 3 and turn; then work 2 dc in the first stitch followed by 1 dc in next two stitches. In the last stitch, work 2 dc to add fullness. Join with a sl st to the top of the turning ch. You should have a slightly opened rosebud shape with a soft, rounded top.
Row 6: Leaves Construction
With green yarn, ch 10 and turn. In the second ch from the hook, work 1 sc, 1 hdc in the next stitch, 5 dc in next, 1 hdc, and 1 sc in the last two stitches, forming a leaf shape. Join with a sl st to the opposite end of the chain; your leaf should look elongated and pointed.
Step 7: Assemble the Bouquet
Take your flower heads and use floral wire wrapped with floral tape to create stems. Securely attach each flower head onto its stem, ensuring they are level and balanced. Arrange varying heights of flowers in your bouquet for visual interest. Your crochet flower bouquet should now start to take shape!
Step 8: Final Assembly
Once all components are attached, adjust the leaves to sit well among the blooms. If desired, add a decorative ribbon around the base of your bouquet or place it in a vase for display. Your finished crochet flower bouquet is a stunning arrangement that brightens any space!
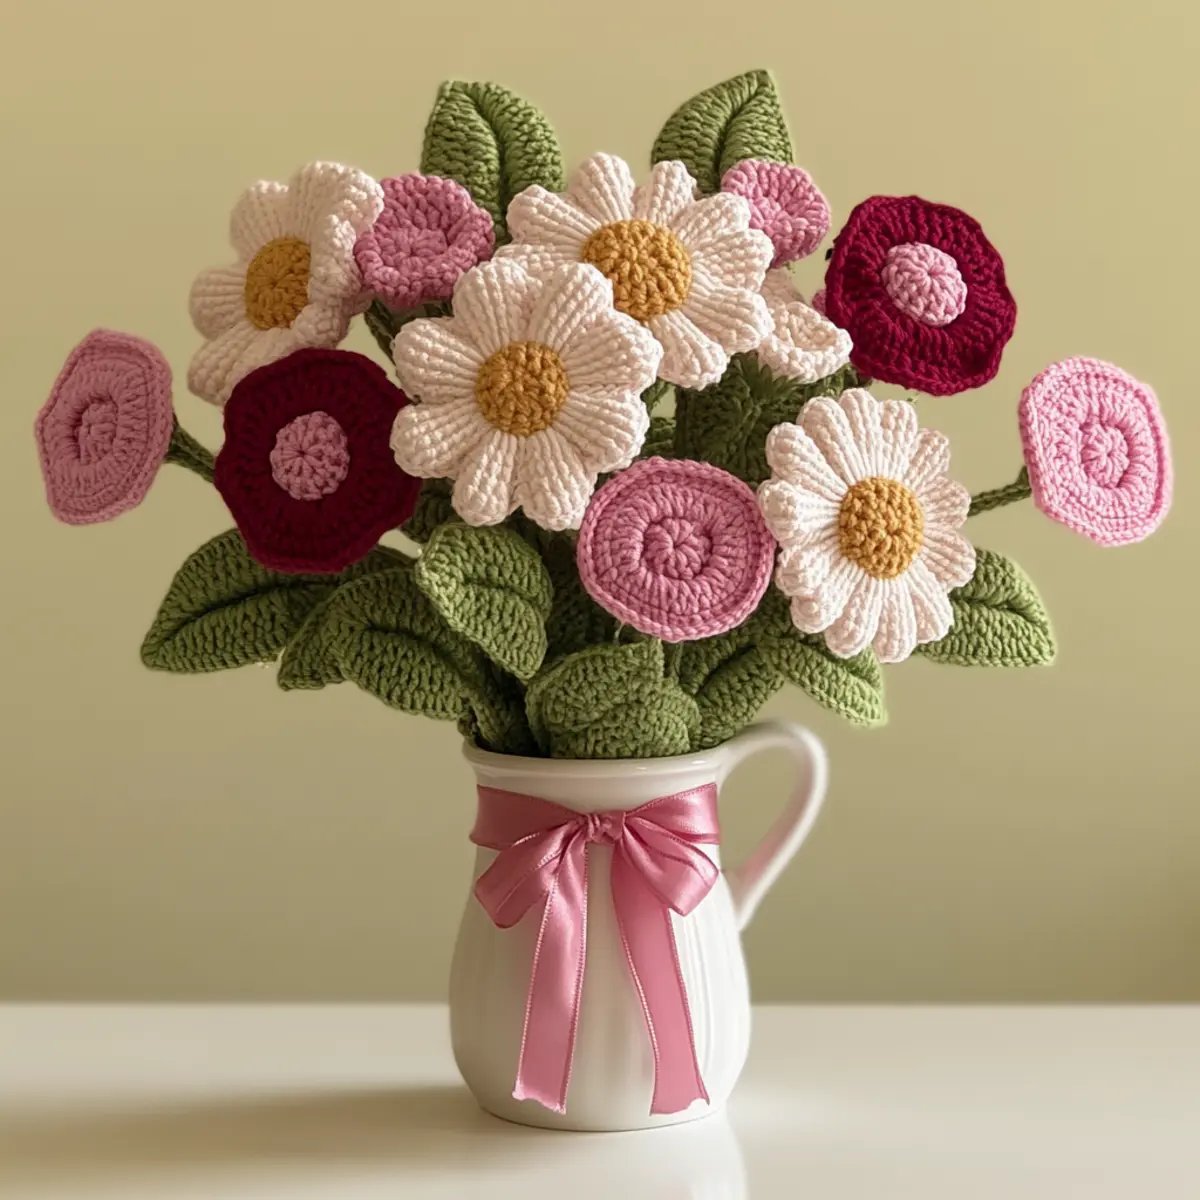
Crochet Flower Bouquet Variations
Dive into the creative possibilities as you explore ways to personalize your crochet flower bouquet!
-
Yarn Weight Swaps: Use a heavier worsted yarn for a more voluminous bouquet; it adds a stunning presence to your display.
-
Fiber Alternatives: Try cotton yarn for a softer feel or explore wool blends for a cozy, textured look. Both options enhance appearance and durability.
-
Color-Blocking Ideas: Create a vibrant mix by alternating colors in your flowers; think bold reds with sunny yellows for a cheerful summer vibe.
-
Mini & Maxi Variants: Craft a mini bouquet for delicate arrangements or a large centerpiece that makes a bold statement; size variations can change the entire feel.
-
Texture Modifications: Add a whimsical touch by incorporating pom-poms or fringe to the flower edges, enhancing their playfulness and charm.
-
Floral Accents: Experiment with beading or sequins sewn into the flower centers for dazzling details; it gives your bouquet a pop of sparkle and personality.
-
Ribbon Customization: Change the ribbon color or texture to match seasonal themes, like using burlap for a rustic autumn look.
-
Mix Flower Types: Combine your crochet flowers with a few fabric blooms or dried flower accents to create a stunning mixed bouquet; it adds flair and interest to your arrangement.
For more inspiring floral creations, check out our Crochet Orchid Patterns or dive into the beauty of a Crochet Rose Timeless!
Expert Tips for Your Crochet Flower Bouquet
-
Consistent Tension: Maintain even tension throughout your project to ensure flowers look uniformly beautiful. A stitch marker can help keep track of your rounds.
-
Accurate Counting: Keep a close eye on your stitch count, especially when transitioning between flower components. Missing a stitch can affect the final shape.
-
Blocking for Shape: Once you finish, block your pieces by lightly steaming them. This helps them hold their intended shape and enhances the flower’s delicate textures.
-
Proper Stem Measurement: Measure your stem lengths in relation to your flowers. This ensures a balanced bouquet that stands tall and proud in any vase.
-
Adding Stability: Consider using floral wire when securing flower heads to the stems. It provides extra support and keeps your crochet flower bouquet looking splendid.
Care Instructions for Your Crochet Flower Bouquet
-
Cleaning: Gently hand wash your crochet flower bouquet in cold water with mild detergent. Avoid agitation to prevent felting or pilling, preserving the beautiful textures.
-
Drying: After washing, lay the bouquet flat on a clean towel to dry. Reshape as necessary to maintain the intricate designs without distorting the flowers.
-
Blocking: To enhance the flower shapes, lightly steam block the pieces after completing your bouquet. This will help the final arrangement hold its lovely form.
-
Storage: When not on display, store your crochet flower bouquet in a cool, dry place. Avoid compressing it, as this can affect the structure and beauty of the flowers.
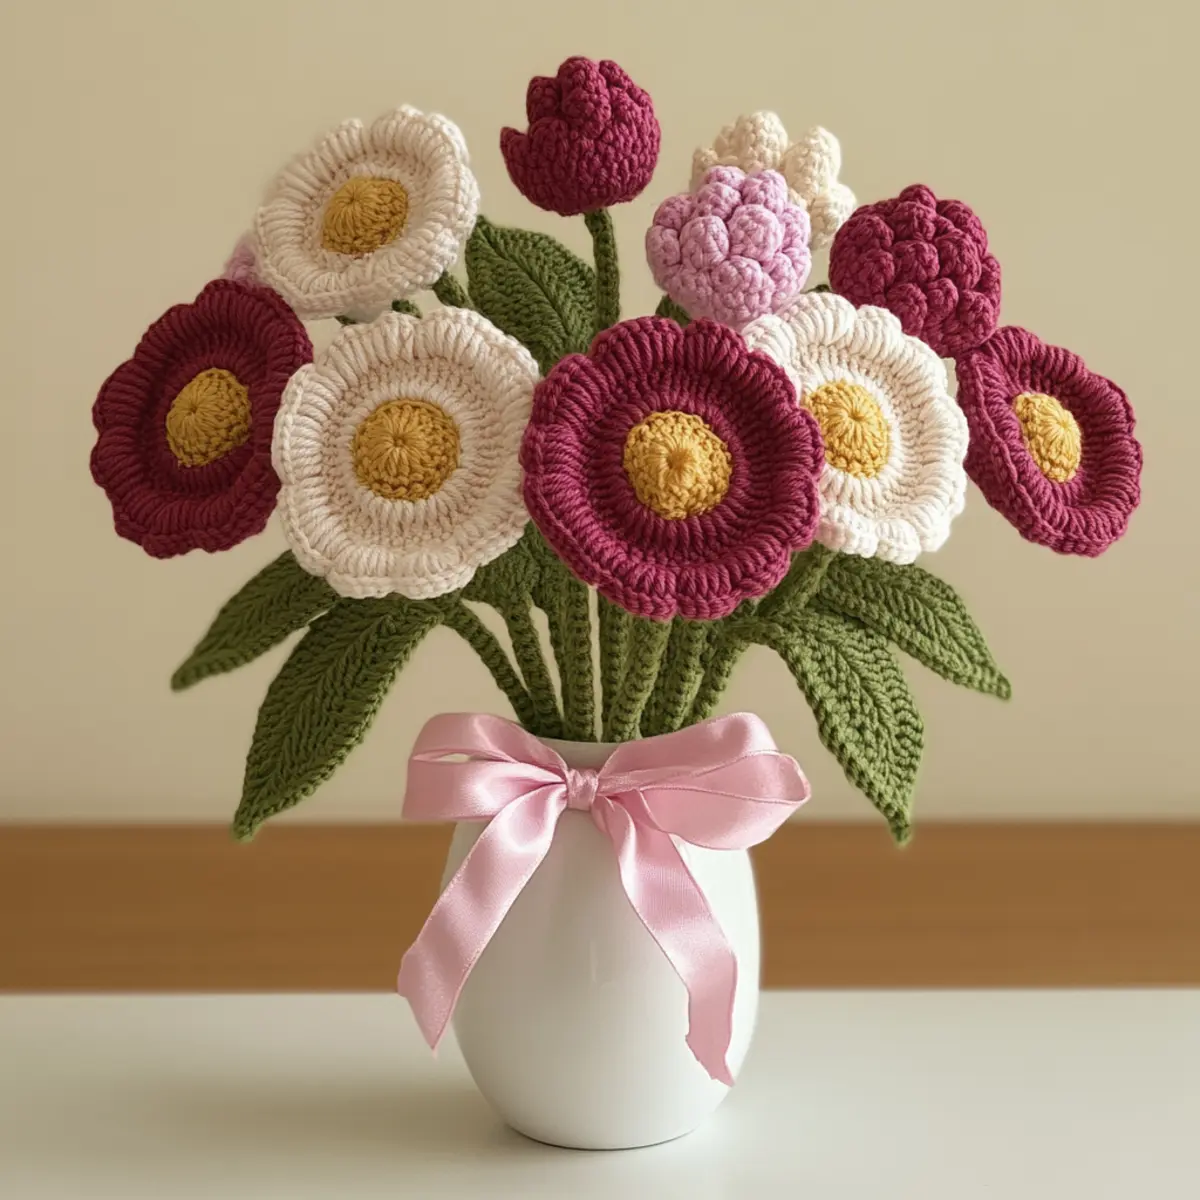
Charming Crochet Flower Bouquet FAQs
Can I use a different yarn weight for this crochet flower bouquet?
Absolutely! While a light worsted (Category 3 or 4) yarn is recommended for this project, feel free to experiment with different weights. Just keep in mind that using thicker yarn will create larger flowers, while thinner yarn will yield smaller blooms—perfect if you’re looking to craft a mini bouquet!
How do I adjust the size of the flowers?
Don’t panic! To adjust the size of your crochet flowers, you can either change your yarn weight or modify your hook size. For instance, if you want larger flowers, switch to a heavier weight yarn or use a bigger hook. For smaller flowers, do the opposite. Remember to check your gauge if you want to ensure consistency across your bouquet!
Why is my flower curling up at the edges?
If your flowers are curling like a bowl, it might be due to uneven tension or not blocking properly. First, make sure you maintain a consistent tension throughout your project. After finishing, block your flowers by lightly steaming them to help them hold their desired shape. This should give your blooms a delightful flat appearance!
What size hook should I use for this project?
I recommend using a 4.0 mm (G/6) crochet hook for the best results with this crochet flower bouquet. This size allows for the right amount of drape while ensuring your stitches are tight enough to give your flowers structure without looking loose or flimsy.
How do I fix dropped stitches while working on the bouquet?
It’s an easy fix! If you notice a dropped stitch while crocheting, simply use a yarn needle to weave the loose end back into the previous rows, ensuring the stitch sits snugly. You can also frogging back a few stitches to that dropped point and working them back up if necessary. Keeping a keen eye on your stitch count helps prevent this issue in the first place!
Can I customize the colors for my flowers?
Absolutely! Customizing colors is one of the best parts of this crochet flower bouquet project. Feel free to choose vibrant hues for a lively arrangement or soft pastels for a more subdued look. The possibilities are endless, allowing you to create a bouquet that perfectly complements your home decor!

Leave a Reply