
Sitting in my cozy nook, surrounded by a rainbow of yarn, I felt a spark of creativity take flight when I envisioned this whimsical crocheted chameleon. It’s not just a character brought to life; it’s a delightful blend of color and joy that can brighten any room! This playful DIY toy pattern offers a rewarding experience while honing your amigurumi skills, making it perfect for both intermediate crafters and those looking to stretch their creative muscles. With no complicated techniques involved, you’ll enjoy the process of watching this charming creature come together in your hands. Not to mention, it makes a stunning gift for both children and adults alike, serving as both a plush toy and a decorative accent. As you crochet each piece, you can experiment with vibrant yarn combinations and bring your own touch to this adorable chameleon. Curious about how to craft this cozy companion? Let’s jump right into the fun!
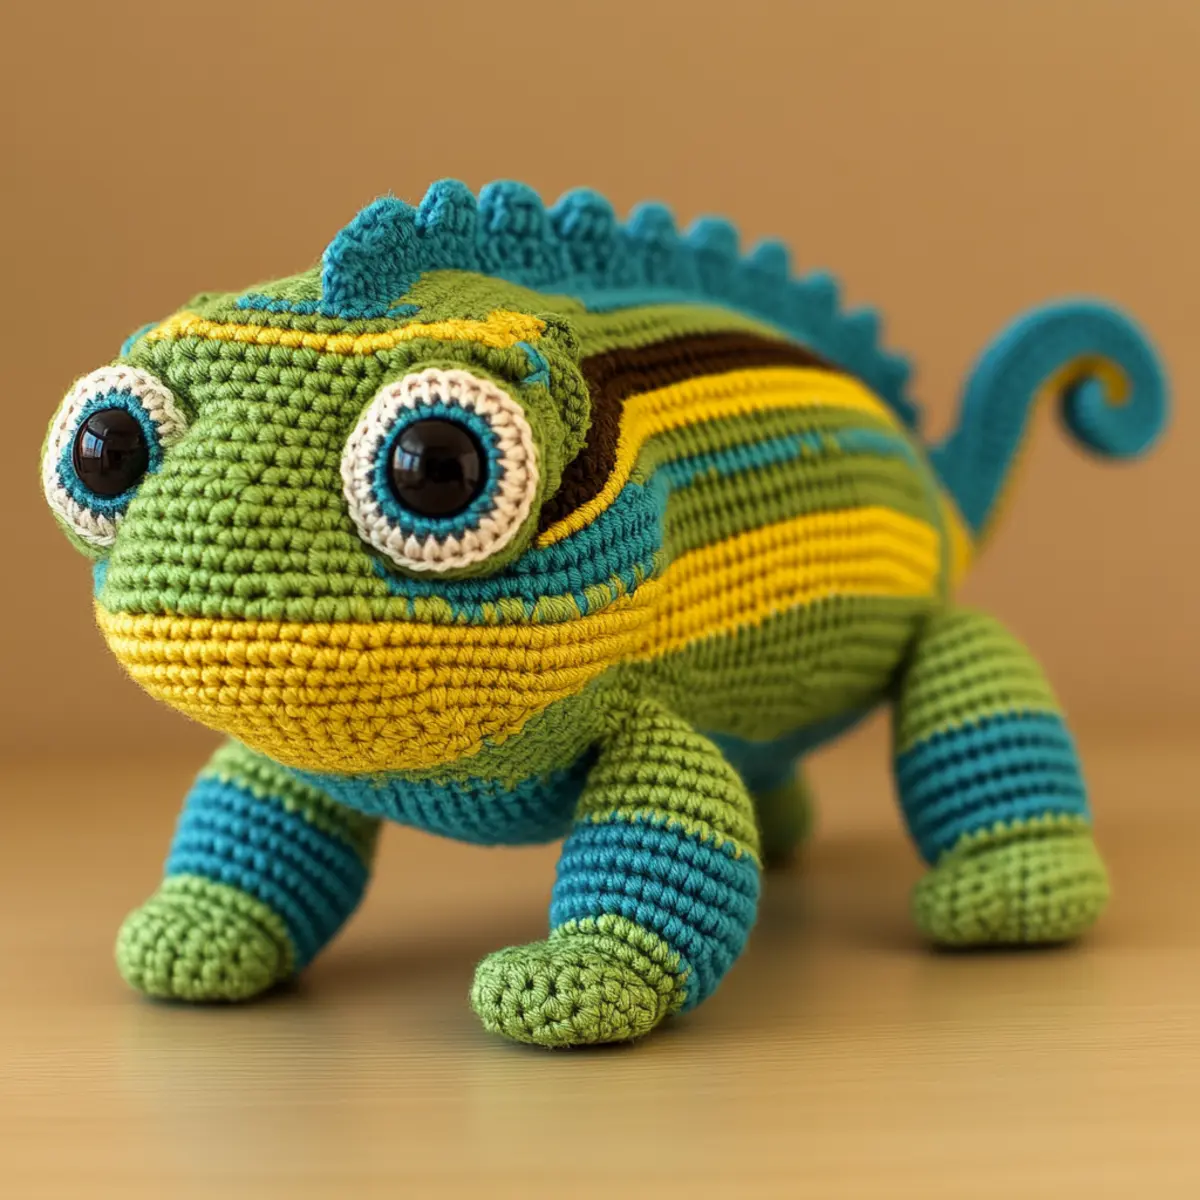
Crocheted Chameleon Materials & Tools
Yarn
Plush or Chenille Yarn – Aim for about 200-300 yards total in various colors for the perfect soft and whimsical crocheted chameleon.
Safety Eyes
12mm Safety Eyes – Essential for giving your chameleon its endearing expression; these are safe for all ages.
Tools & Notions
Yarn Needle – Use a yarn needle to weave in all ends neatly for a polished look on your amigurumi.
Scissors – Have these handy for trimming yarn and keeping your workspace tidy.
Crochet Hook
G/6 Hook (4mm) – This mid-sized hook is perfect for achieving the right tension and structure for your crocheted chameleon pieces.
Other Supplies
Polyester Stuffing – Choose a reliable stuffing to ensure your chameleon maintains its shape and plush feel. Avoid overstuffing to keep dimensional control.
What Makes This Chameleon Special?
Delightfully unique, this crocheted chameleon stands out not just for its vibrant colors, but for its simple design that encourages creativity. Beginner-friendly yet thoroughly engaging, even those with intermediate skills can enjoy the process without feeling overwhelmed. Which means it’s the perfect stash-buster! With ample opportunities for personalization, you can change up the colors or add features like a scarf, making each chameleon truly your own. Plus, its soft texture from plush yarn makes it a favorite cuddle buddy! Whether you’re looking to decorate a nursery with a playful touch or create a charming gift, this whimsical toy is versatile enough for any occasion. For more enchanting projects, check out my Crochet Flower Enchanting or Plush Duck Crochet, both perfect additions to your crafting repertoire.
Gauge & Sizing Notes for Crocheted Chameleon
Checking your tension is vital while creating this adorable crocheted chameleon, as it directly affects the overall appearance and shape. A standard gauge measurement of 4×4 inches (10×10 cm) should yield about 14-16 rows of sc if you’re using a G/6 (4mm) hook with medium worsted weight yarn. If you need to adjust the size of your chameleon, consider changing your starting chain or adding extra rounds to the body and limbs. If your swatch does not match the gauge, you can change your hook size or yarn type; achieving the correct tension is crucial for maintaining the cute proportions. By mastering the gauge for your crocheted chameleon, you’ll ensure it has that wonderfully soft and plush feel perfect for cuddles and decor alike.
Step-by-Step Pattern for Crocheted Chameleon
Row 1: Create the Magic Ring Begin by making a magic ring (MR) with your plush yarn. This will serve as the base for the head of your crocheted chameleon. Pull the yarn tight, leaving a tail about six inches long to weave in later.
Row 2: Build the Head Base Chain 1 and crochet 6 single crochet (sc) stitches into the magic ring. Pull the magic ring snug to start shaping the head. You’ll have a tiny circle to start. (6 sc)
Row 3: Increase for Roundness In this round, increase each stitch by making 2 sc in each stitch from the previous row. This is crucial to create the round shape of the head. You should have a total of 12 stitches by the end of the round. (12 sc)
Row 4: Continue Increasing Once more, increase 1 stitch in every 2nd stitch across the round; that is, (sc, inc) all the way. This allows your head to expand nicely, achieving a plush and rounded shape suitable for your chameleon. (18 sc)
Row 5: Forming Head Contours Maintain the curve by repeating (sc in next 2 stitches, inc) throughout the row, ensuring the head remains correctly proportioned. You should now have 24 stitches at the end of the round. (24 sc)
Row 6: Establishing Facial Features Over the next 2 rows, continue with sc around without increasing or decreasing, creating depth until you feel it has reached an adequate height for the features you’ll add later. Maintain your count at 24 stitches. (24 sc)
Row 7: Adding Details This is the time to sew on facial features like the 12mm safety eyes and embroider a smile. Position them evenly to give your crocheted chameleon its charming expression. Remember to adjust the design as desired for a personal touch!
Row 8: Starting the Body Create a magic ring and add 6 sc just like the head, as this will form the body base. Pull it tight, ready to expand for an adorable shape that complements the head. (6 sc)
Row 9: Shaping the Body In the next round, increase each stitch by working 2 sc in each stitch for a total of 12 stitches. This is important for adding structure as you build. (12 sc)
Row 10: Forming the Body Shape Continue increasing by working (sc in next stitch, inc) around the row. This will help taper the body above the base, giving a perfect chameleon form. You will end this round with 18 stitches. (18 sc)
Row 11: Glamourizing the Body Maintain the body for the next 2 rows without increasing or decreasing, simply working sc around. It will help establish the base height while keeping the project stable. Keep an eye on tension; excessive tightness here may warp the body. (18 sc)
Row 12: Finishing the Body Slip stitch into the last stitch and fasten off, leaving the yarn tail long enough to secure the body to the head. This connection is where you finalize the assembly, emphasizing the seamless look of your crocheted chameleon.
Notes on Assembly** When joining the head and body, take care to ensure they align smoothly. Use the yarn tail to stitch through both sections for strength. These parts are crucial for a durable toy. Don’t forget to focus on stuffing the limbs to allow for even puffiness while also ensuring that they retain their shape during play.
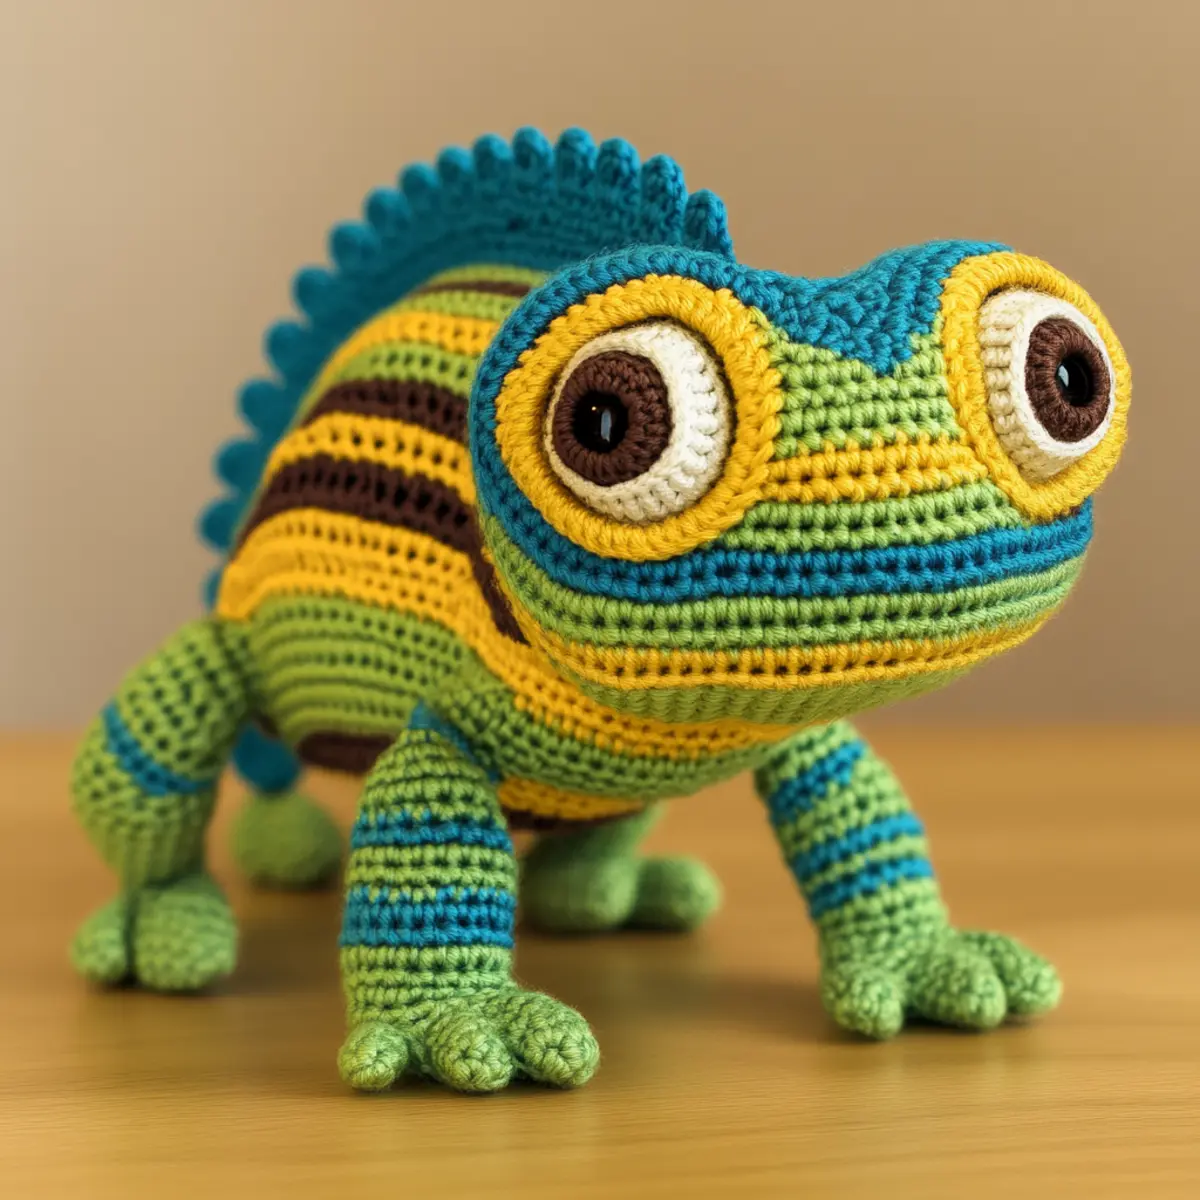
Expert Tips for Crocheted Chameleon
Count Carefully: Use a stitch marker to keep track of your rounds, helping prevent confusion and ensuring perfect shape.
Watch Tension: Maintain even tension, especially in smaller pieces like limbs, to avoid inconsistencies in your crocheted chameleon.
Measure Stuffing: Be cautious with stuffing; too little affects shape while overstuffing may distort it. Aim for a balance for optimal cuteness.
Color Experimentation: Feel free to swap the primary yarn color or add patterns for a quirky look, making each chameleon uniquely yours.
Personal Touches: Incorporate features like hats or scarves during assembly to enhance creativity and personalize your crocheted chameleon experience.
How to Wash and Care for Your Crocheted Chameleon
Machine Washing: Use a gentle cycle with cool water and mild detergent, placing your crocheted chameleon in a laundry bag to protect it.
Hand Washing: For extra delicate care, hand wash using lukewarm water and a gentle soap, making sure to avoid any vigorous scrubbing.
Drying: Always lay your chameleon flat to dry, reshaping it as necessary, and keep away from direct sunlight to prevent color fading.
Storage: Store your crocheted chameleon in a cool, dry place, avoiding damp areas to keep it fresh and vibrant.
Crocheted Chameleon Variations
Feel free to personalize your chameleon with these fun variations!
-
Color Swaps: Change the main color to shades like purple or teal for a fresh vibe.
-
Yarn Types: Try using cotton or acrylic yarn, resulting in different textures and finishes.
-
Size Adjustments: Increase or decrease hook size to scale the toy for various age groups, ensuring a comfortable fit for little hands.
-
Accessory Add-ons: Give it character by adding features like a hat or scarf, making your chameleon distinct and playful.
-
Pattern Textures: Use the bobble stitch technique for a textured look on the limbs and body, enhancing visual interest.
-
Mixed Yarn: Incorporate different yarn fibers, like wool for warmth or a sparkly thread for fun!
For a broader project scope, consider making a whole collection of amigurumi animals. Engage your creativity fully with every stitch!) Not only does this enhance your amigurumi skills, but it wires you into a network of creativity where each piece tells a unique story, much like your Crochet Rose Timeless or Plush Duck Crochet.
- Miniature Versions: Craft tiny chameleons using lace-weight yarn for adorable keychains or ornaments!
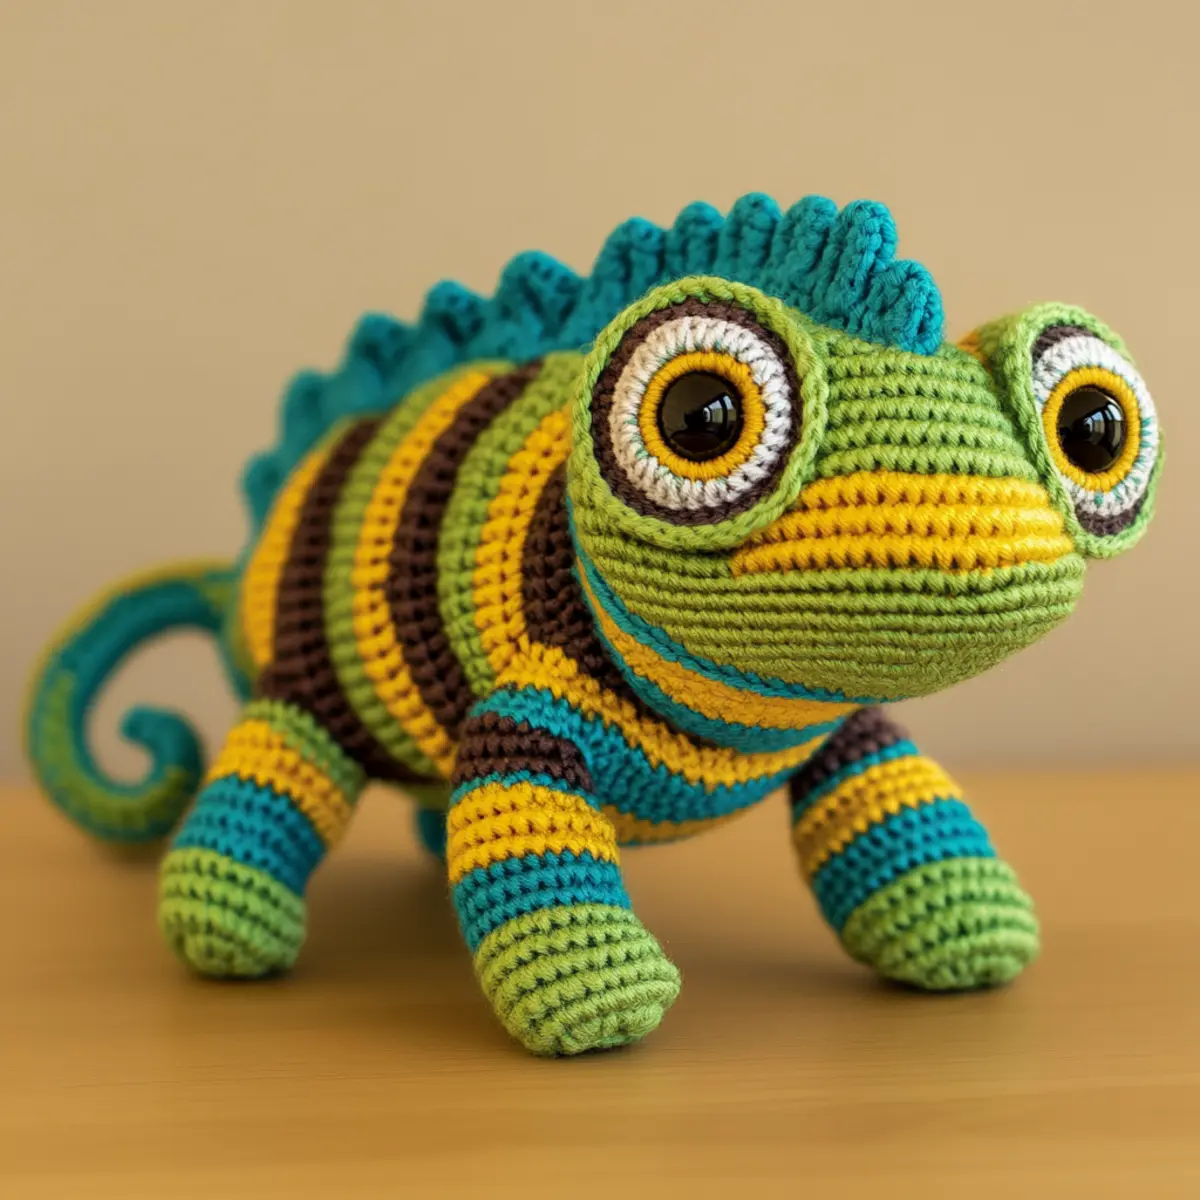
Crocheted Chameleon FAQs
Can I use a different type of yarn?
Absolutely! While plush or chenille yarn is recommended for softness, you can try cotton or acrylic to achieve different textures and looks.
How do I adjust the size of my chameleon?
Scaling your crocheted chameleon up or down is simple; change your hook size or adjust the starting chain and add extra rounds to limbs and body as needed.
What size hook should I use?
For the crocheted chameleon, a G/6 (4mm) hook works best. This size helps achieve the right tension with medium worsted weight yarn, keeping your toy sturdy.
What if my project curls?
Don’t panic! Curling can happen if your tension is too tight. Try loosening your stitches in future projects. For this one, blocking can help flatten it out.
How do I prevent dropped stitches?
A stitch marker is your best friend! Use it to mark your rounds, helping keep count and reducing the risk of dropped stitches, especially on intricate parts.
Can I add features like a hat or scarf?
Of course! Feel free to get creative. Adding removable accessories like hats or scarves can personalize your crocheted chameleon, making it even more charming.

Leave a Reply